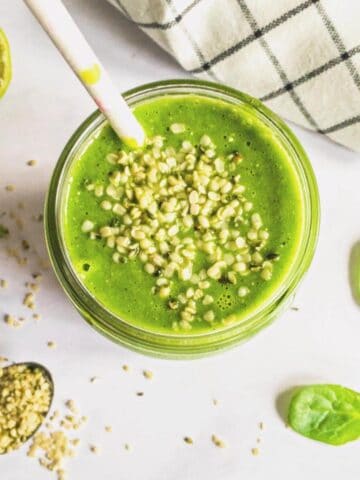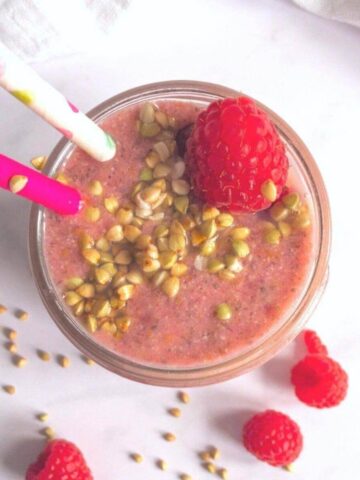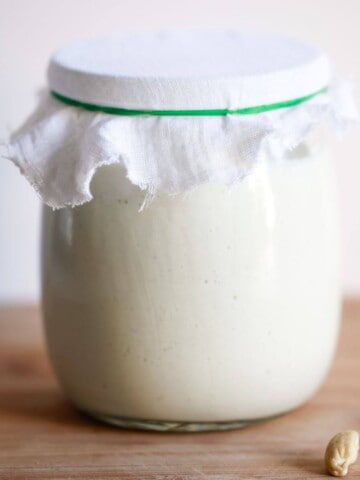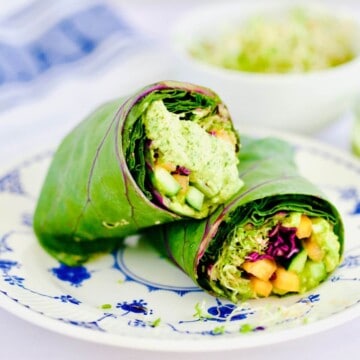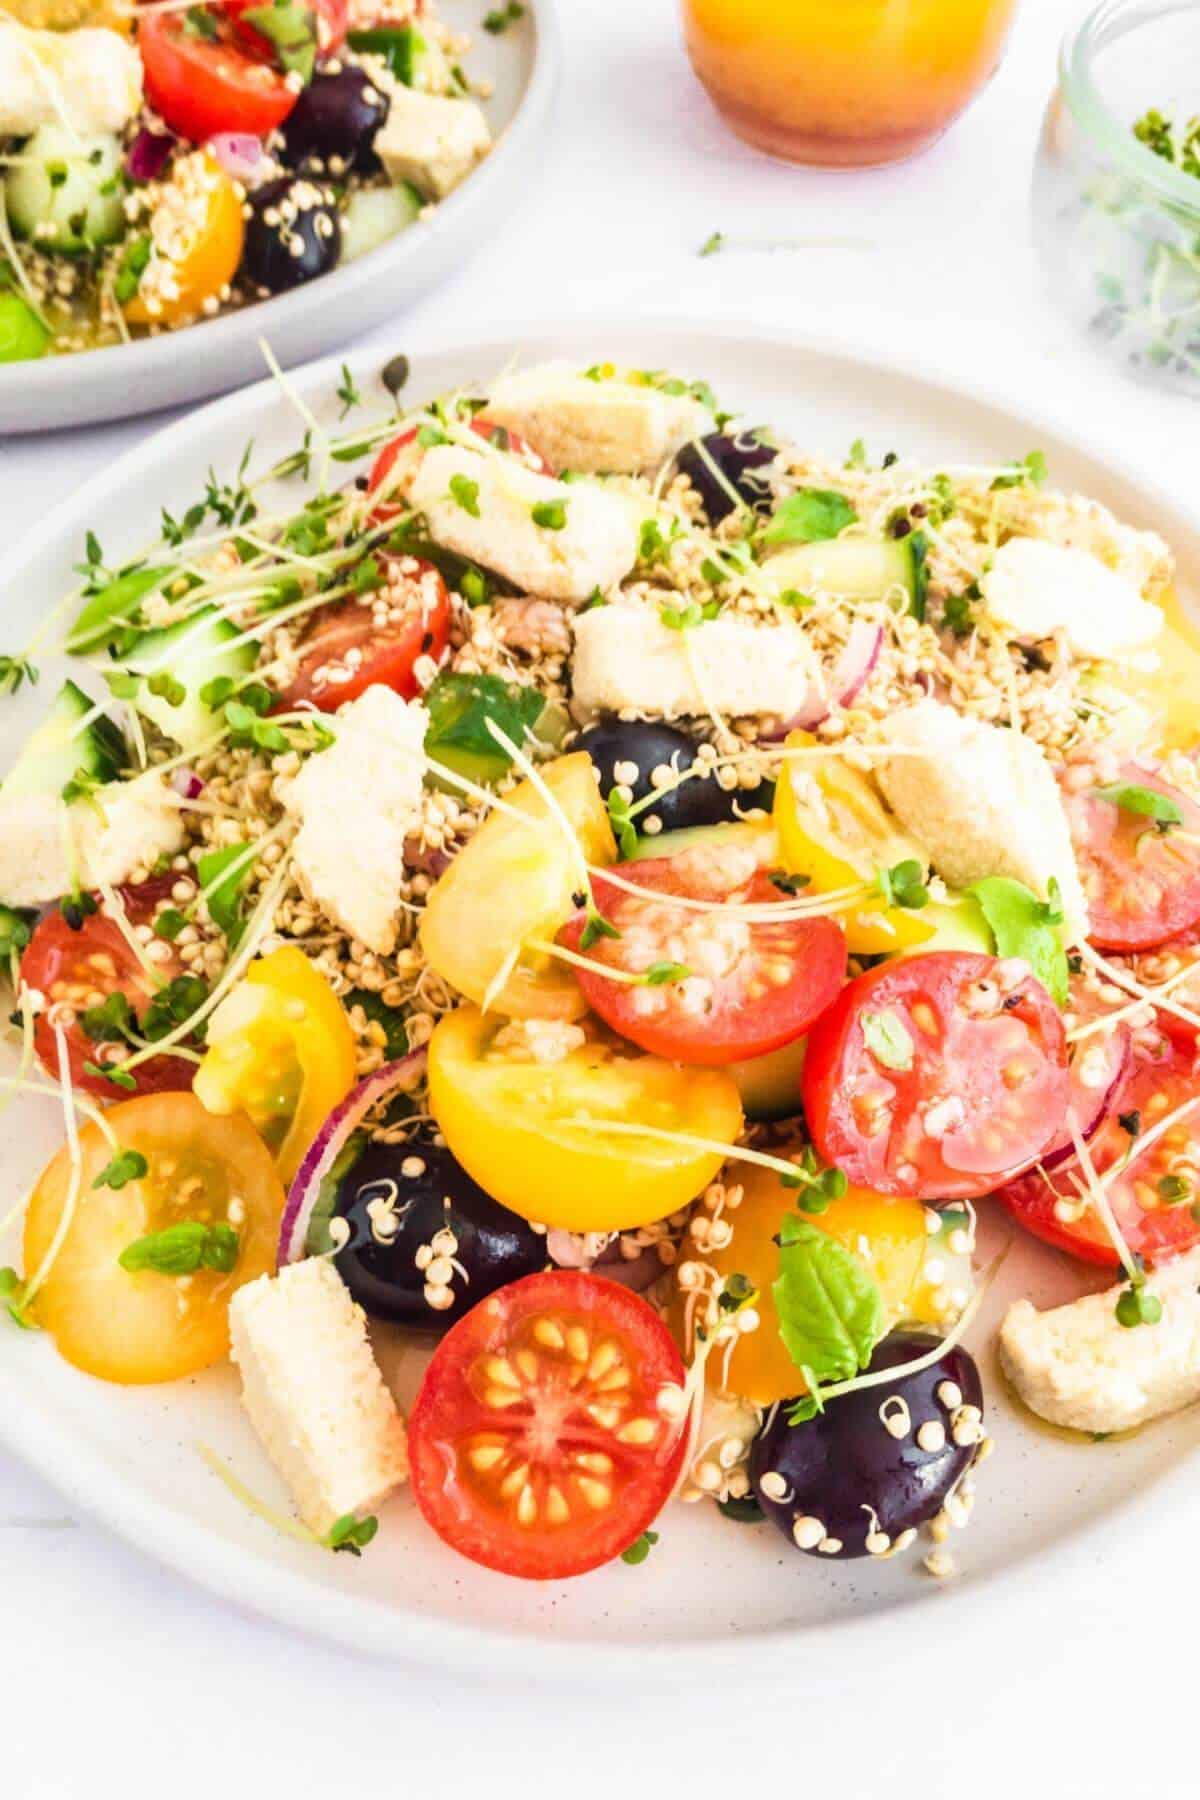
Discover how to make sea moss gel in three easy steps. Add it to your homemade smoothies and juices, and use it as a thickener for your raw vegan recipes.
Sea moss gel makes a great raw vegan alternative to agar agar, cornstarch and gelatine in some recipes and is rich in nutrients.
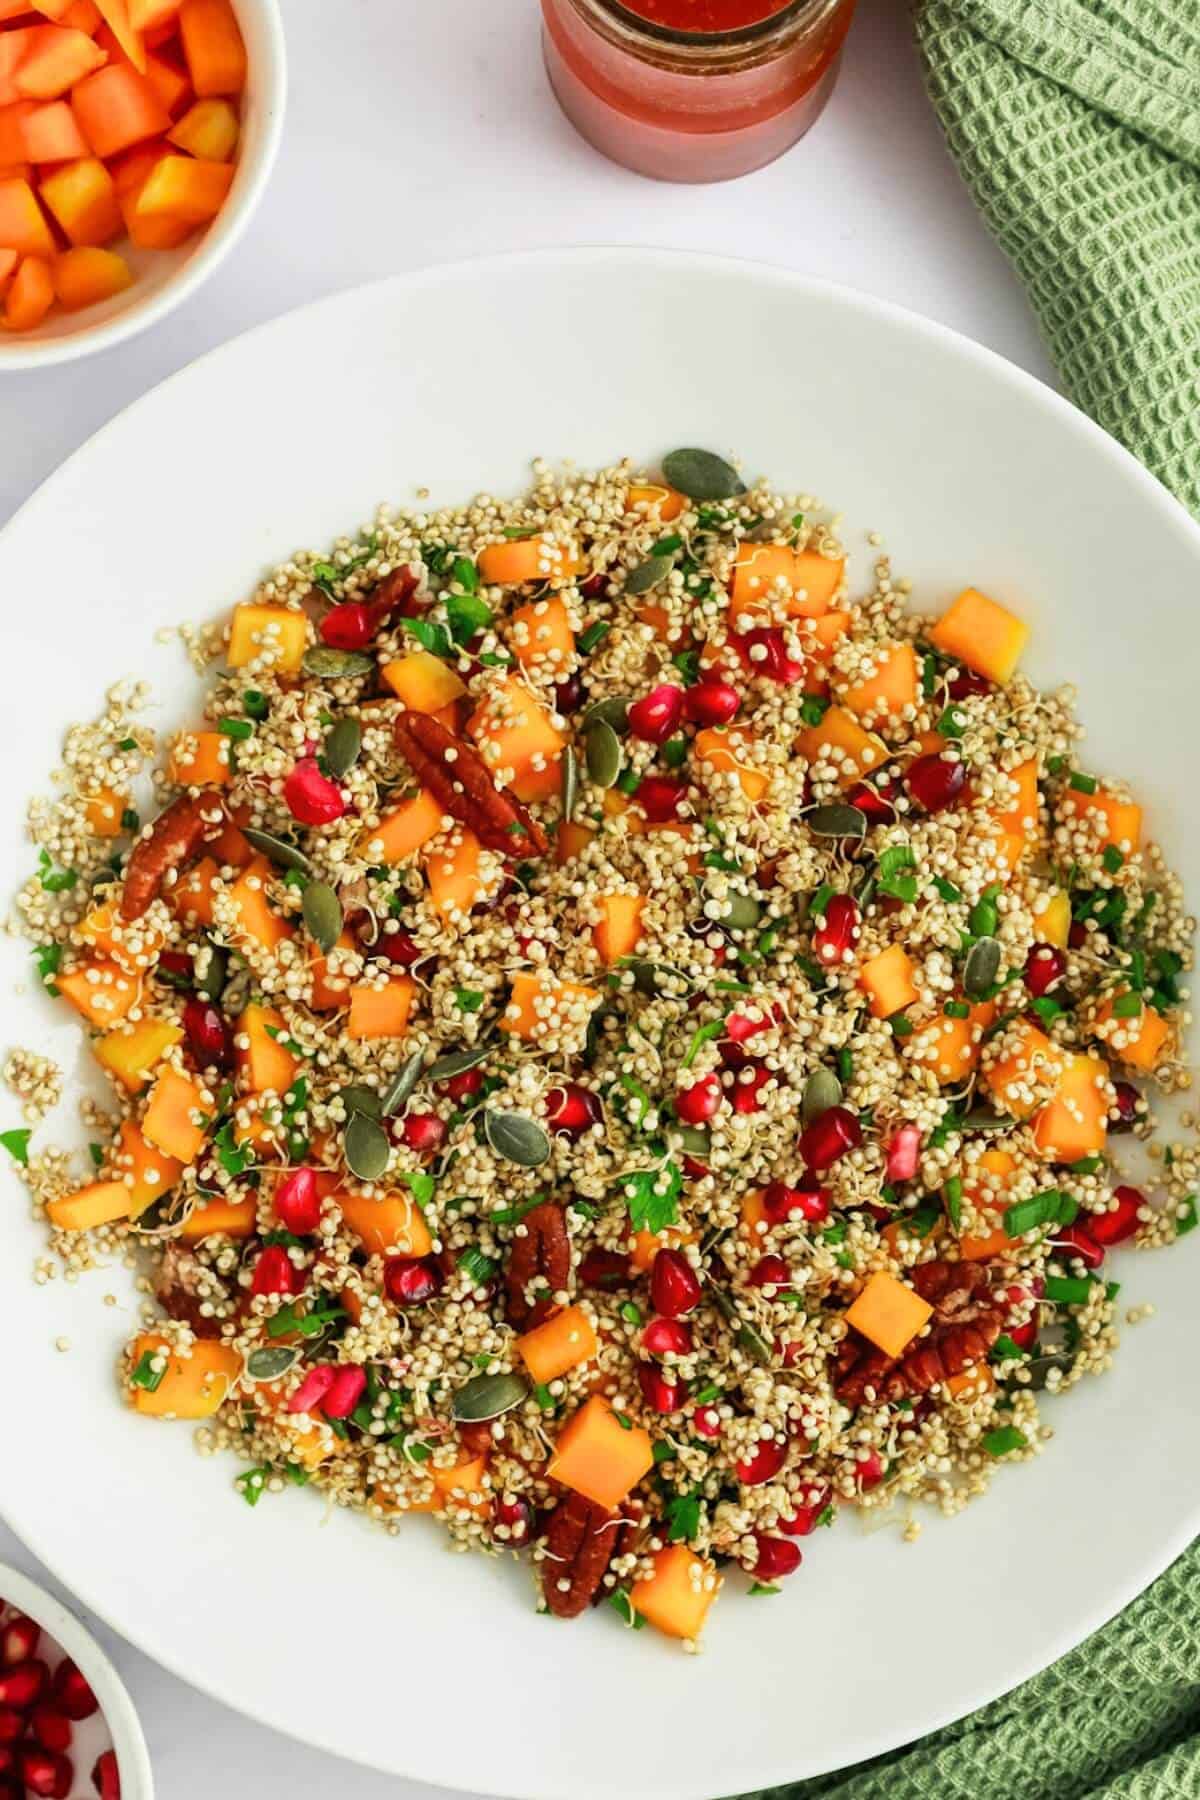
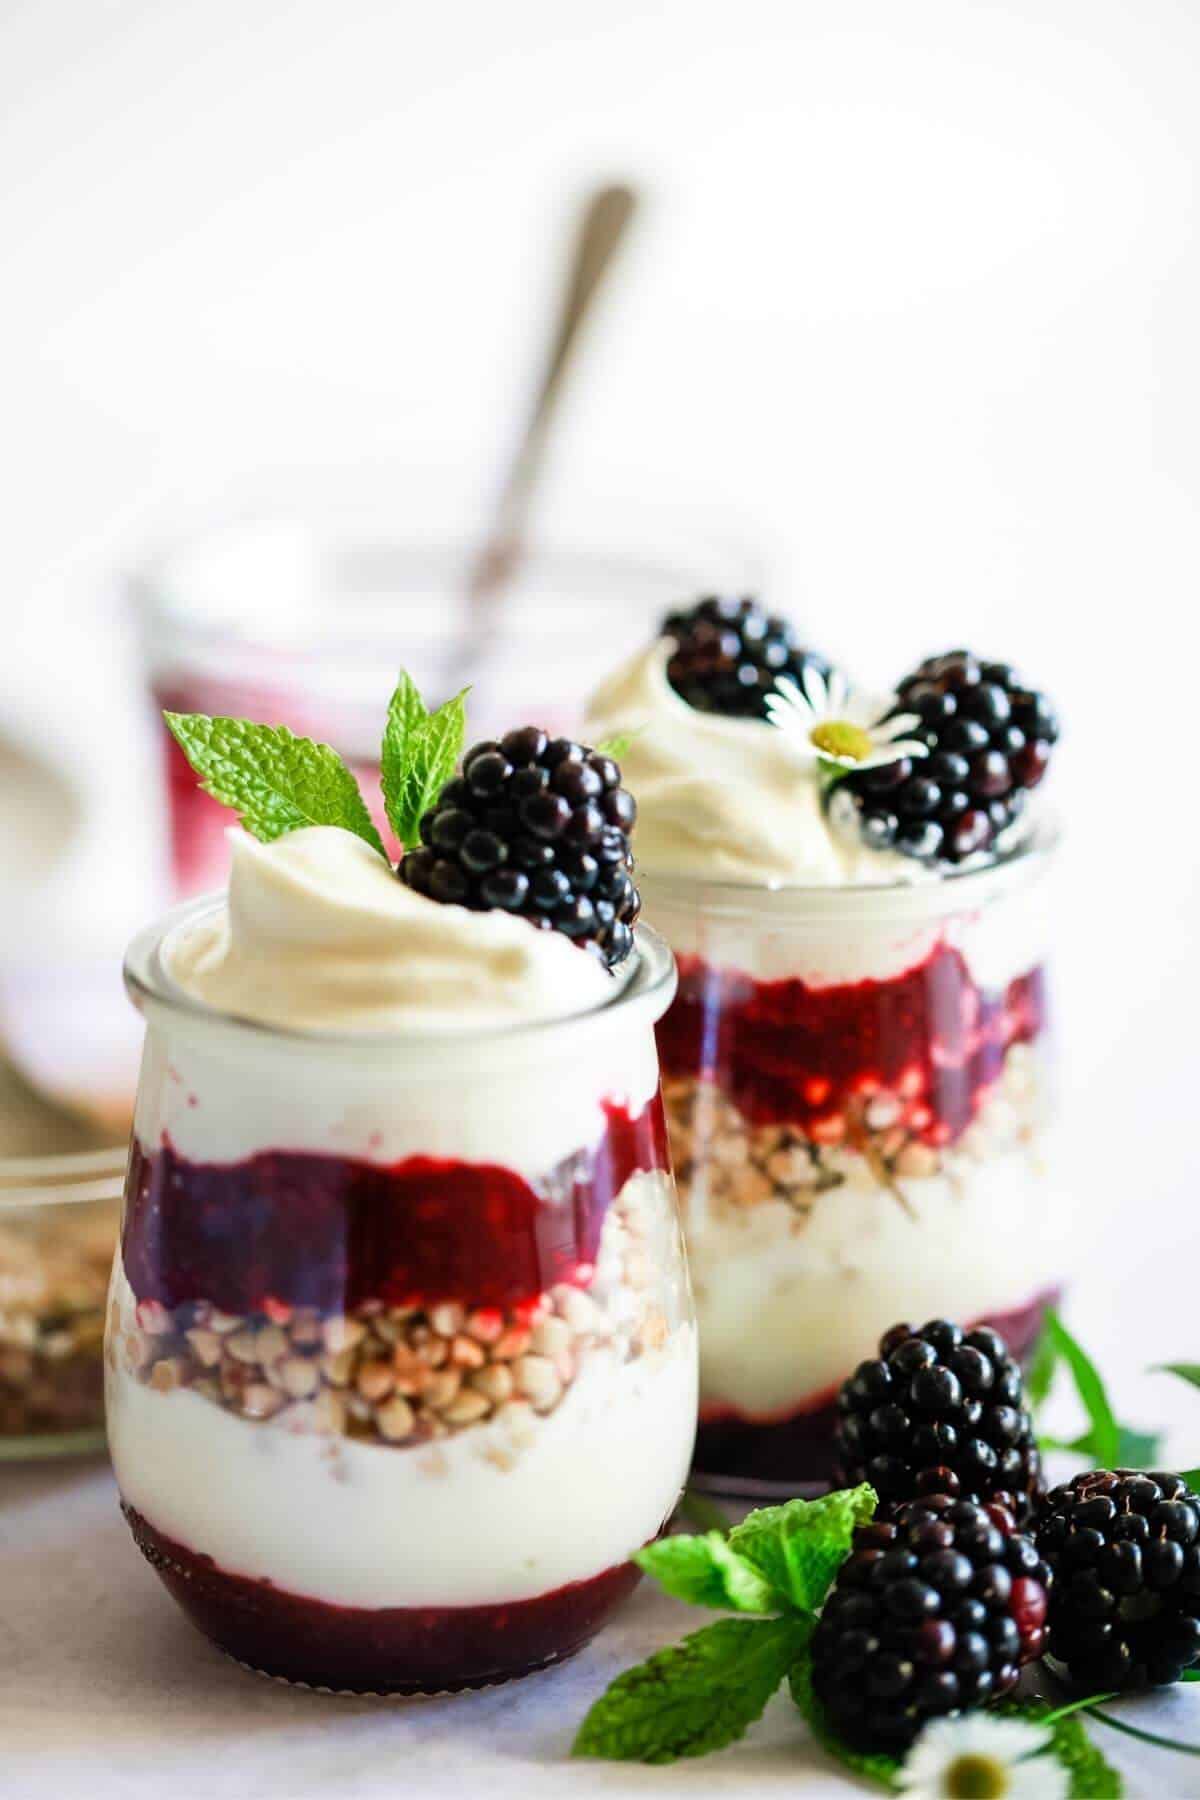
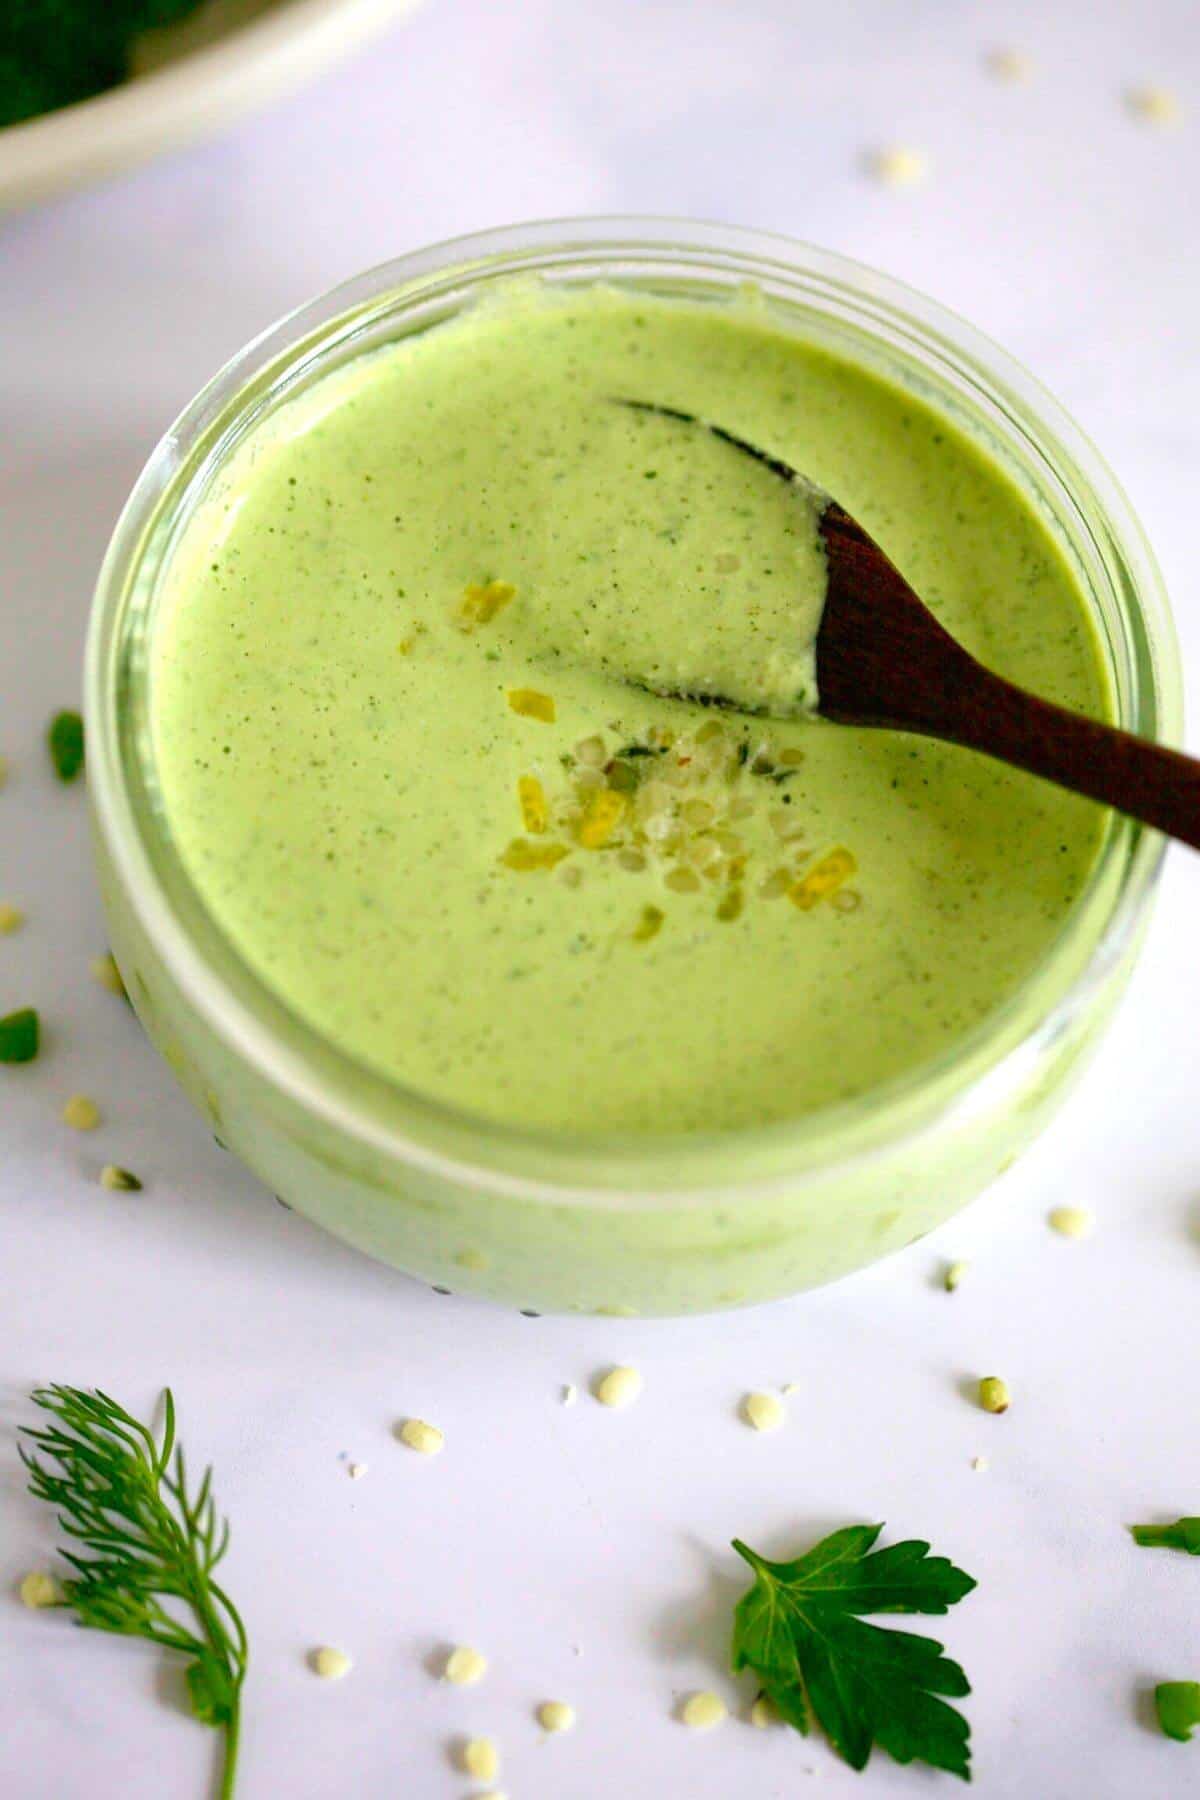
With its smooth texture and a mild ocean taste, it's easy to enjoy when added to your raw vegan dishes.
What is sea moss?
Sea moss, also known as Irish sea moss or red seaweed, is a type of marine algae, classified as seaweed. Of course, eating seaweed is nothing new and there are many different varieties.

Chondrus crispus is the type commonly known as Irish sea moss.
It has been harvested from the Irish coast for centuries, serving as a food source and natural remedy for various ailments.
Over time, the terms' Irish sea moss' and 'sea moss' have become interchangeable, as they refer to the same species found in coastal regions worldwide.
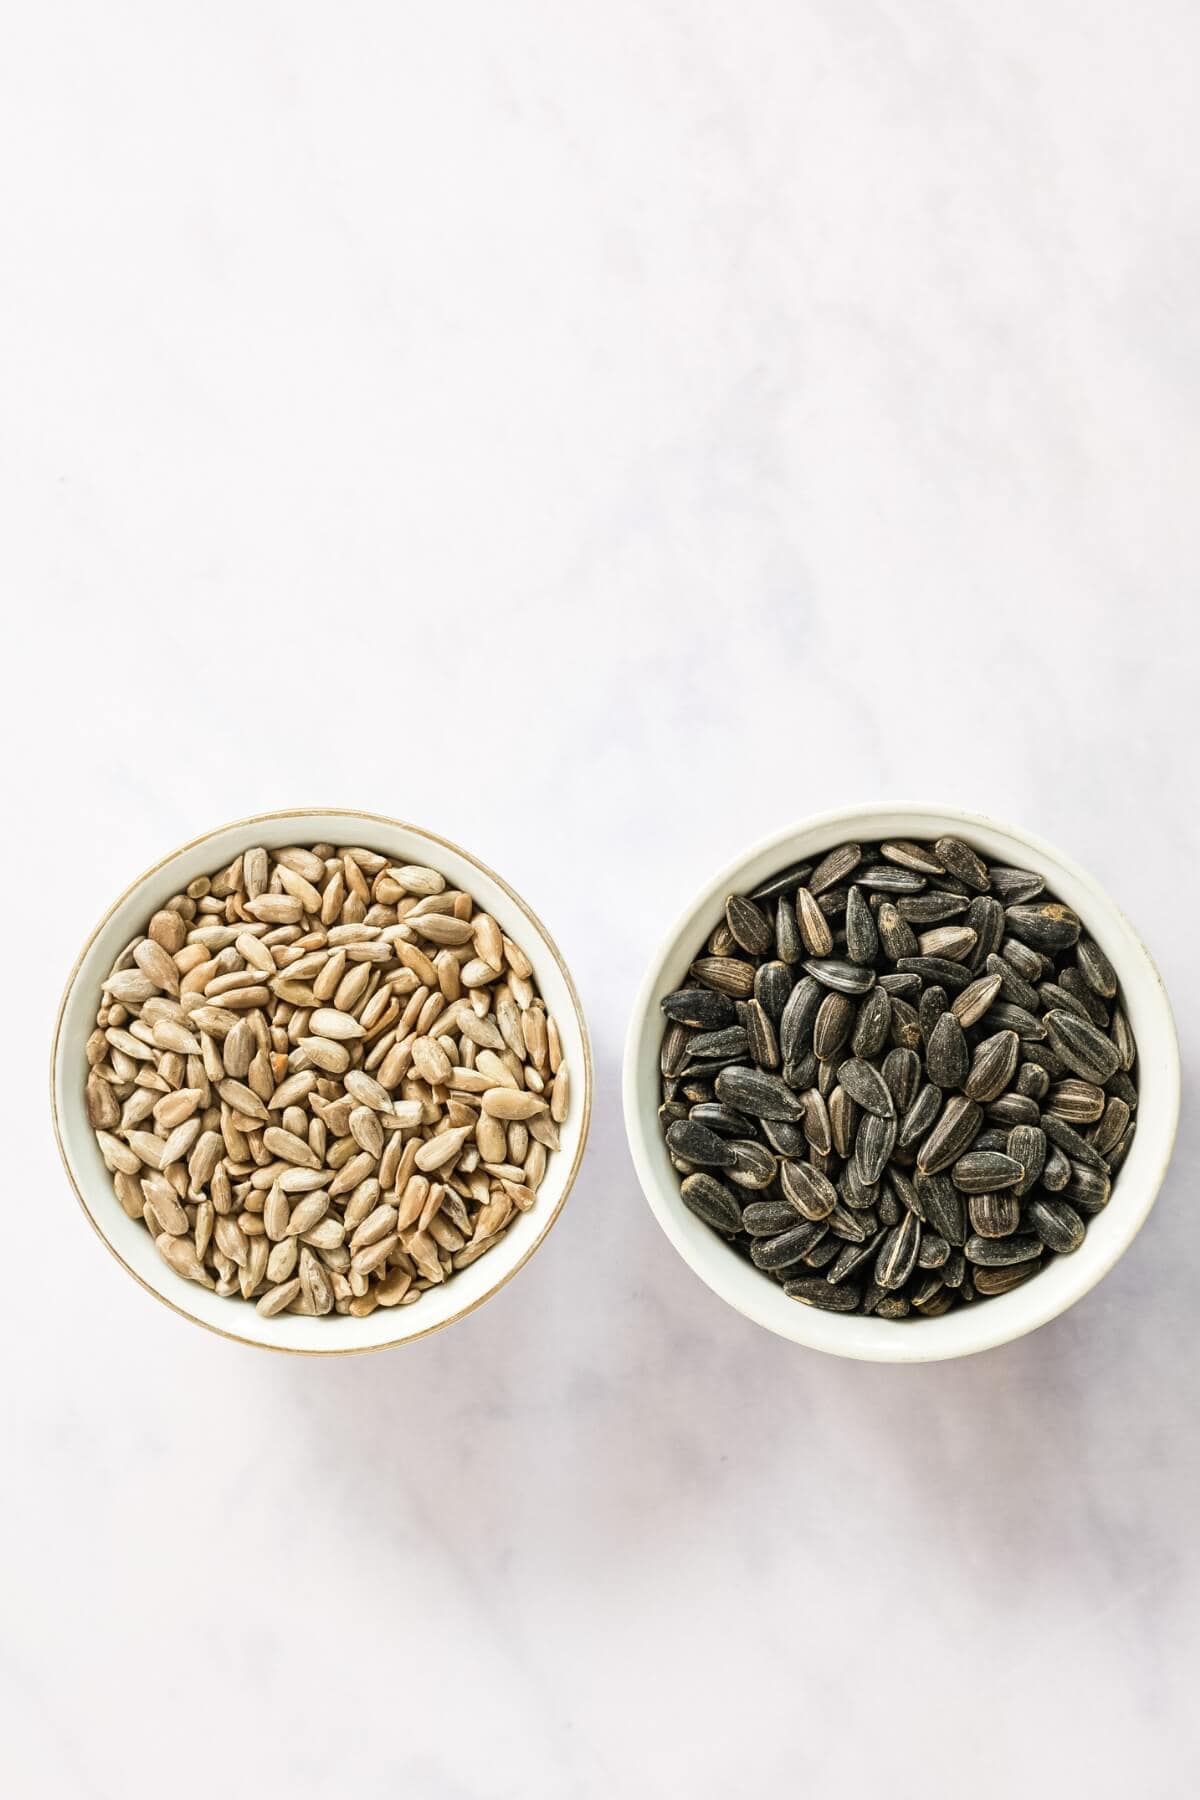
Other varieties sold raw and dried for making into a gel include Eucheuma cottonii (also called Kappaphycus alverezii) and Genus Gracilaria.
Step-by-step instructions
Ready to start making your own sea moss gel? It's super-easy, and it only takes a few minutes to do it hands-on.
This version focuses on blending raw dried sea moss with spring water, rather than the other method which requires boiling.
For full details and quantities please see the recipe card below.
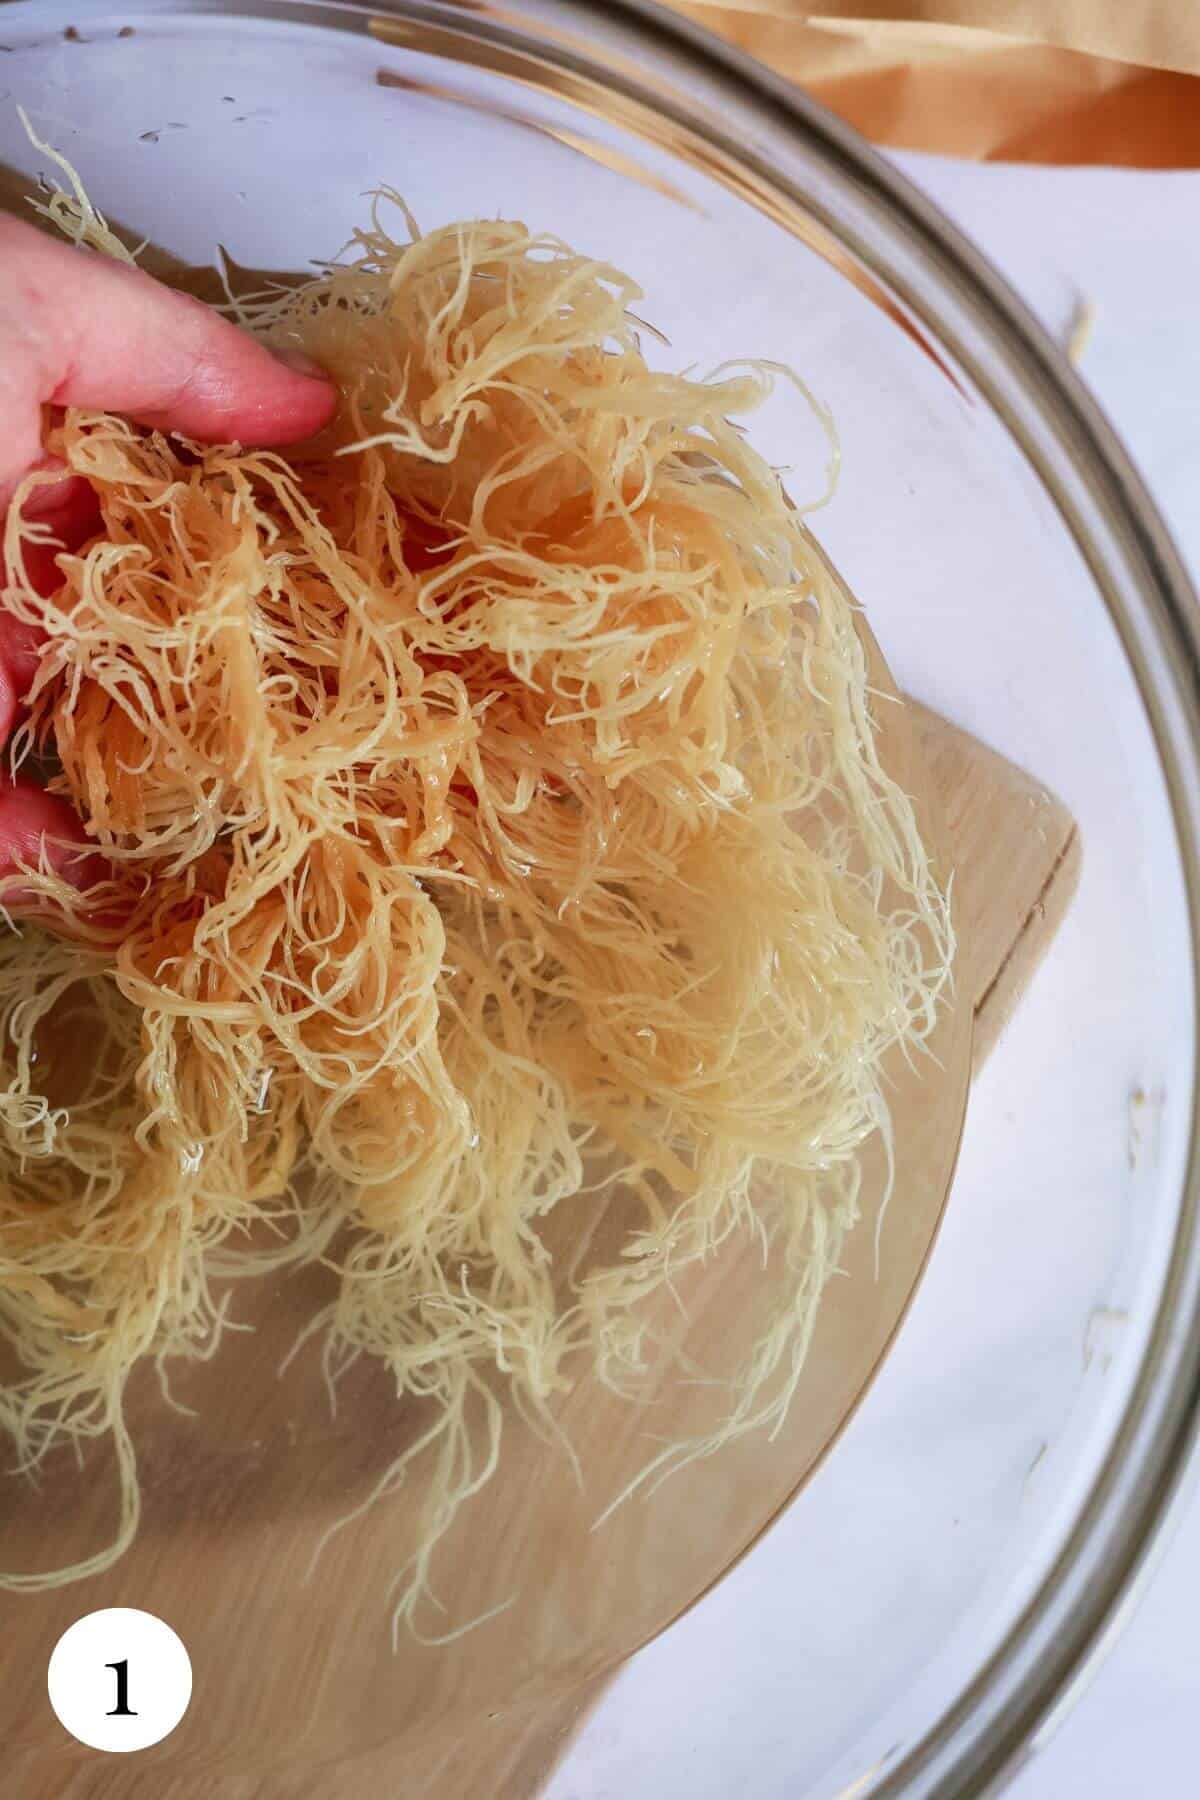
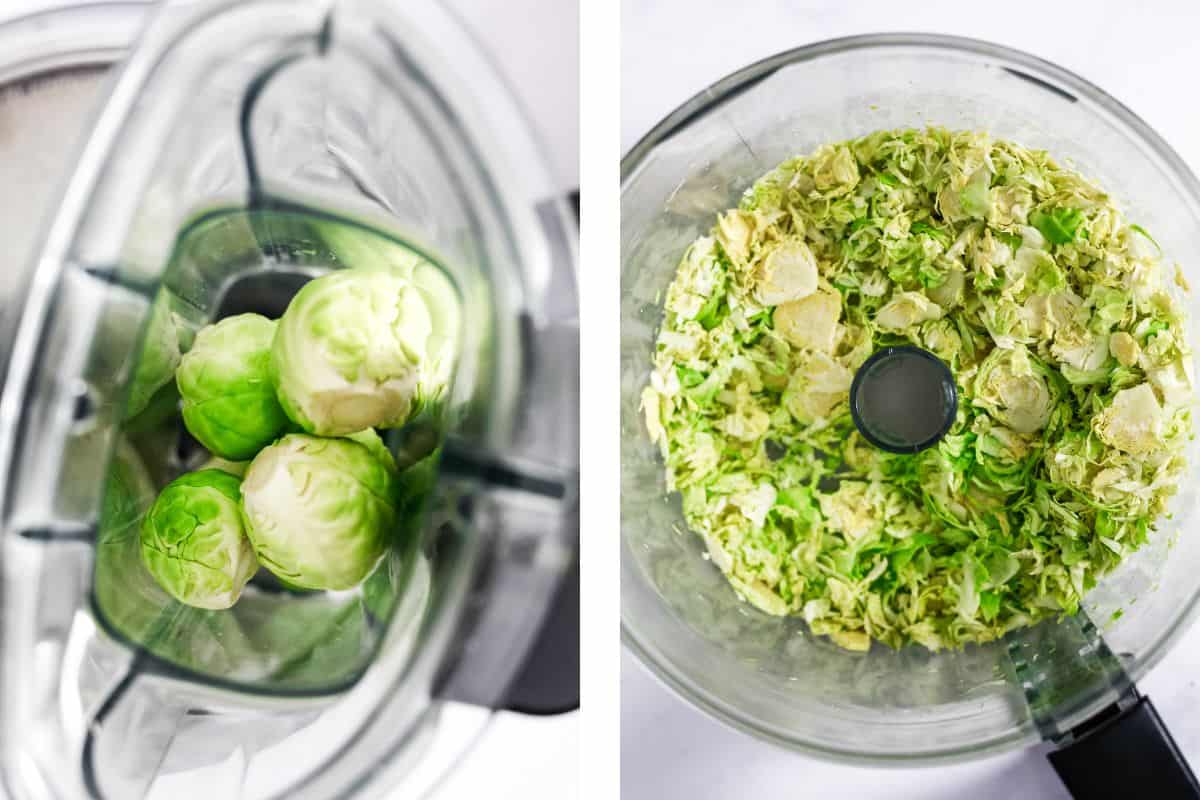
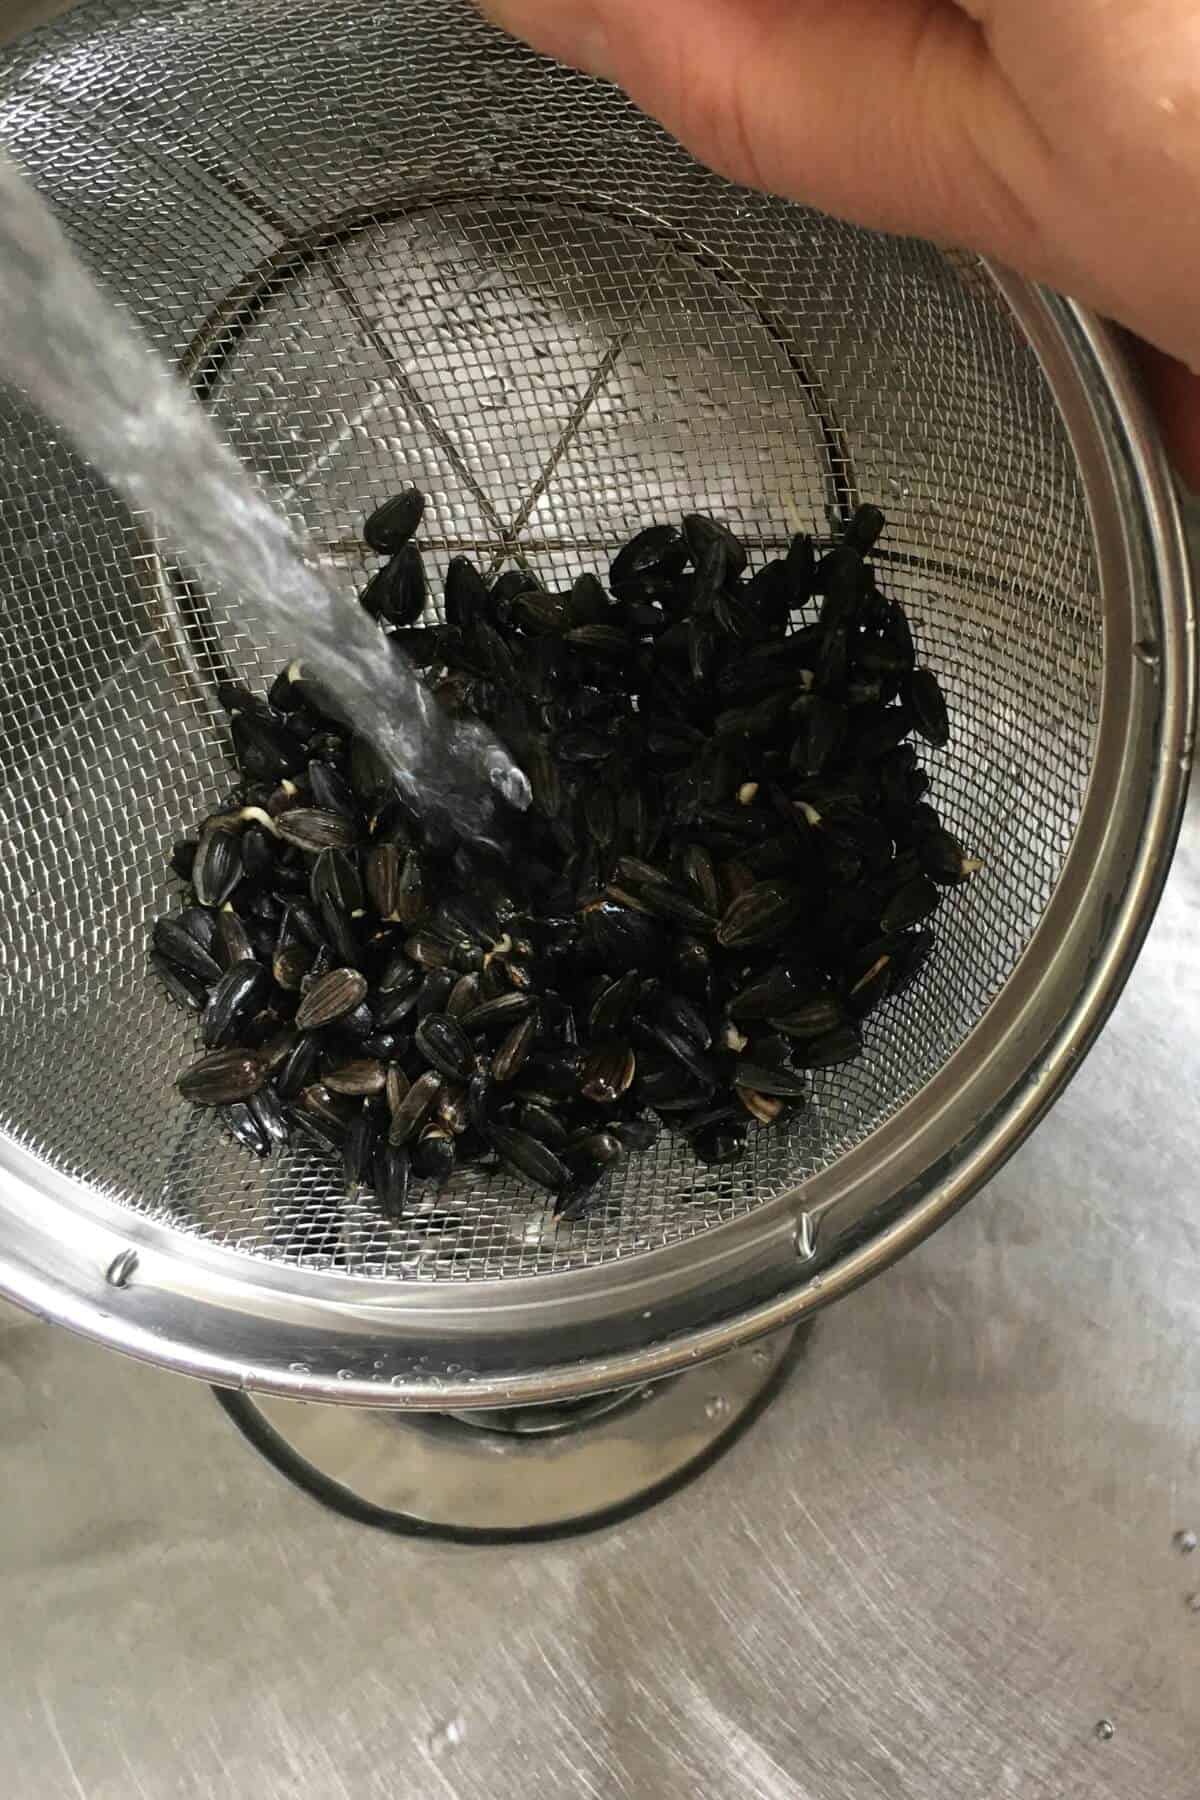
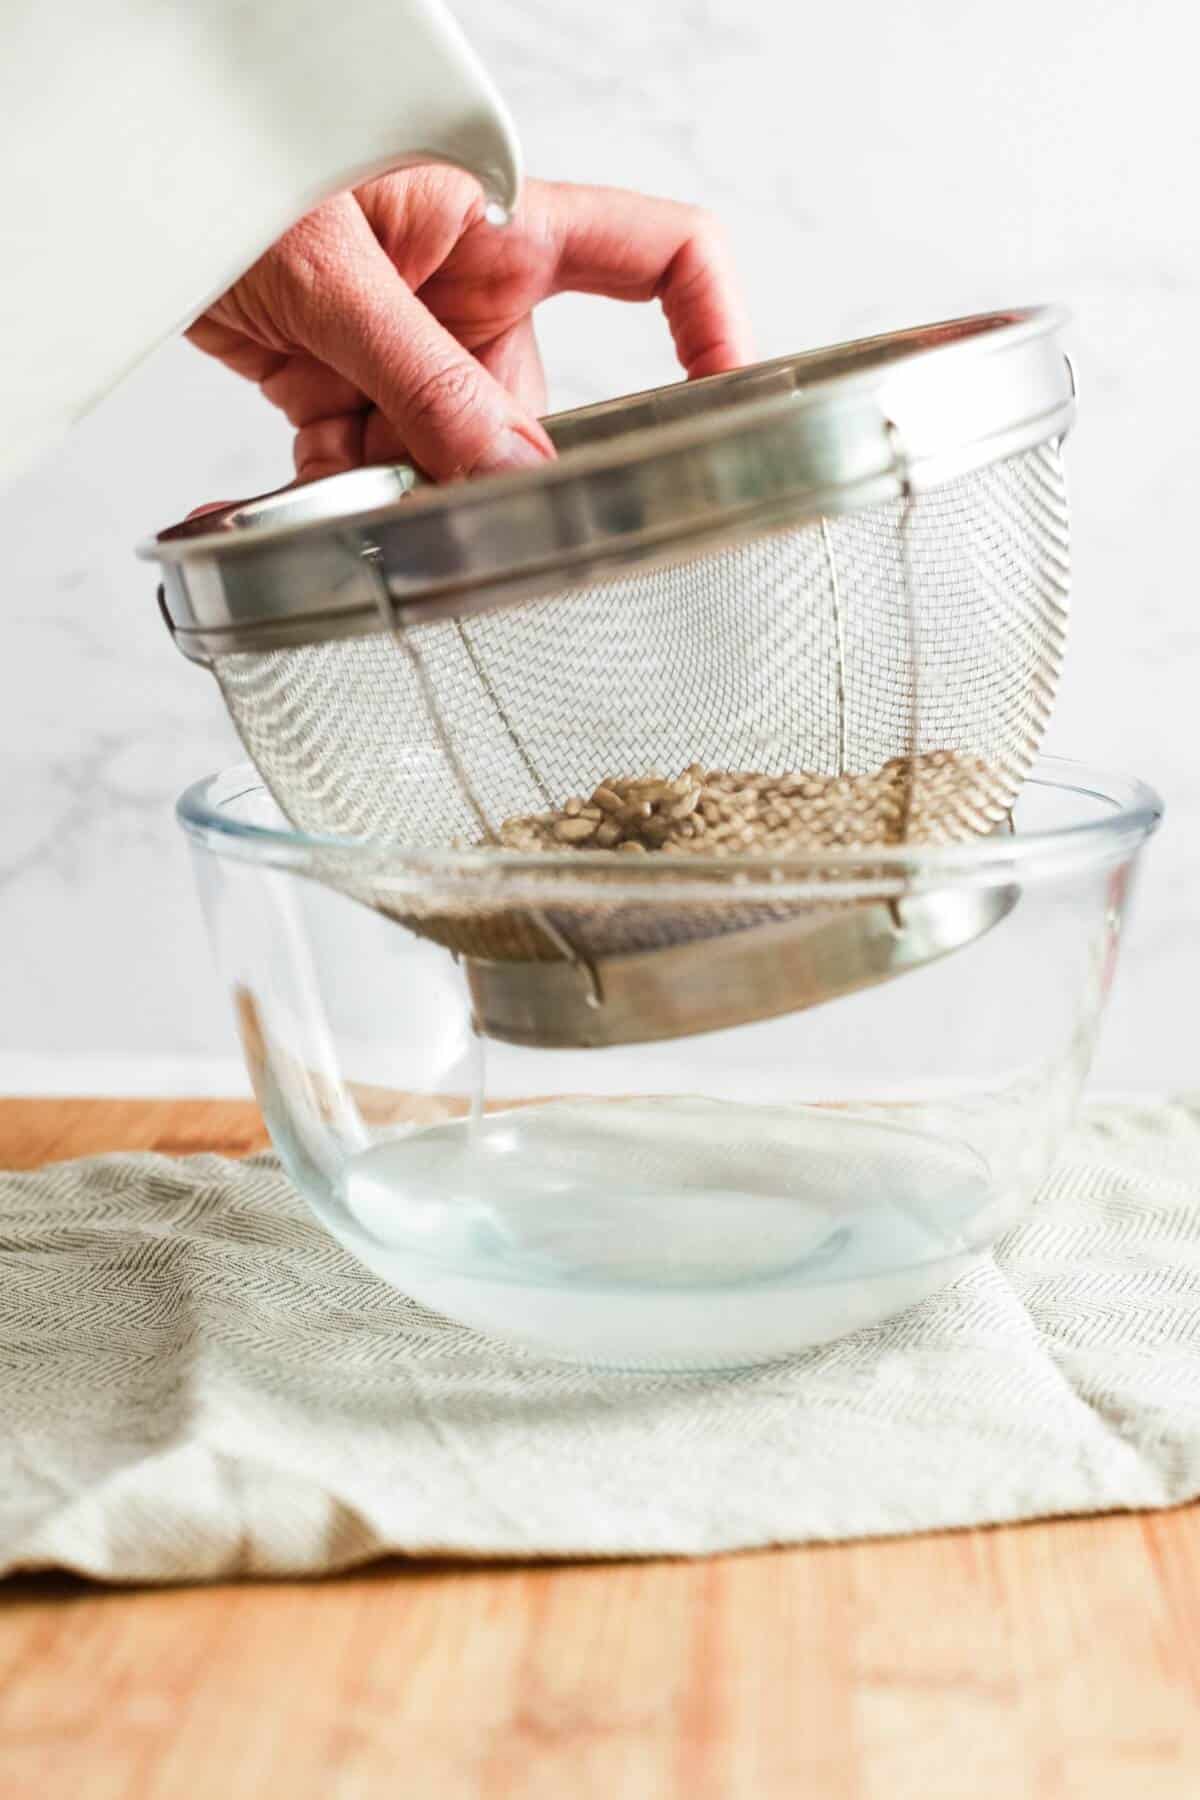
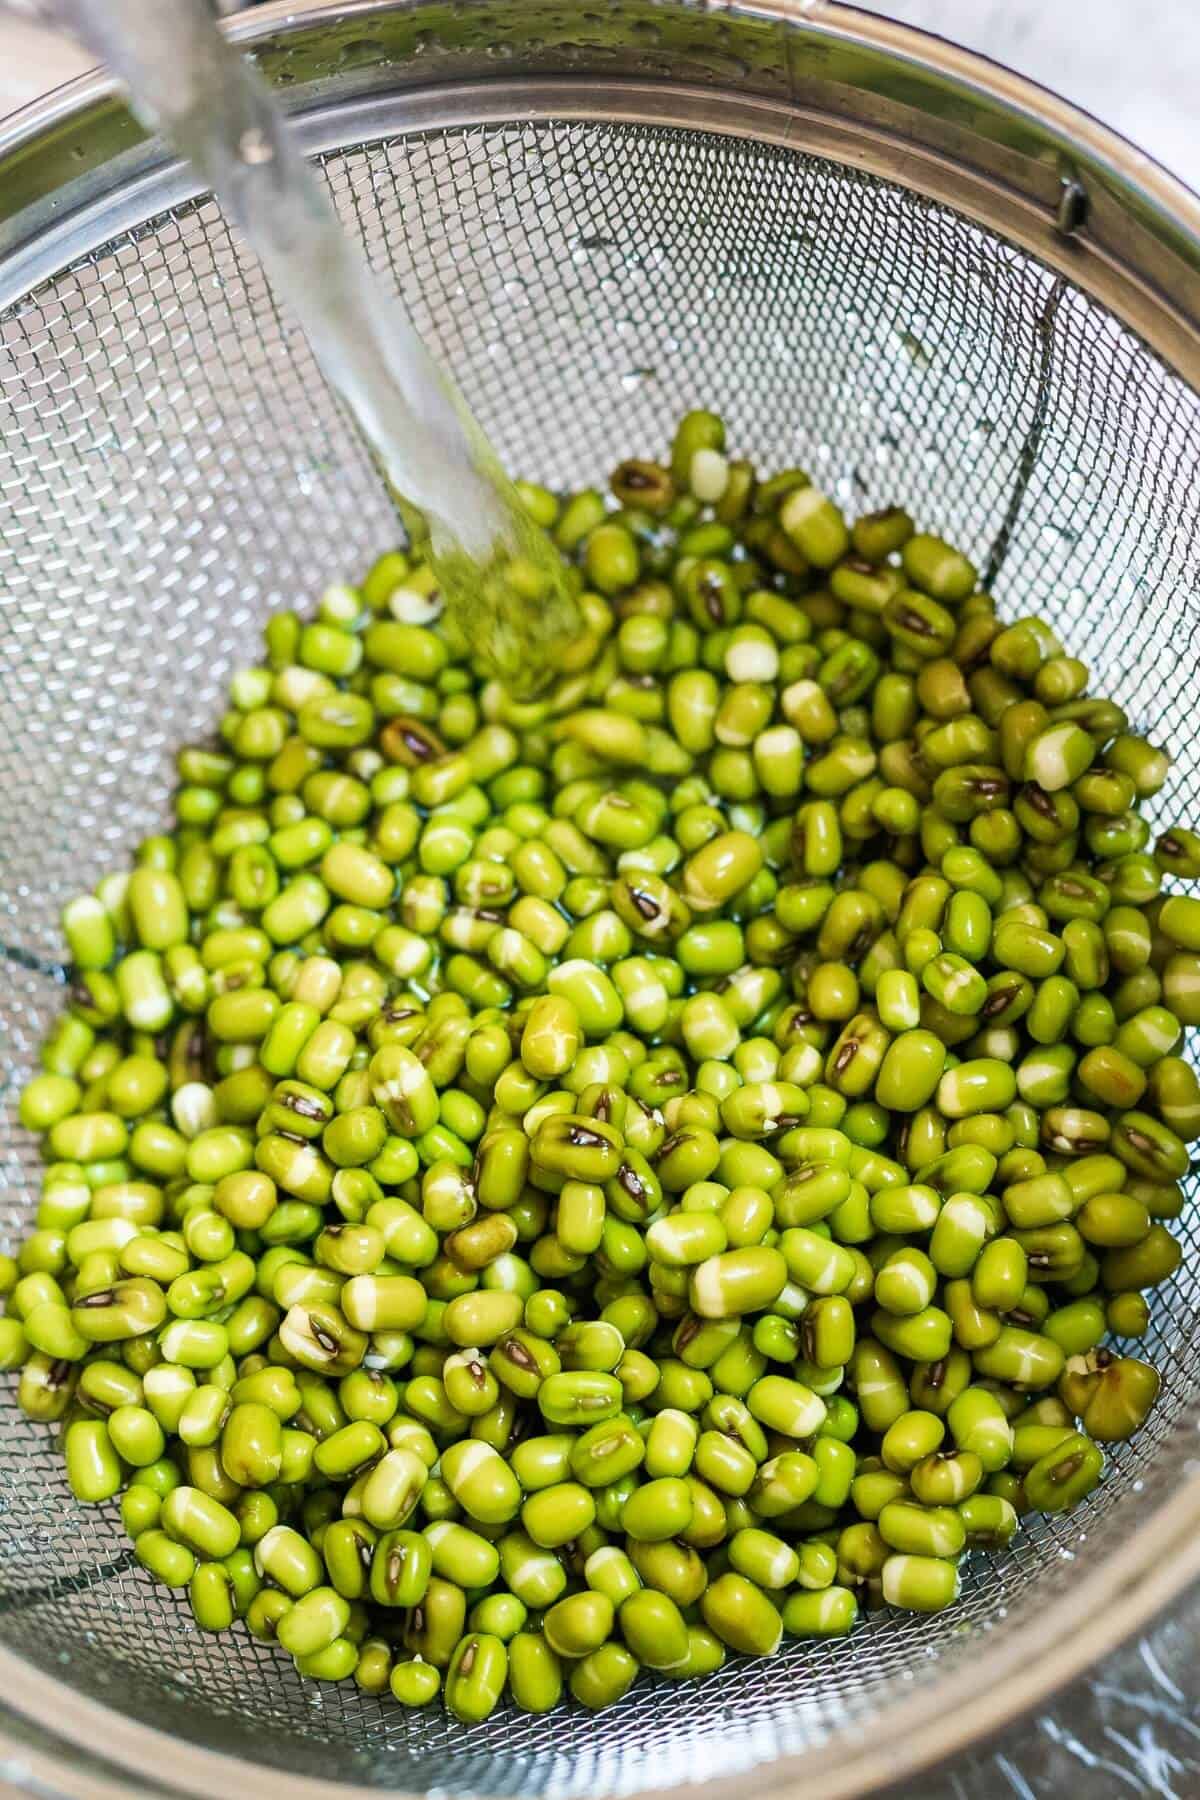
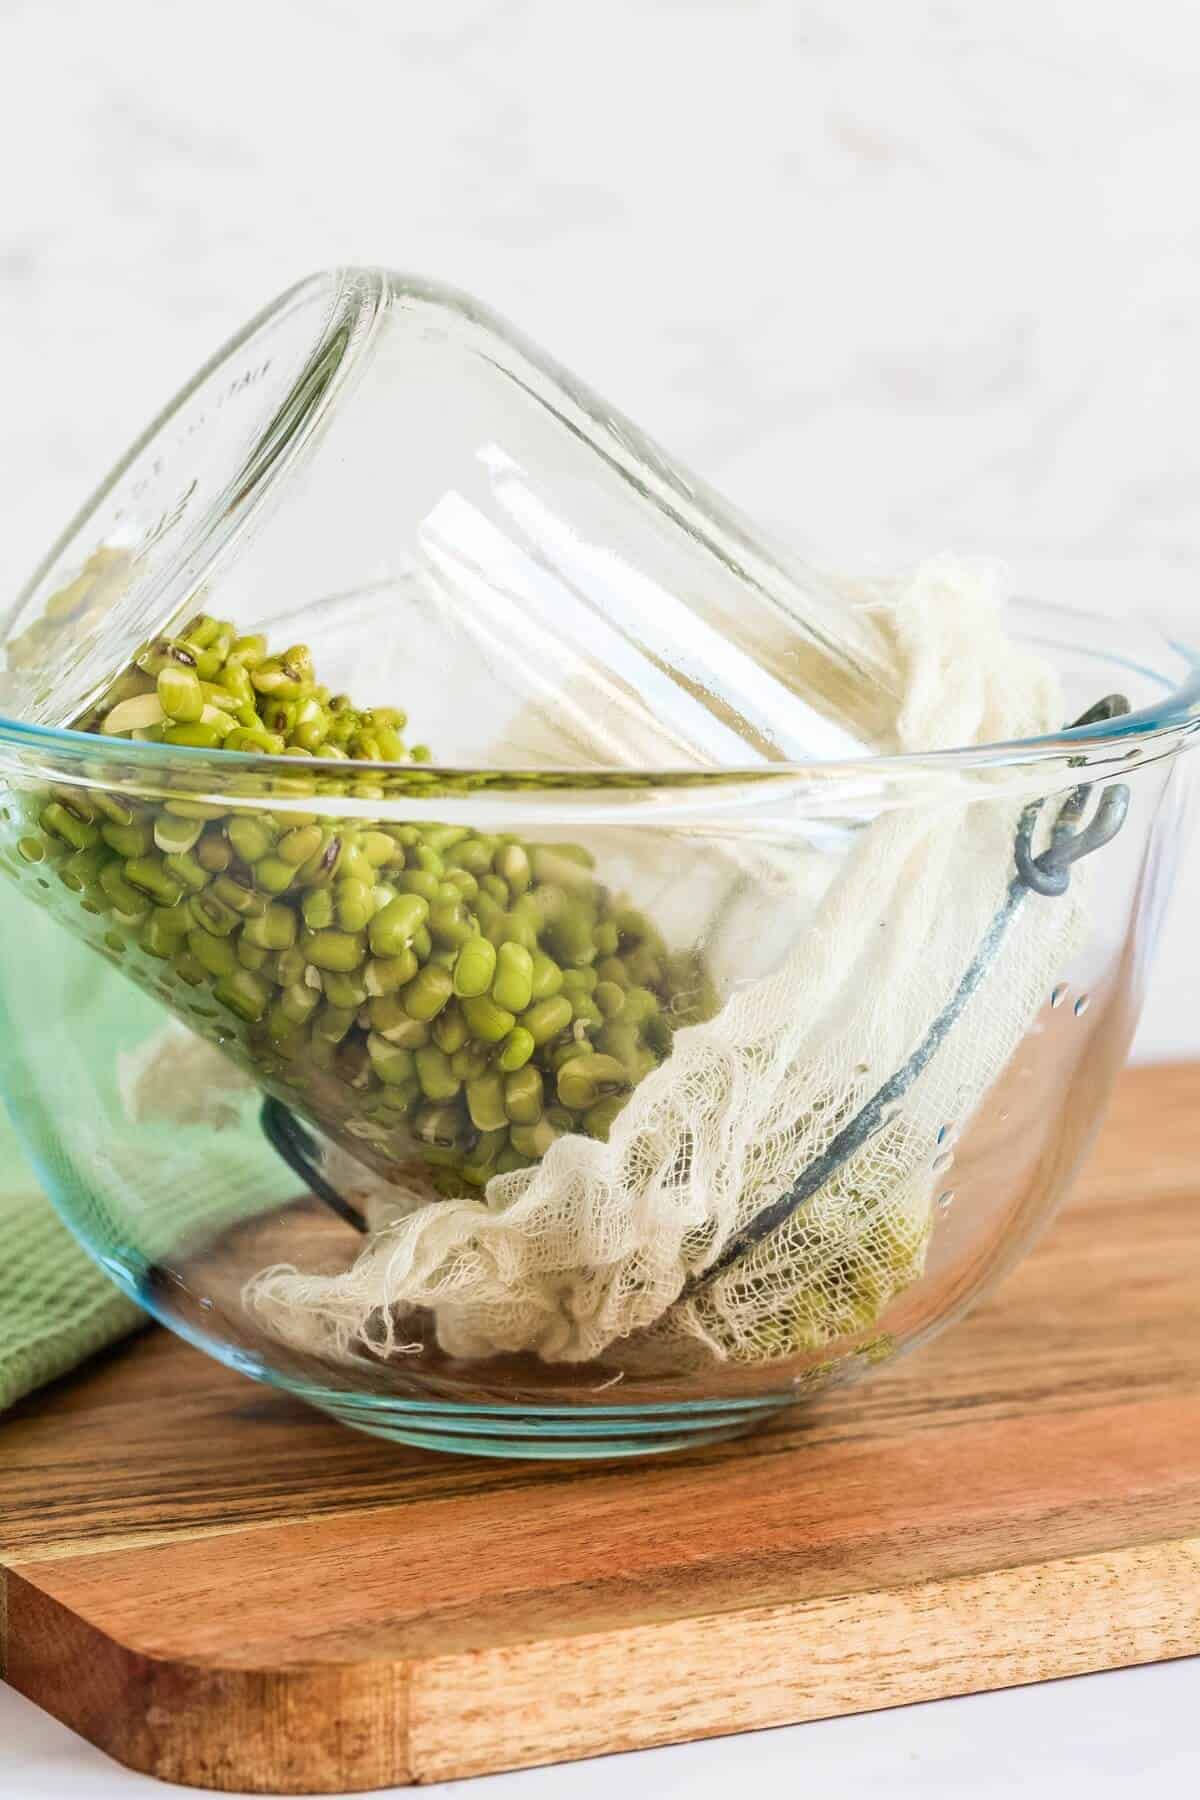
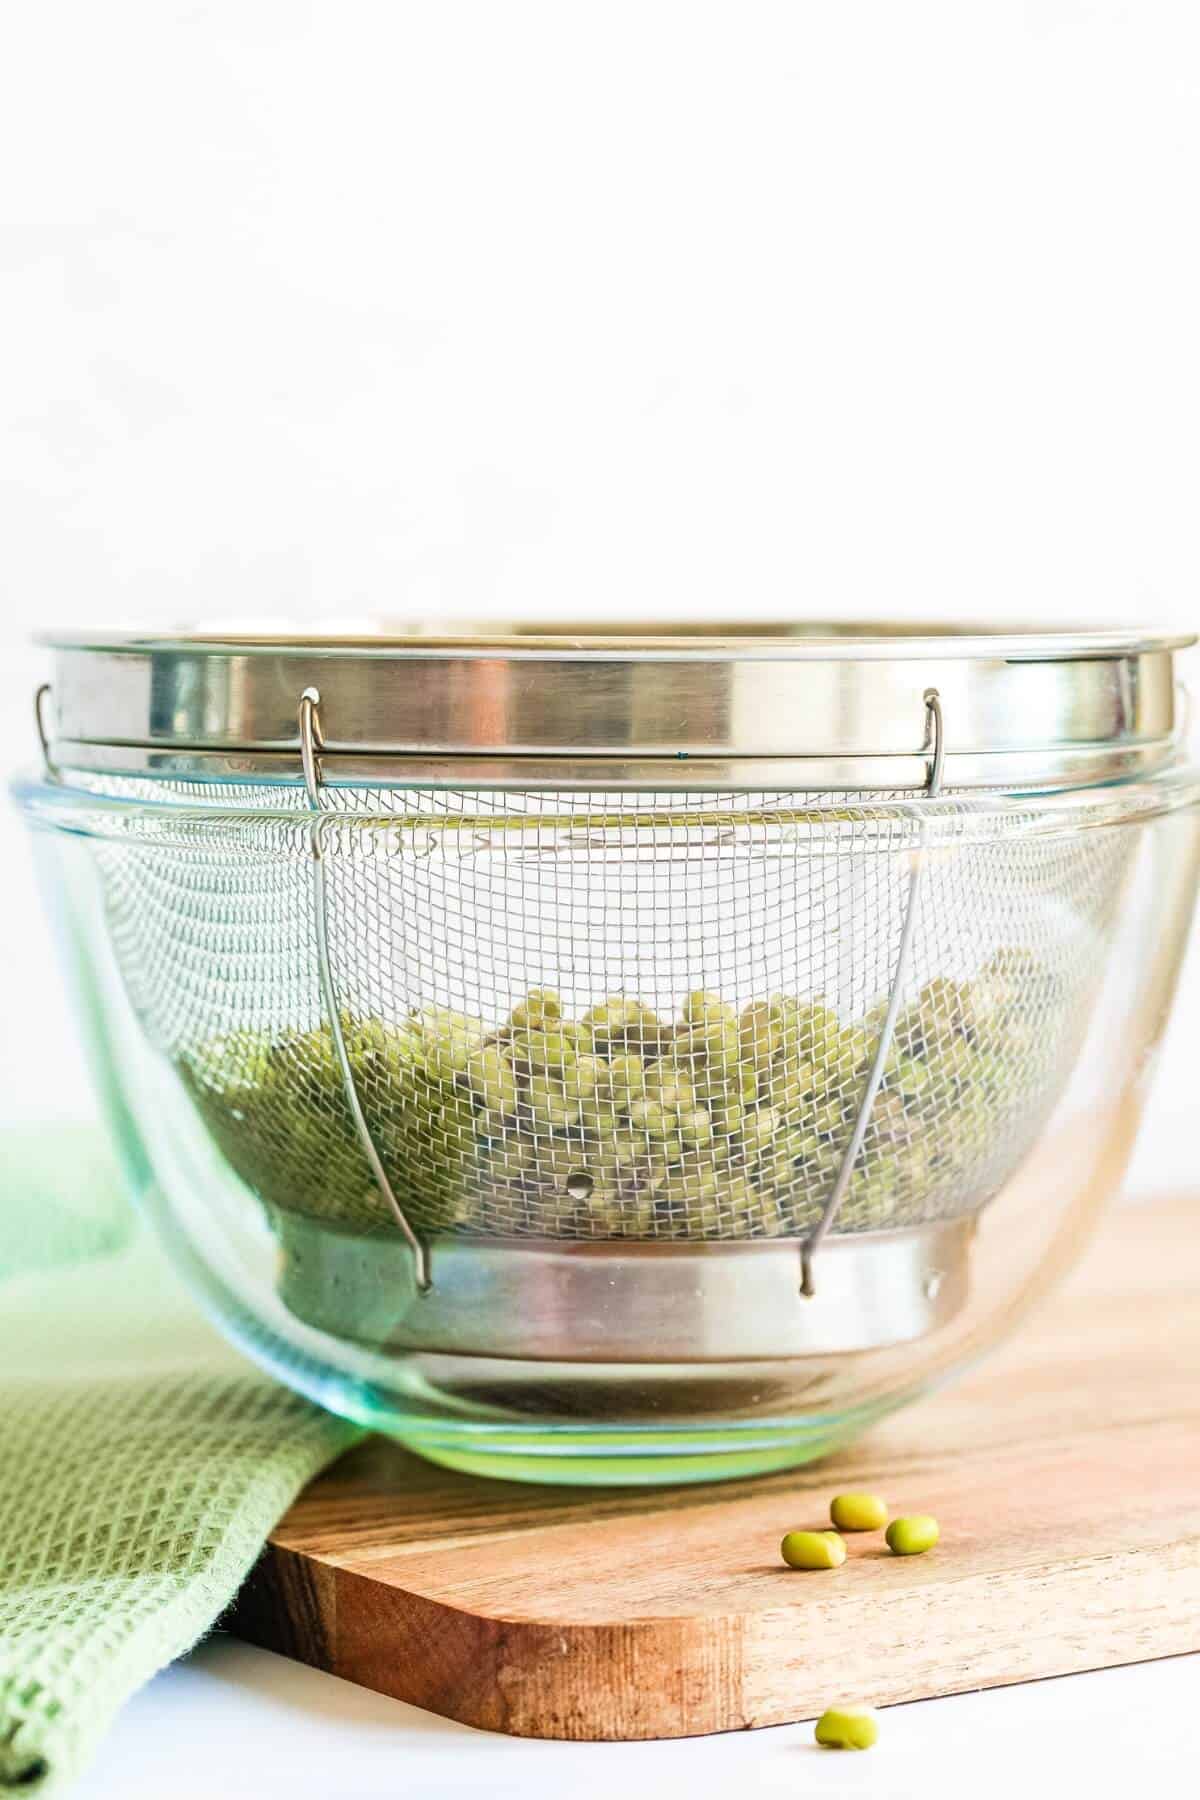
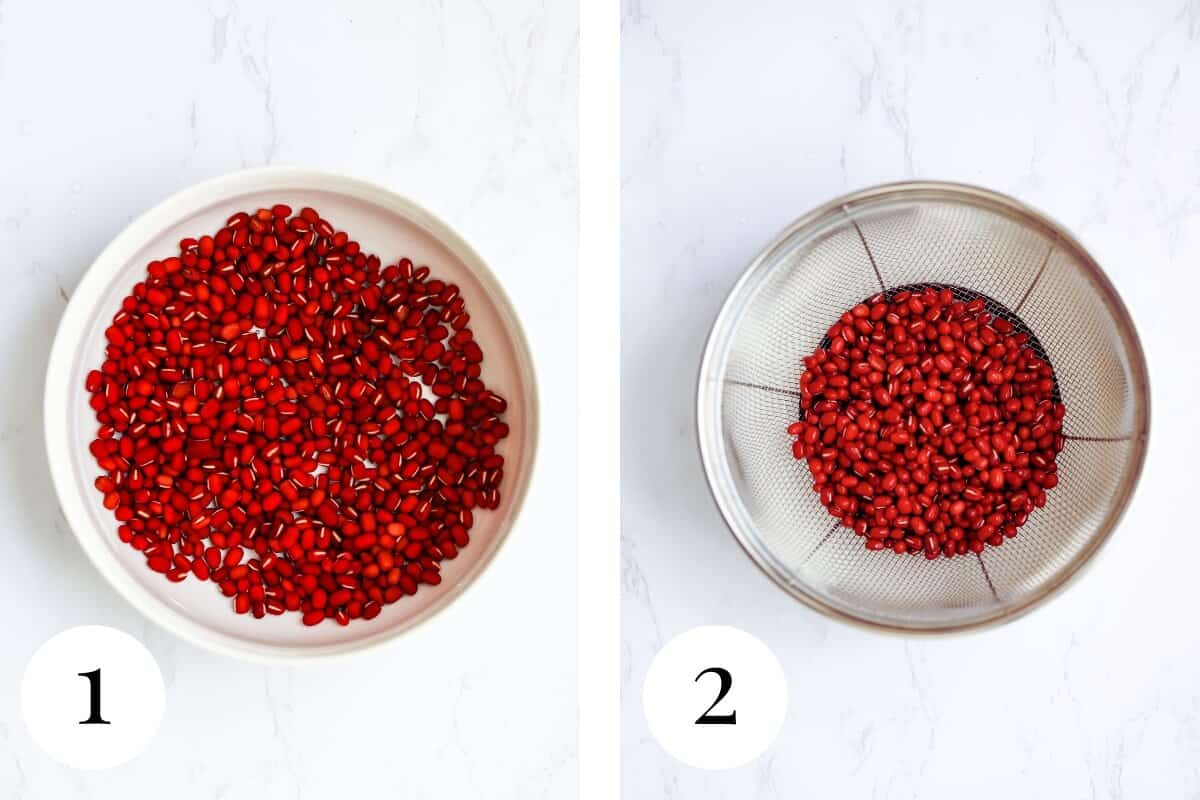
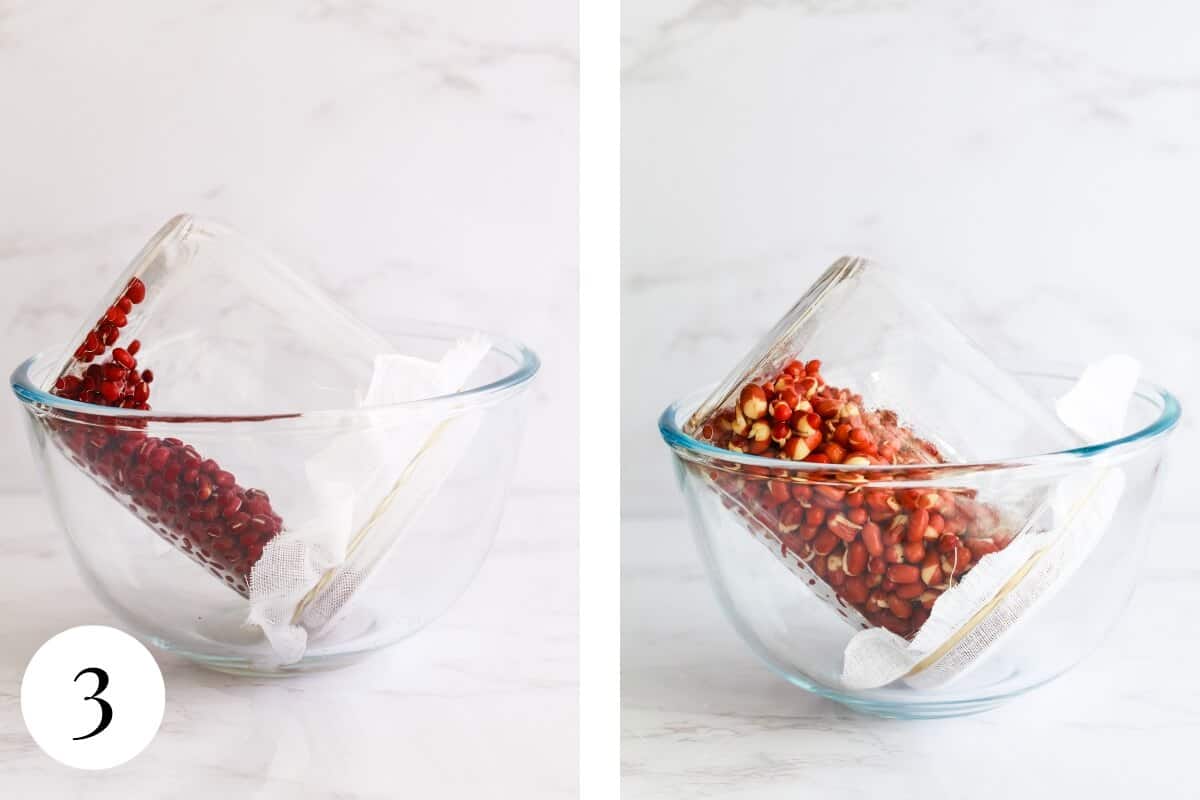
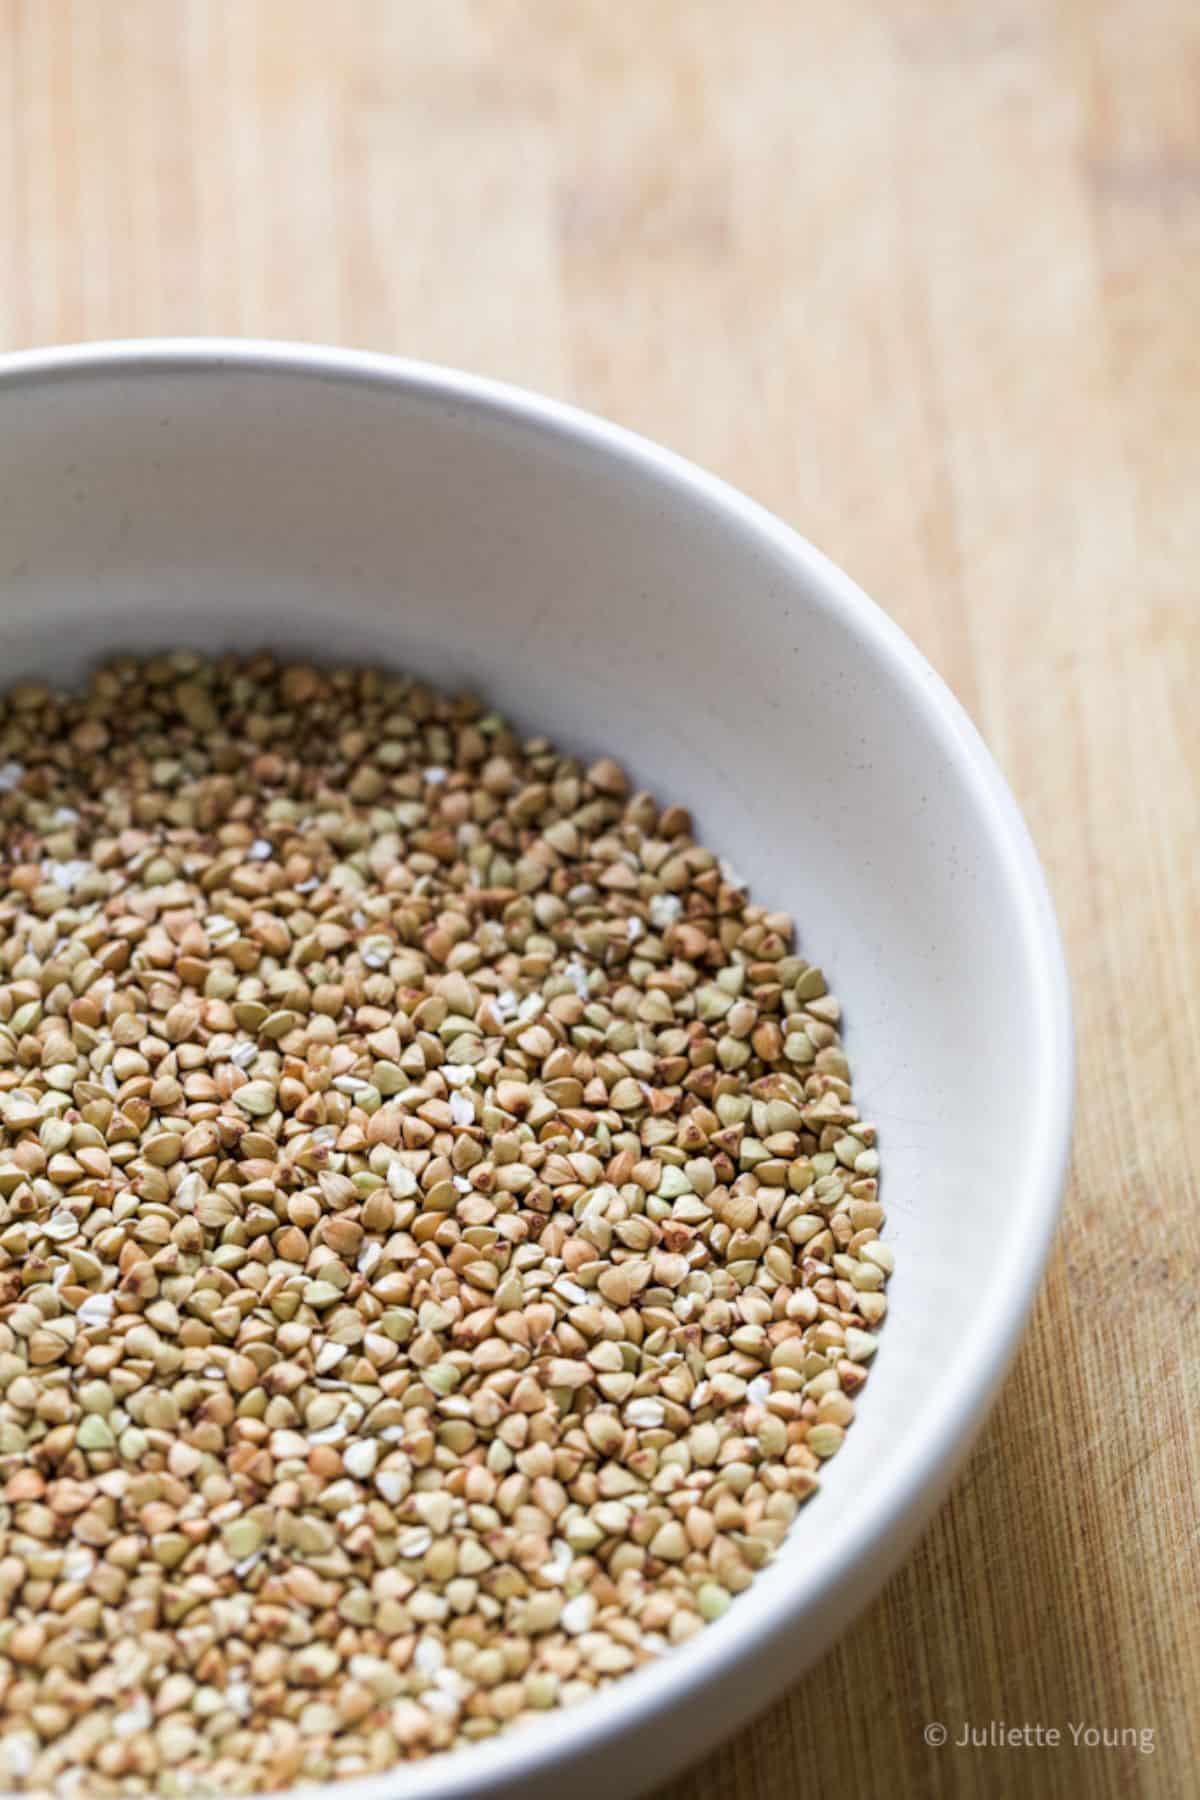
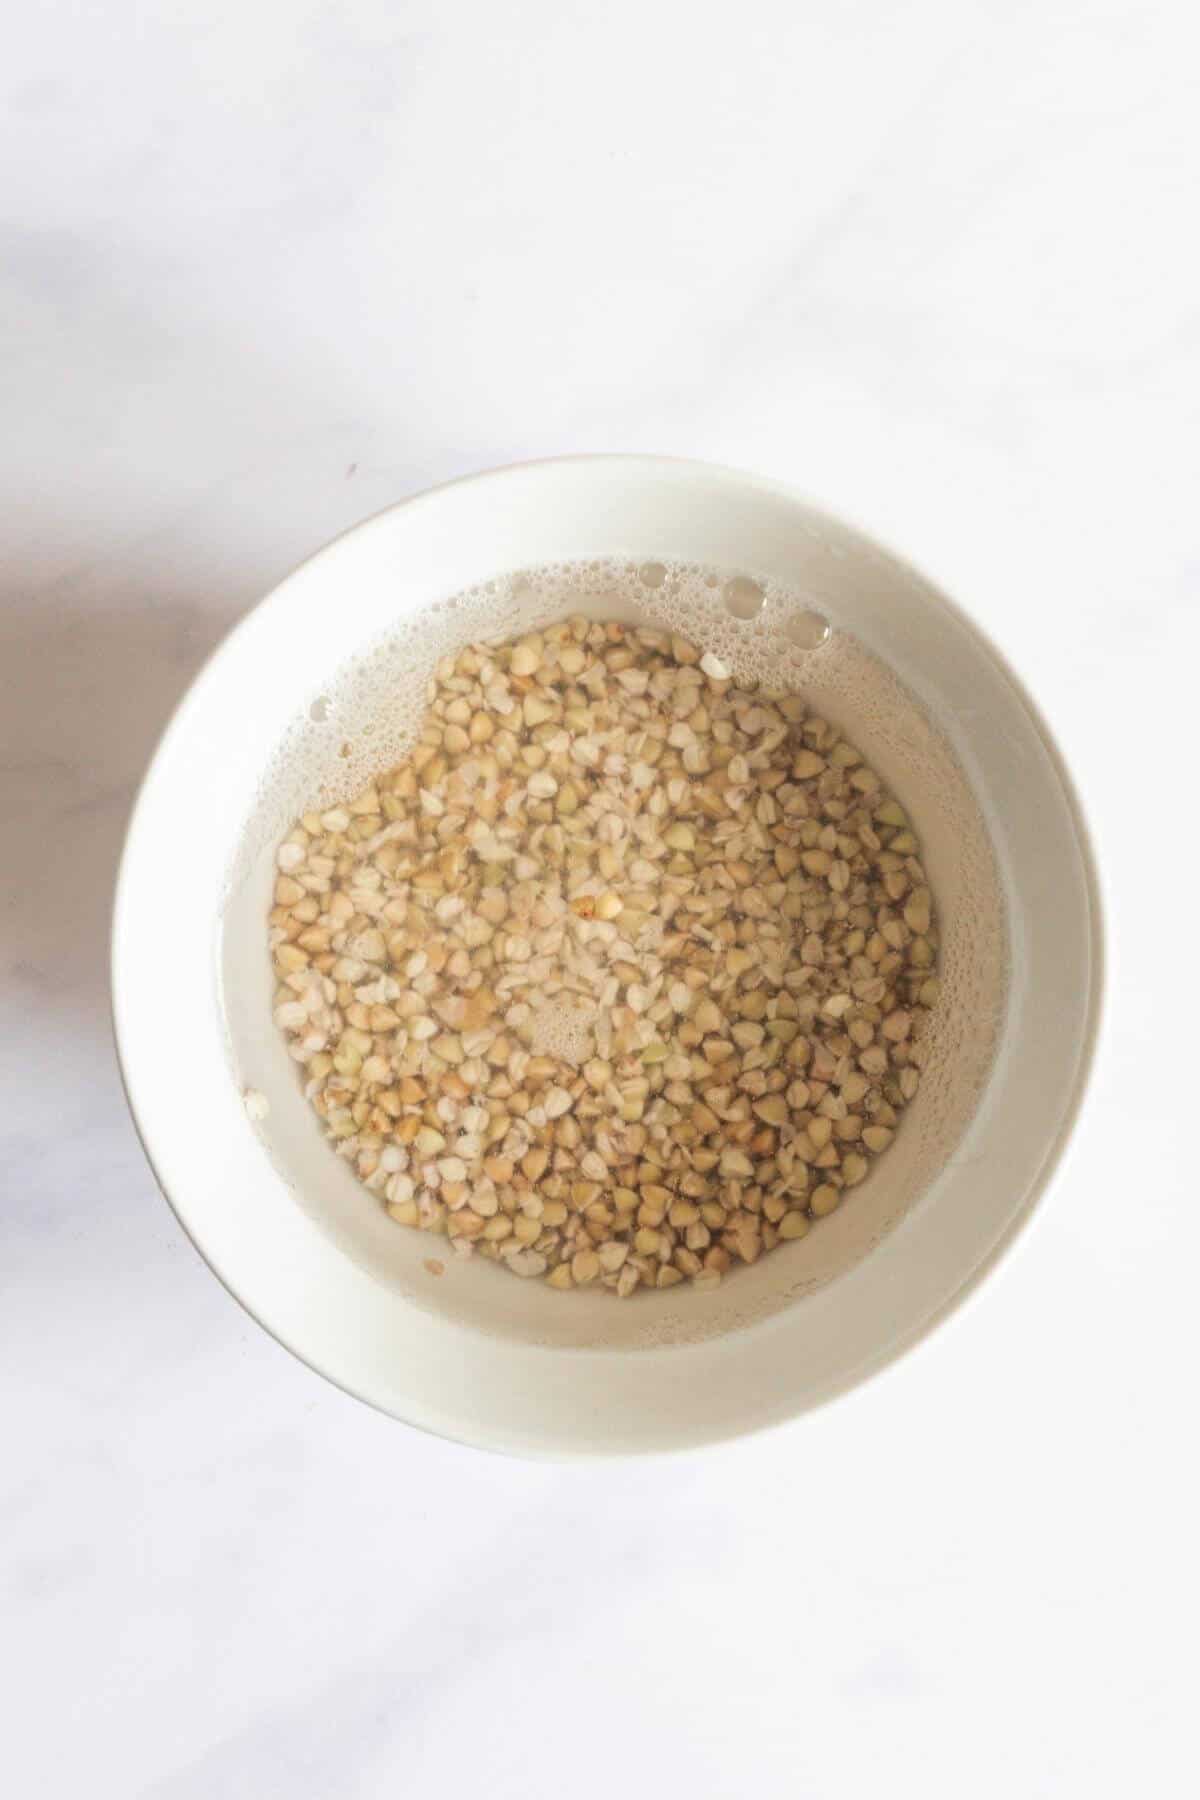
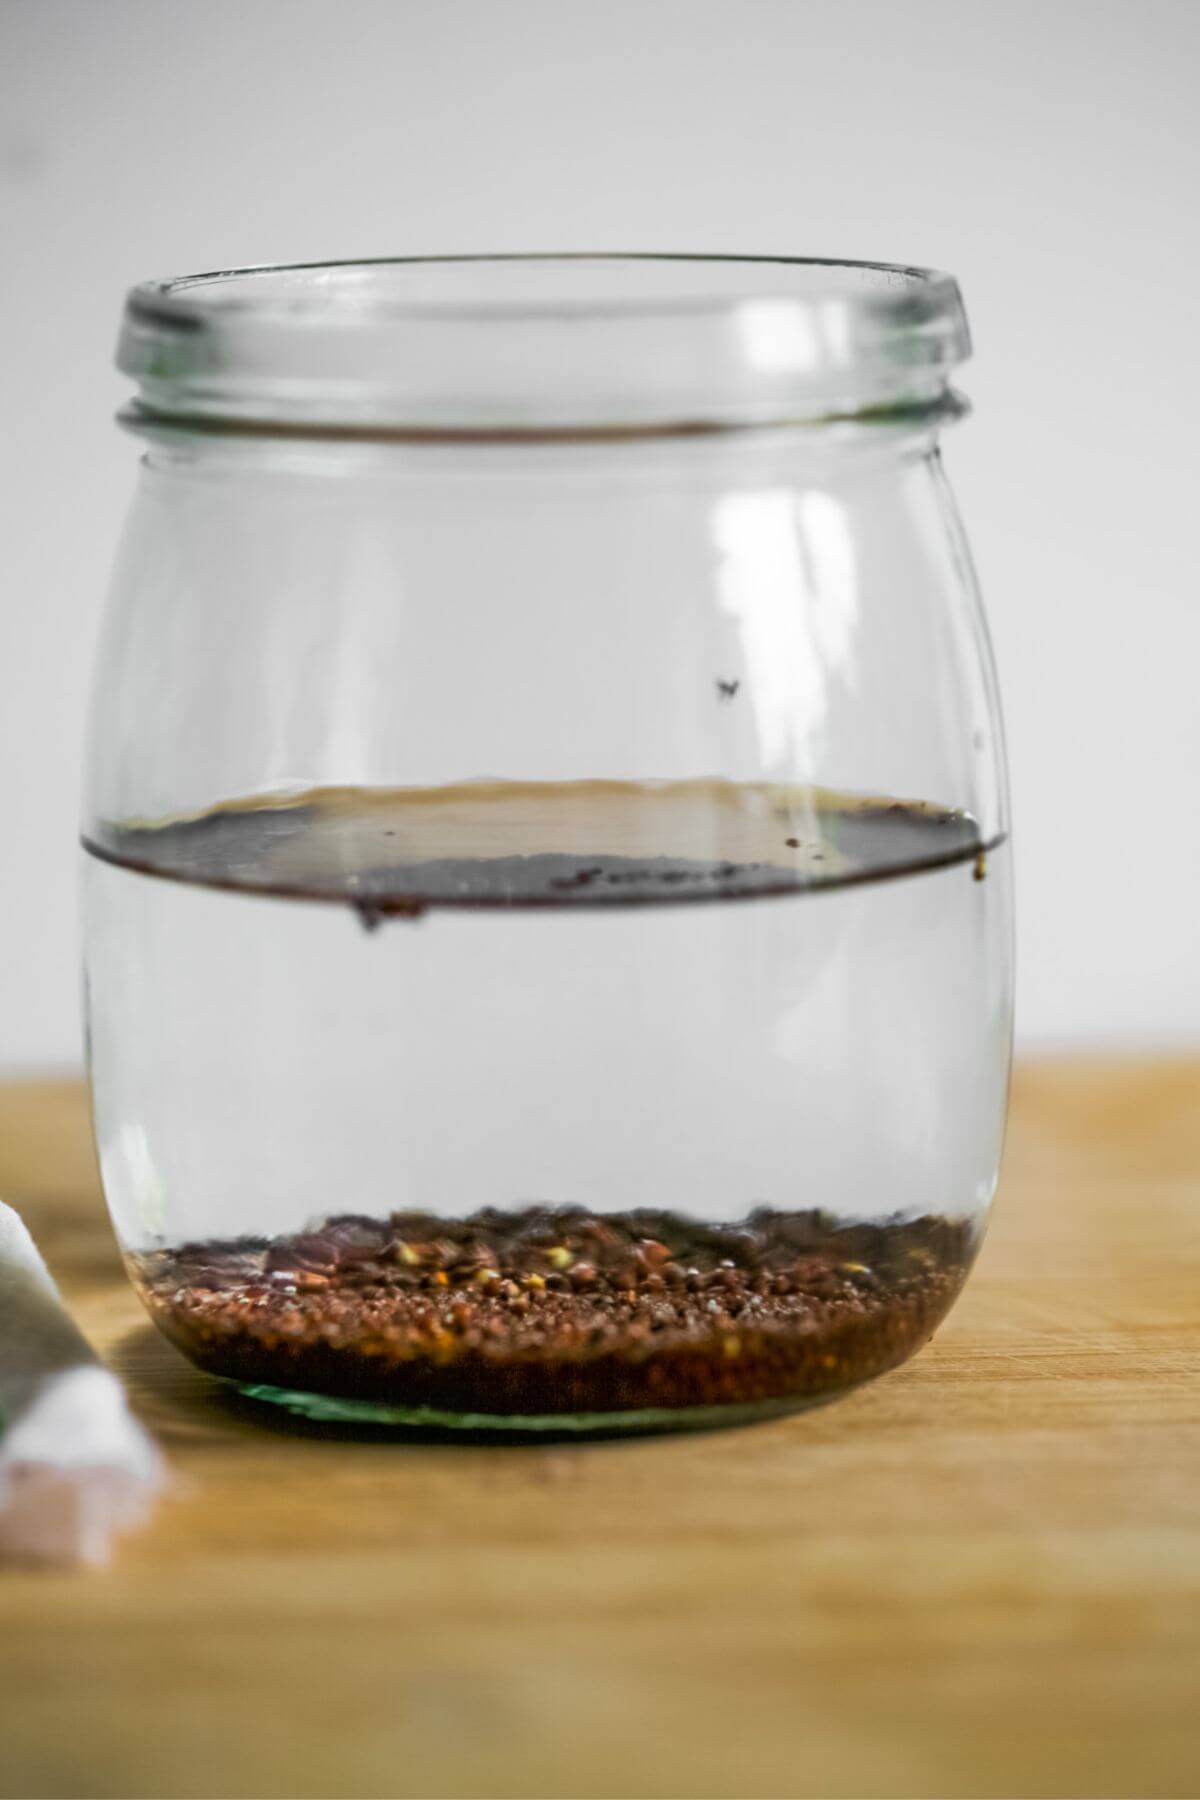
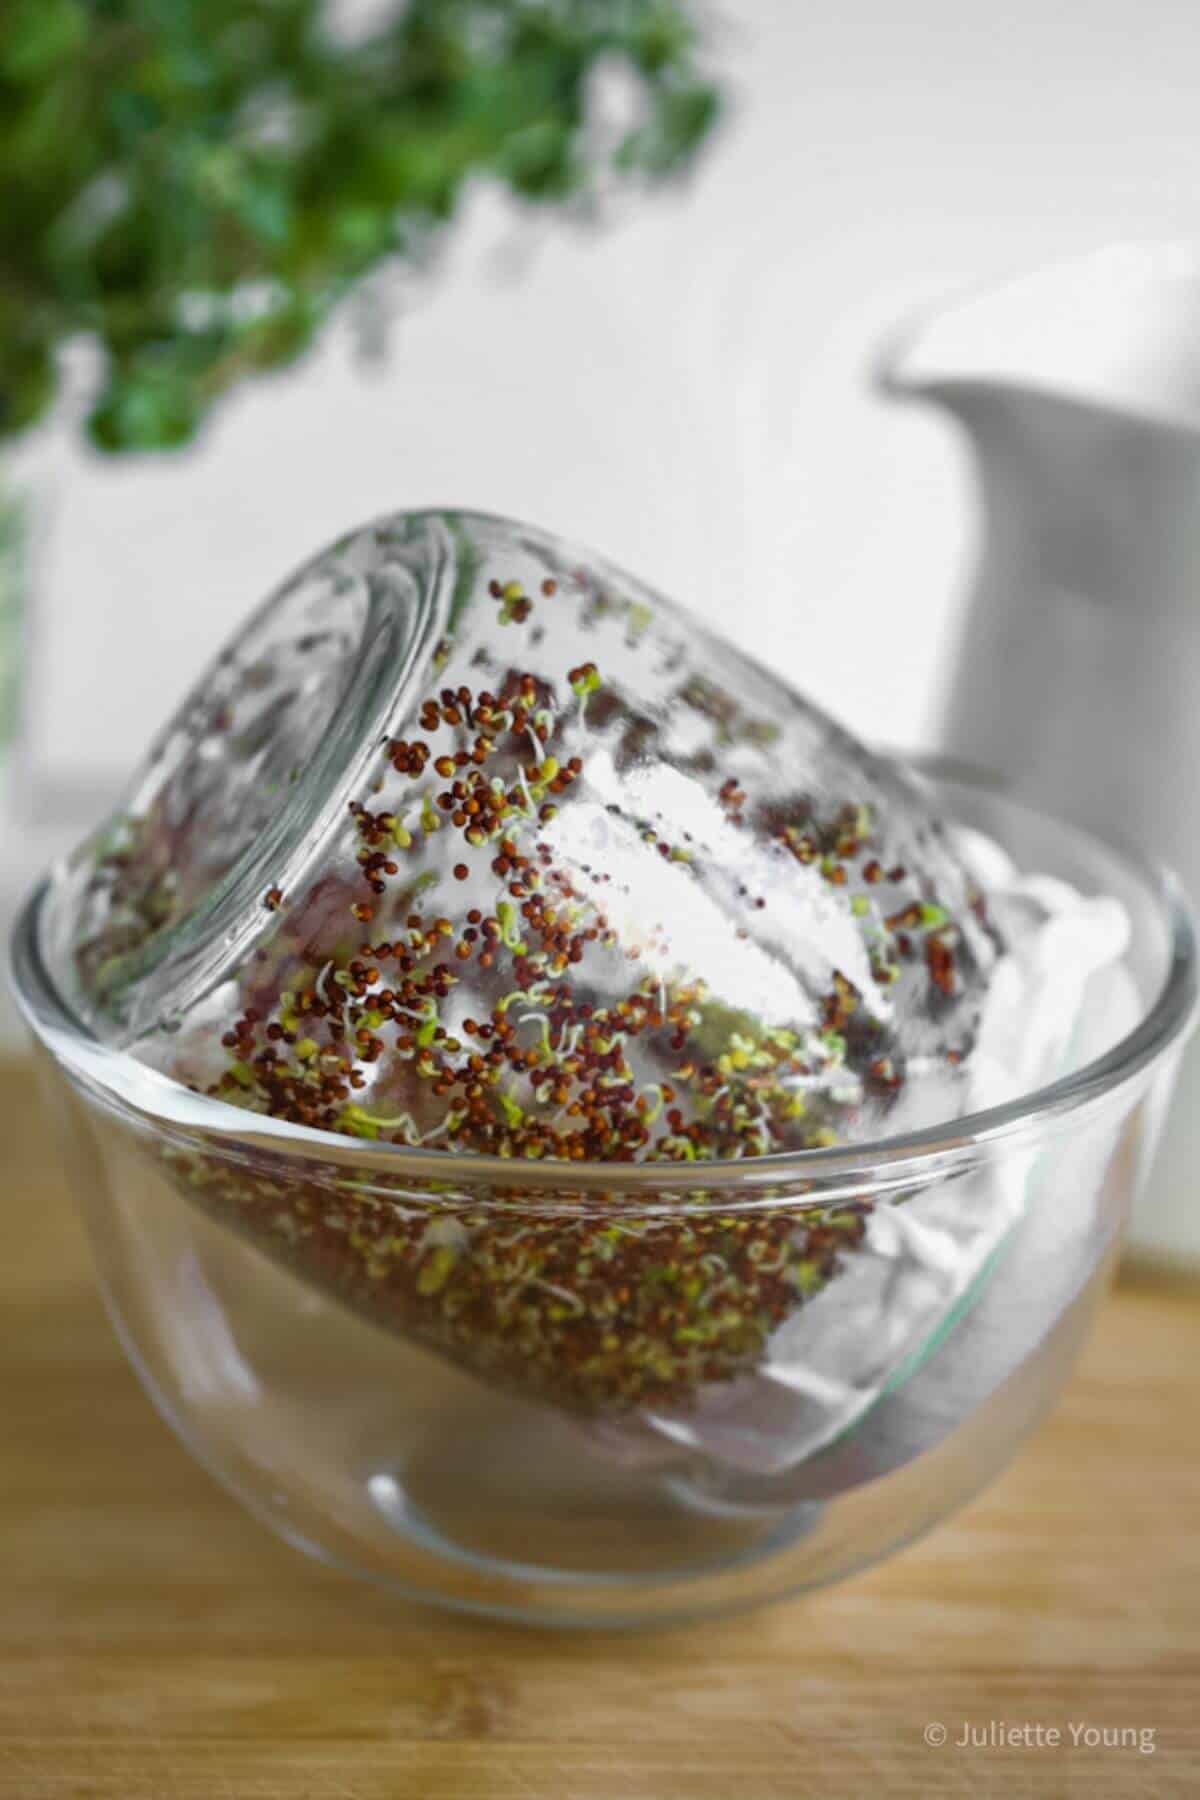
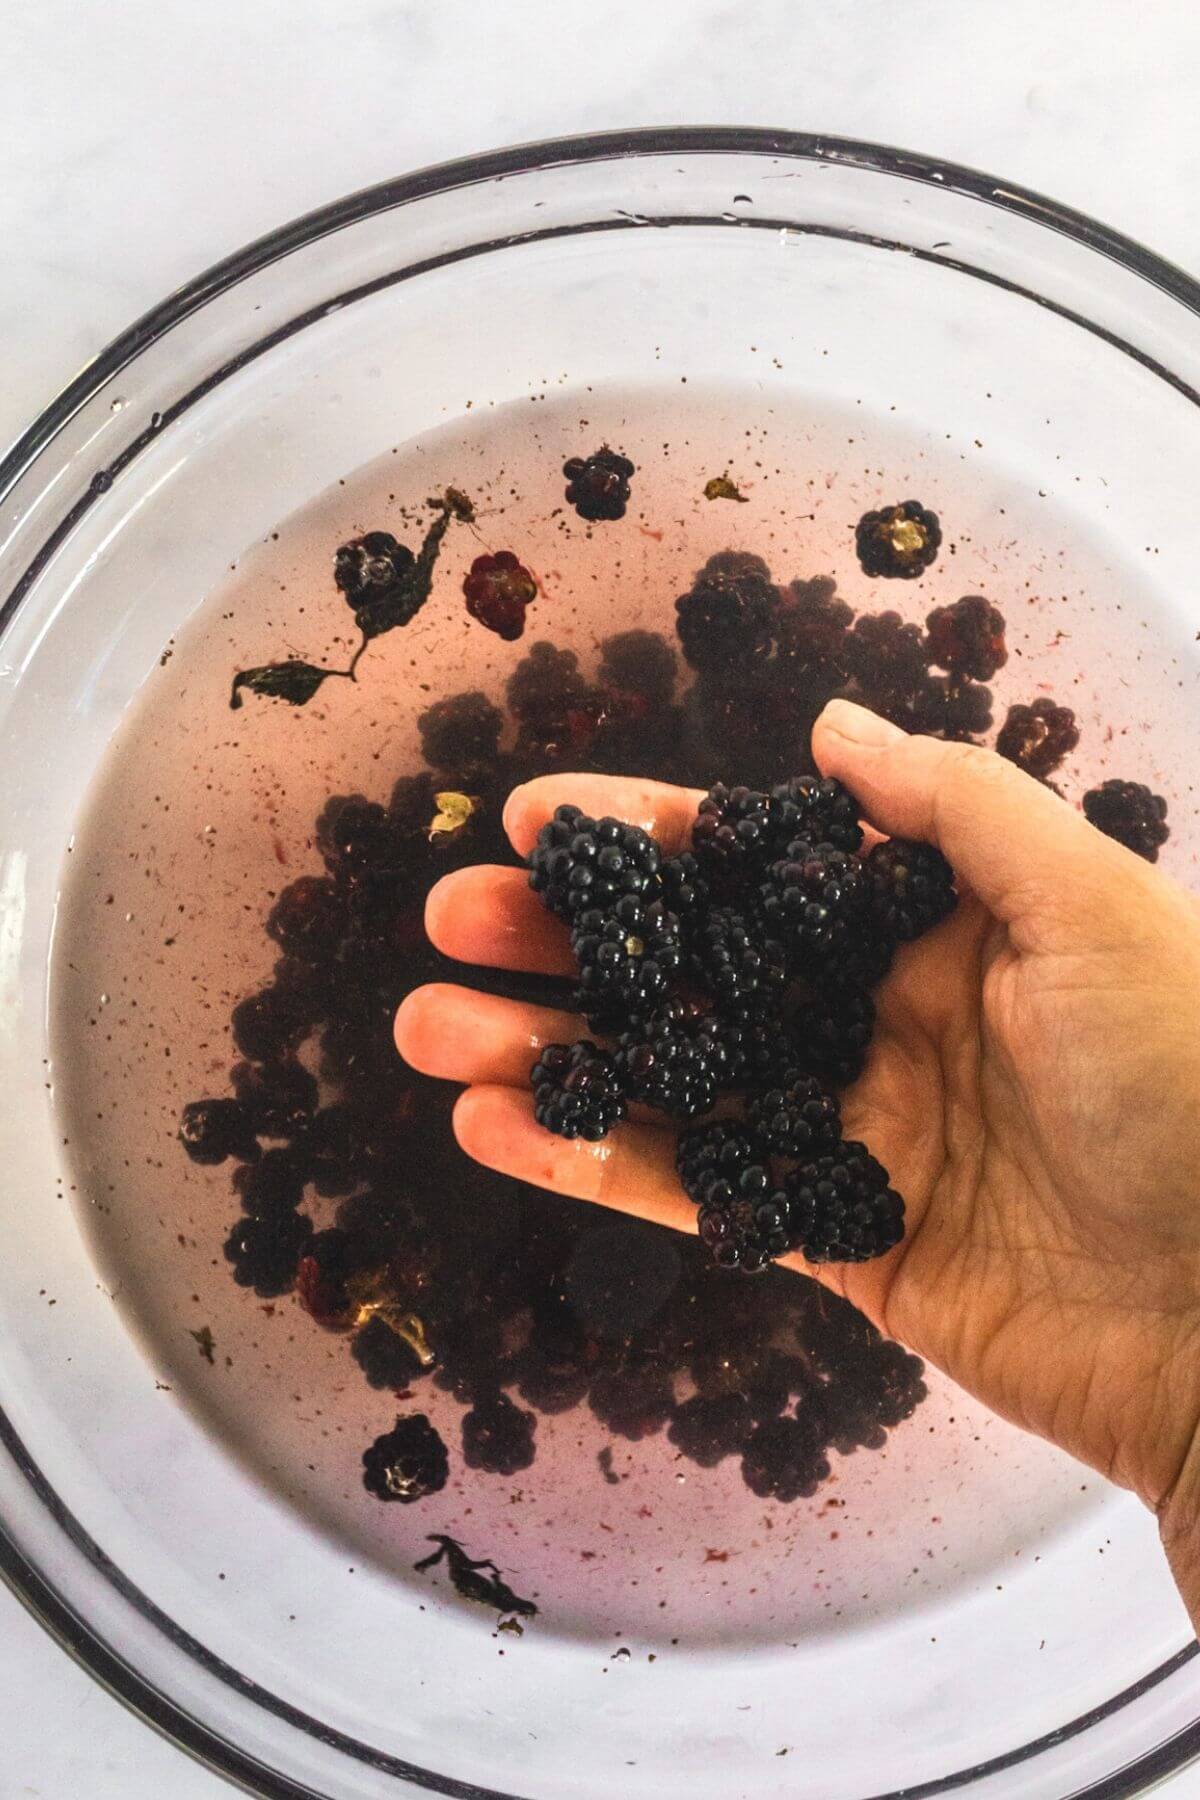
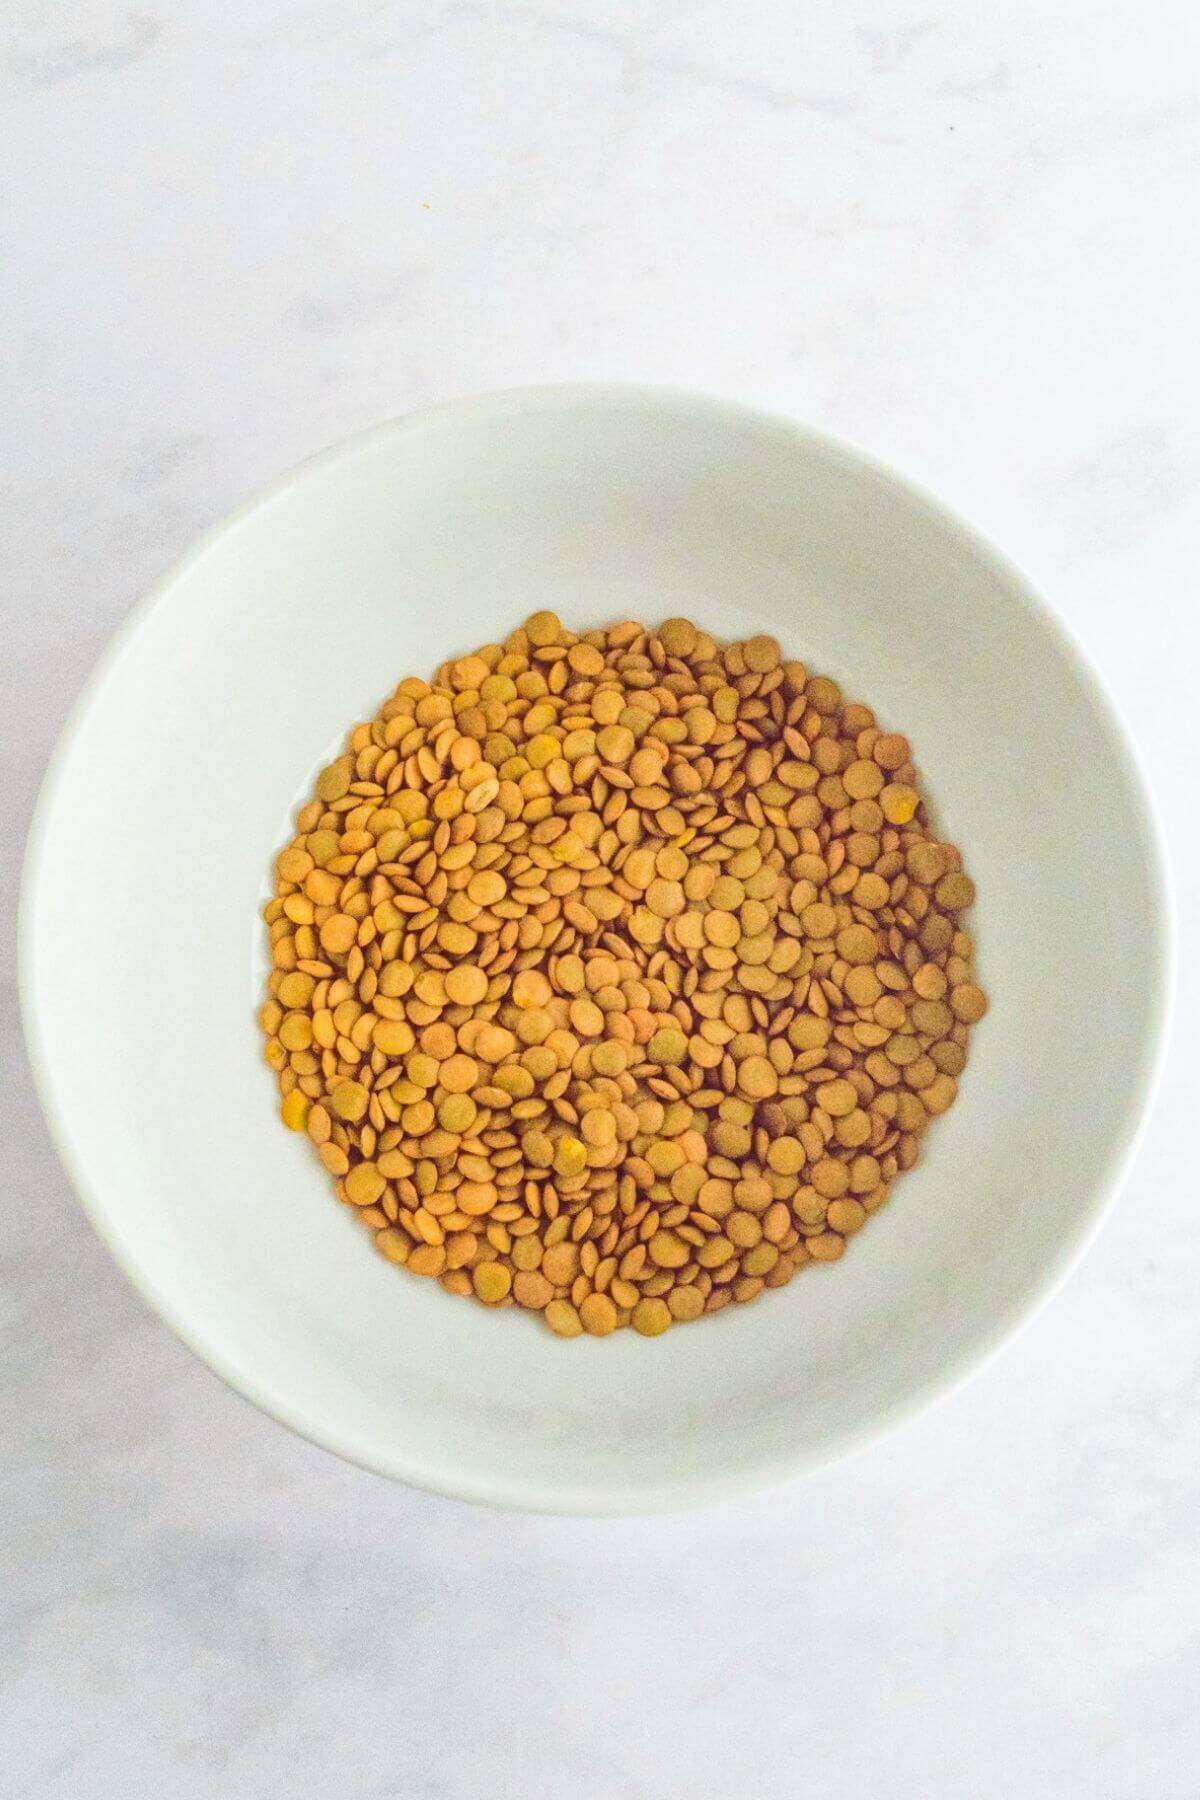
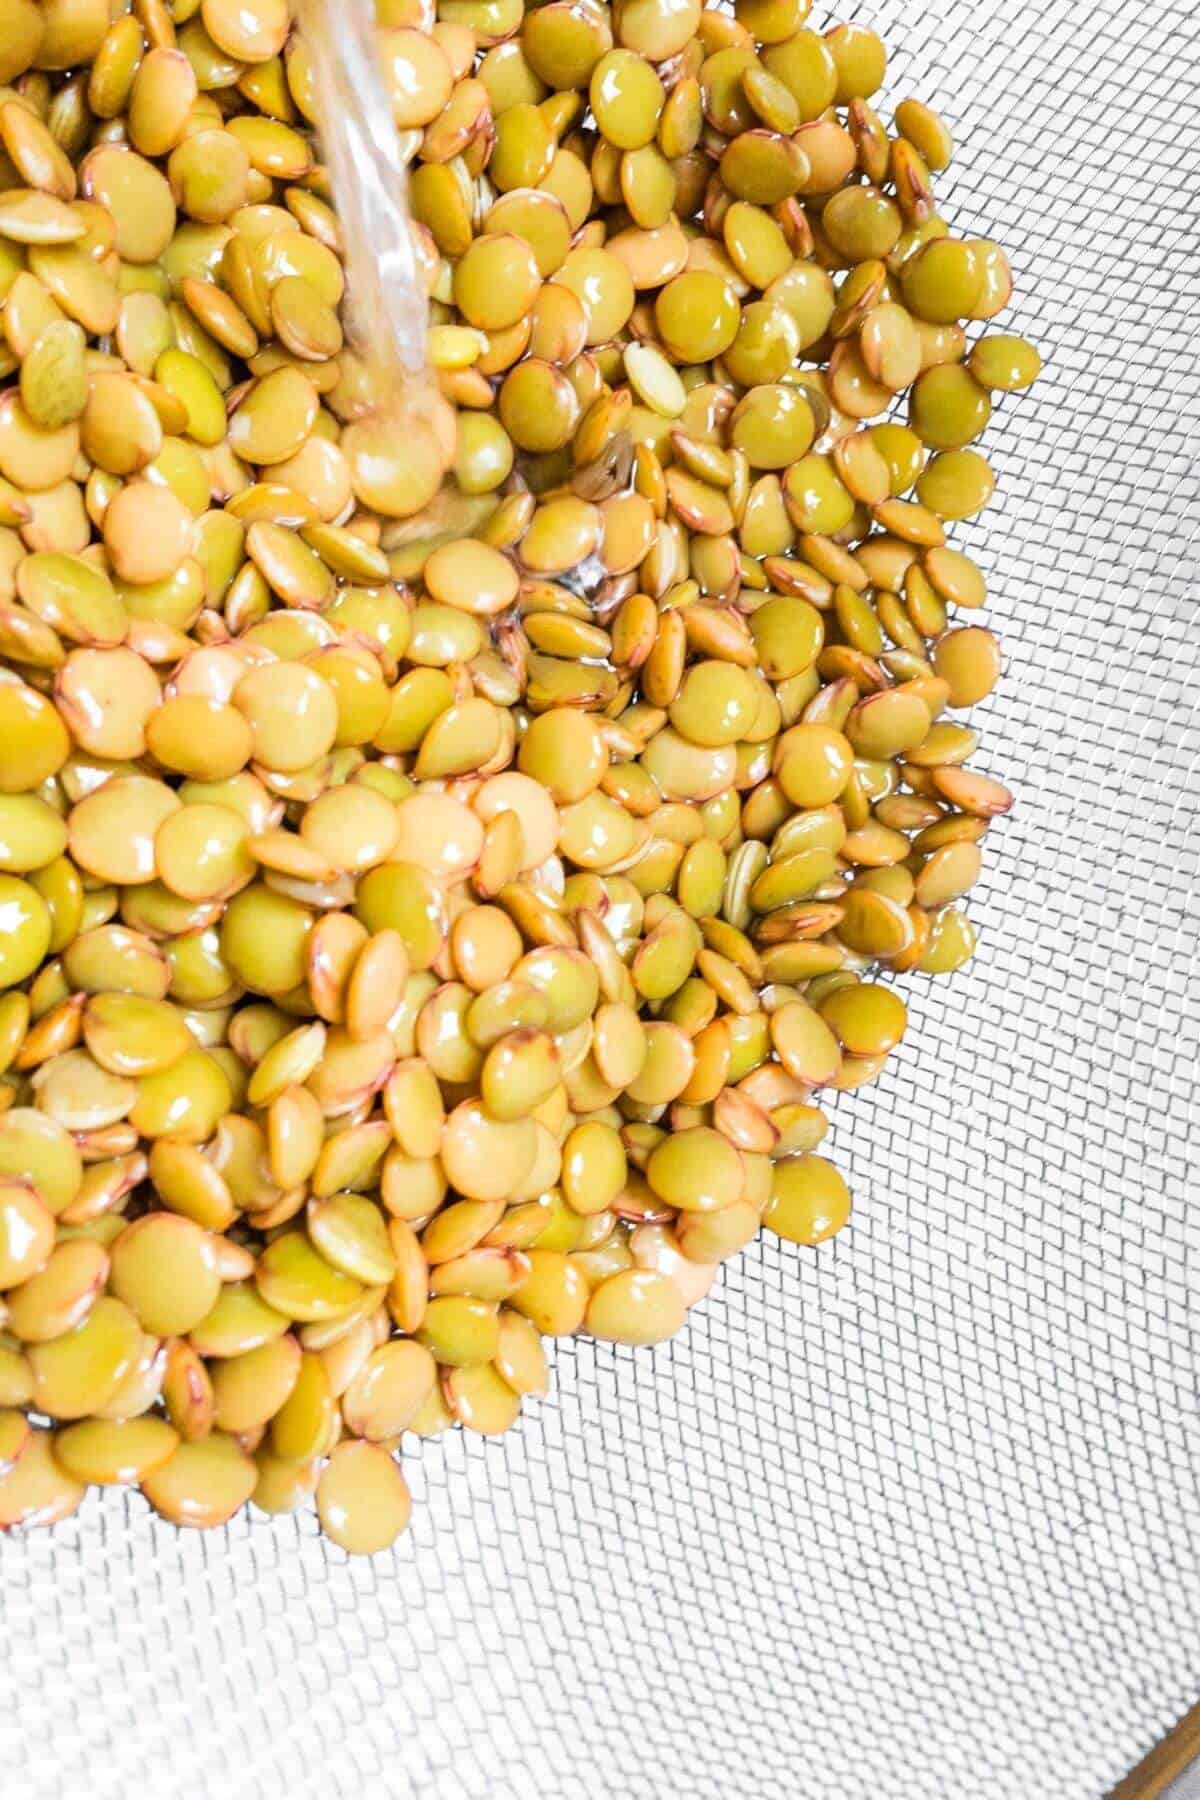
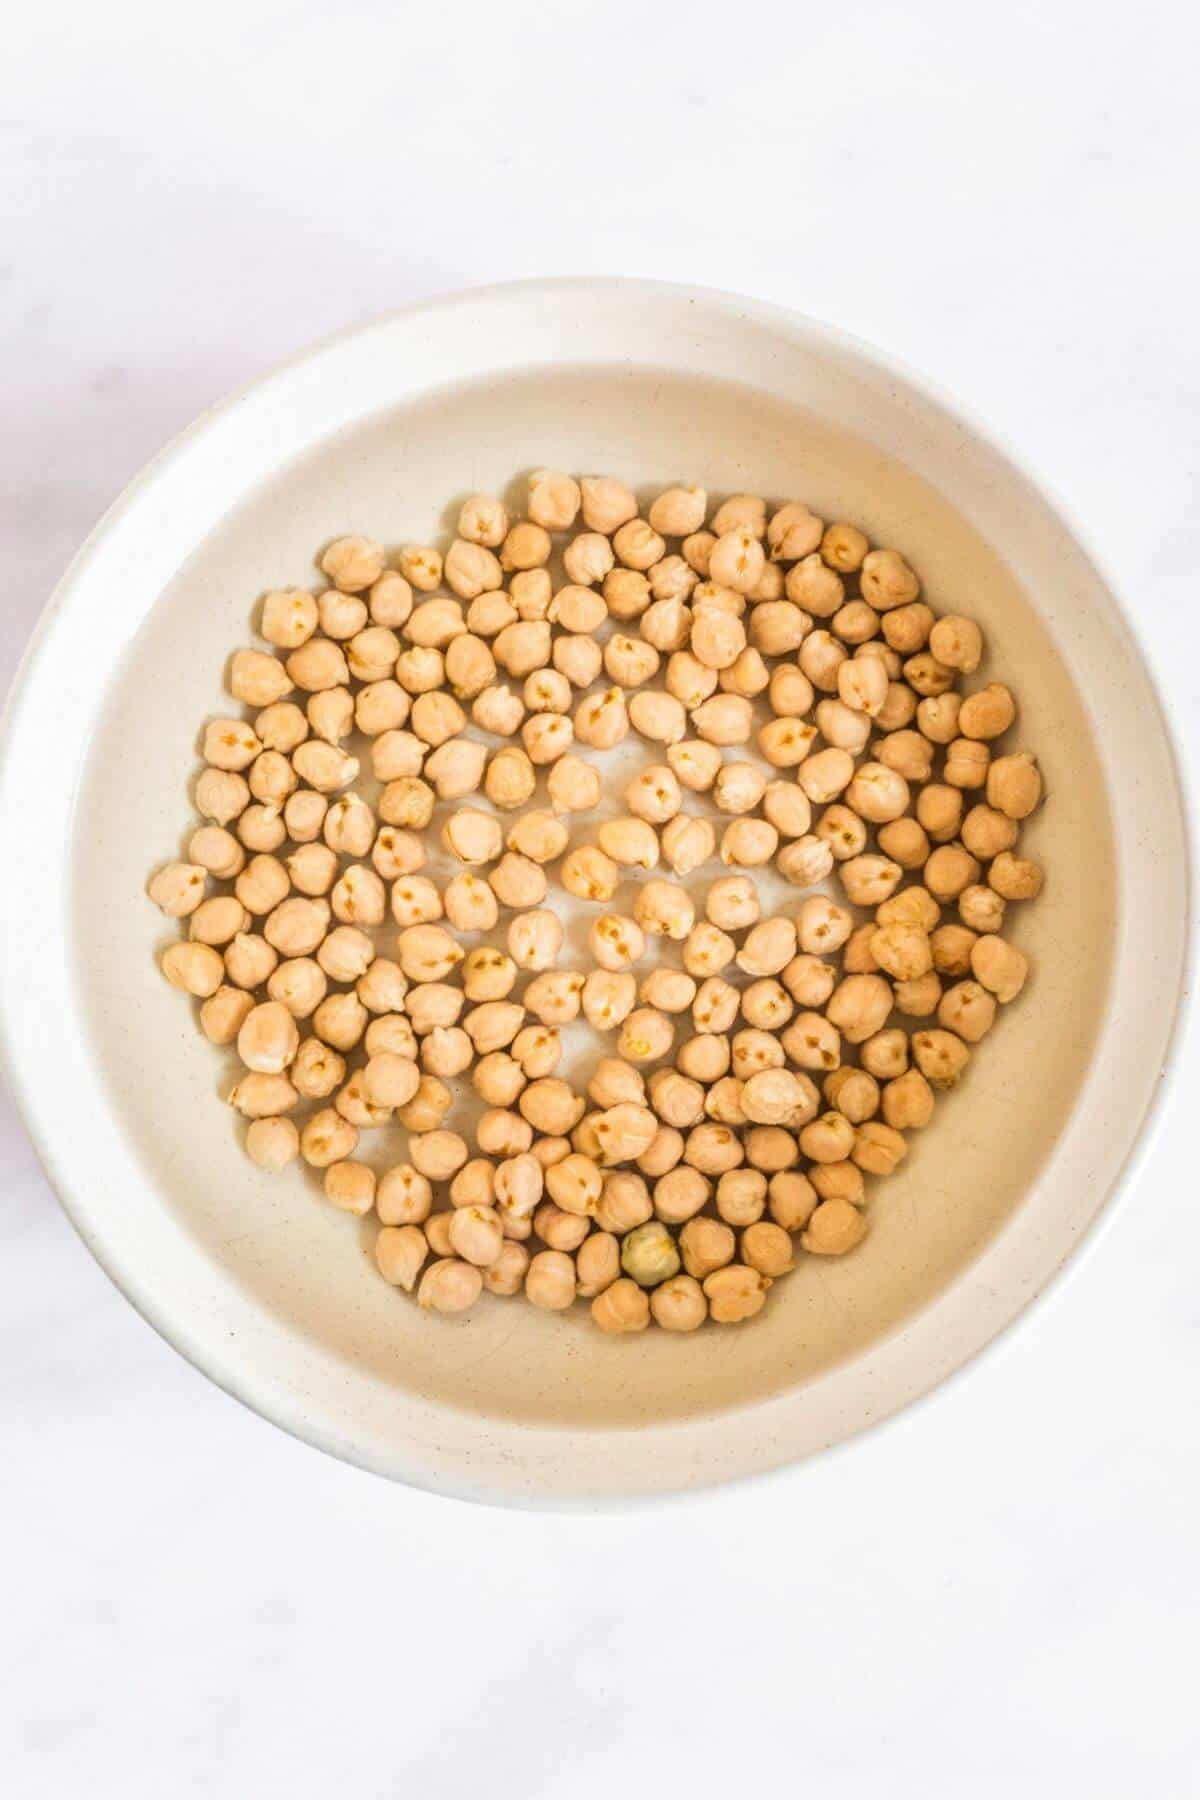
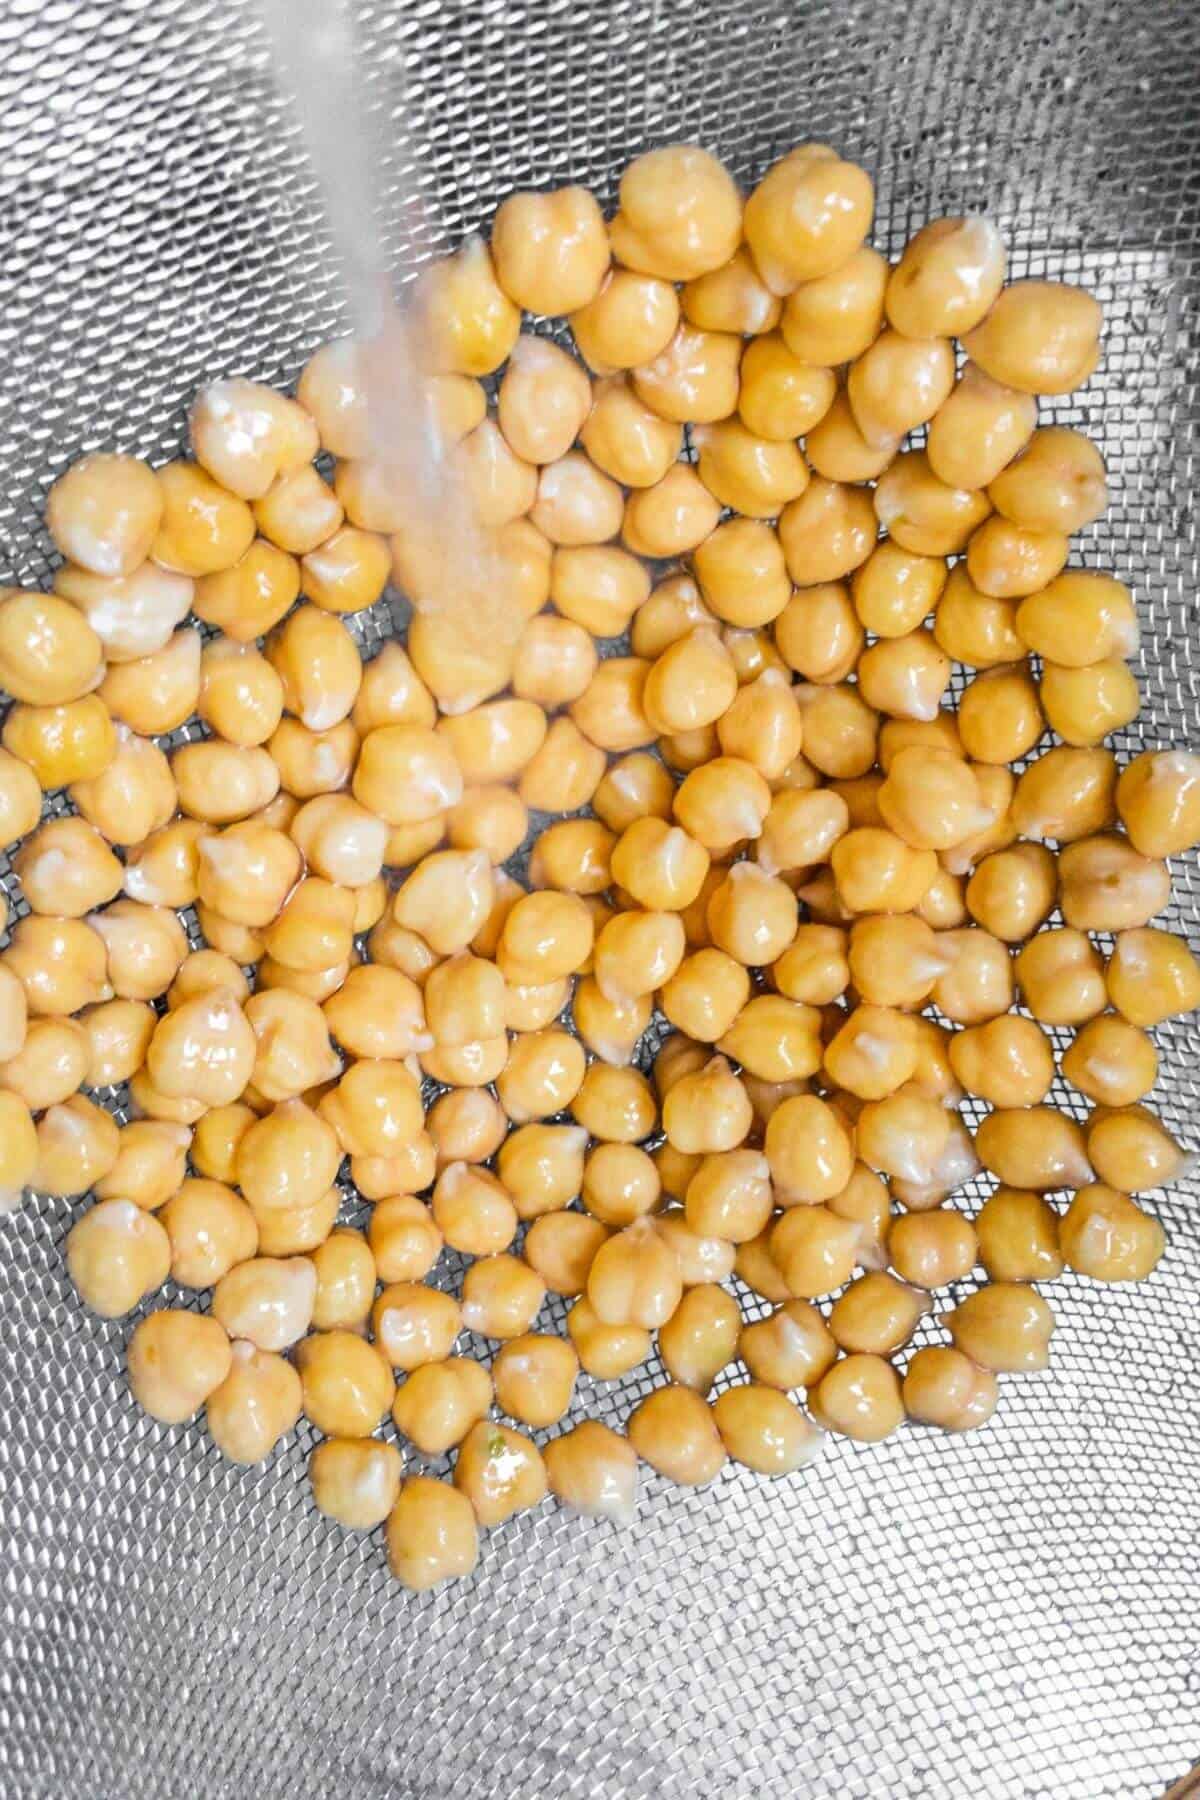
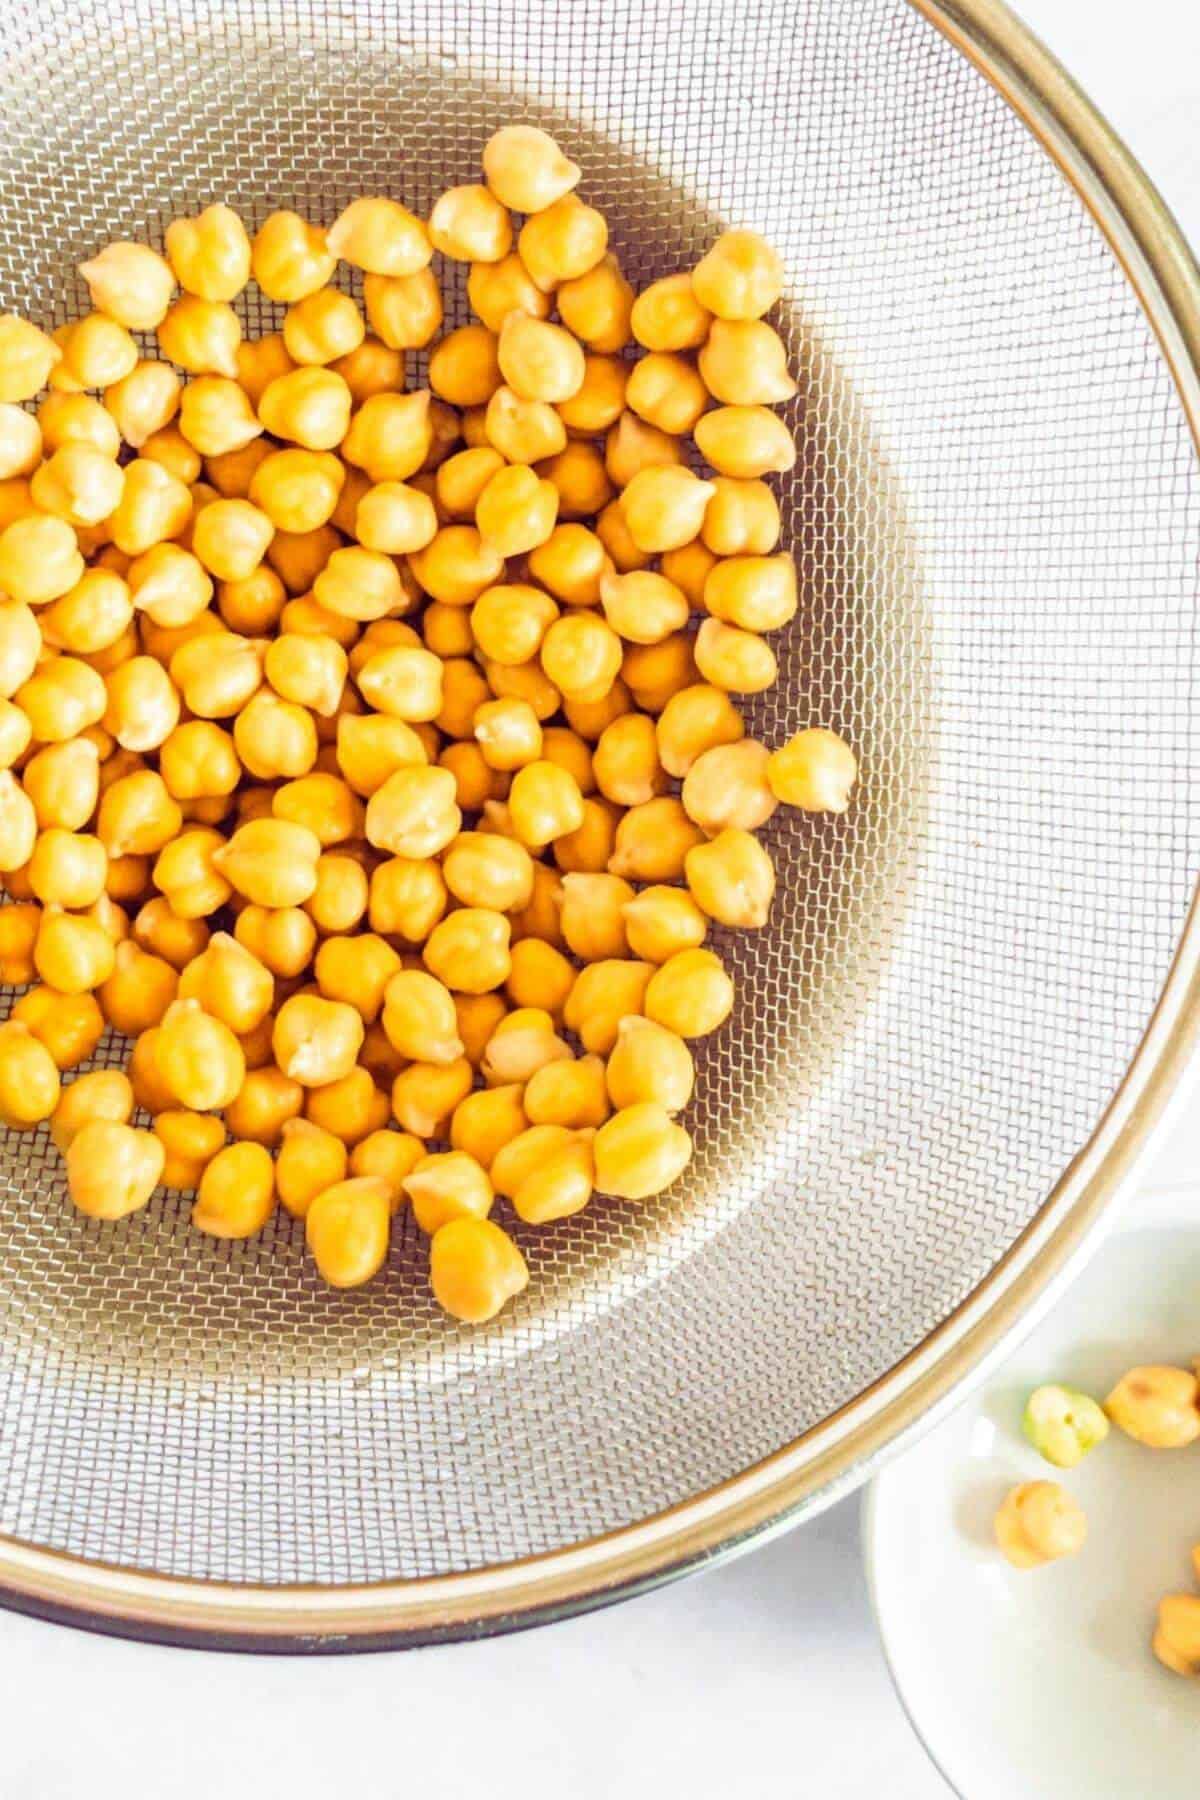
Step 1. Clean. Add sea moss to a bowl and top with spring water. Massage with your fingers for a few minutes to clean and remove any naturally occurring debris like sea salt, dirt or sand. Rinse then drain.
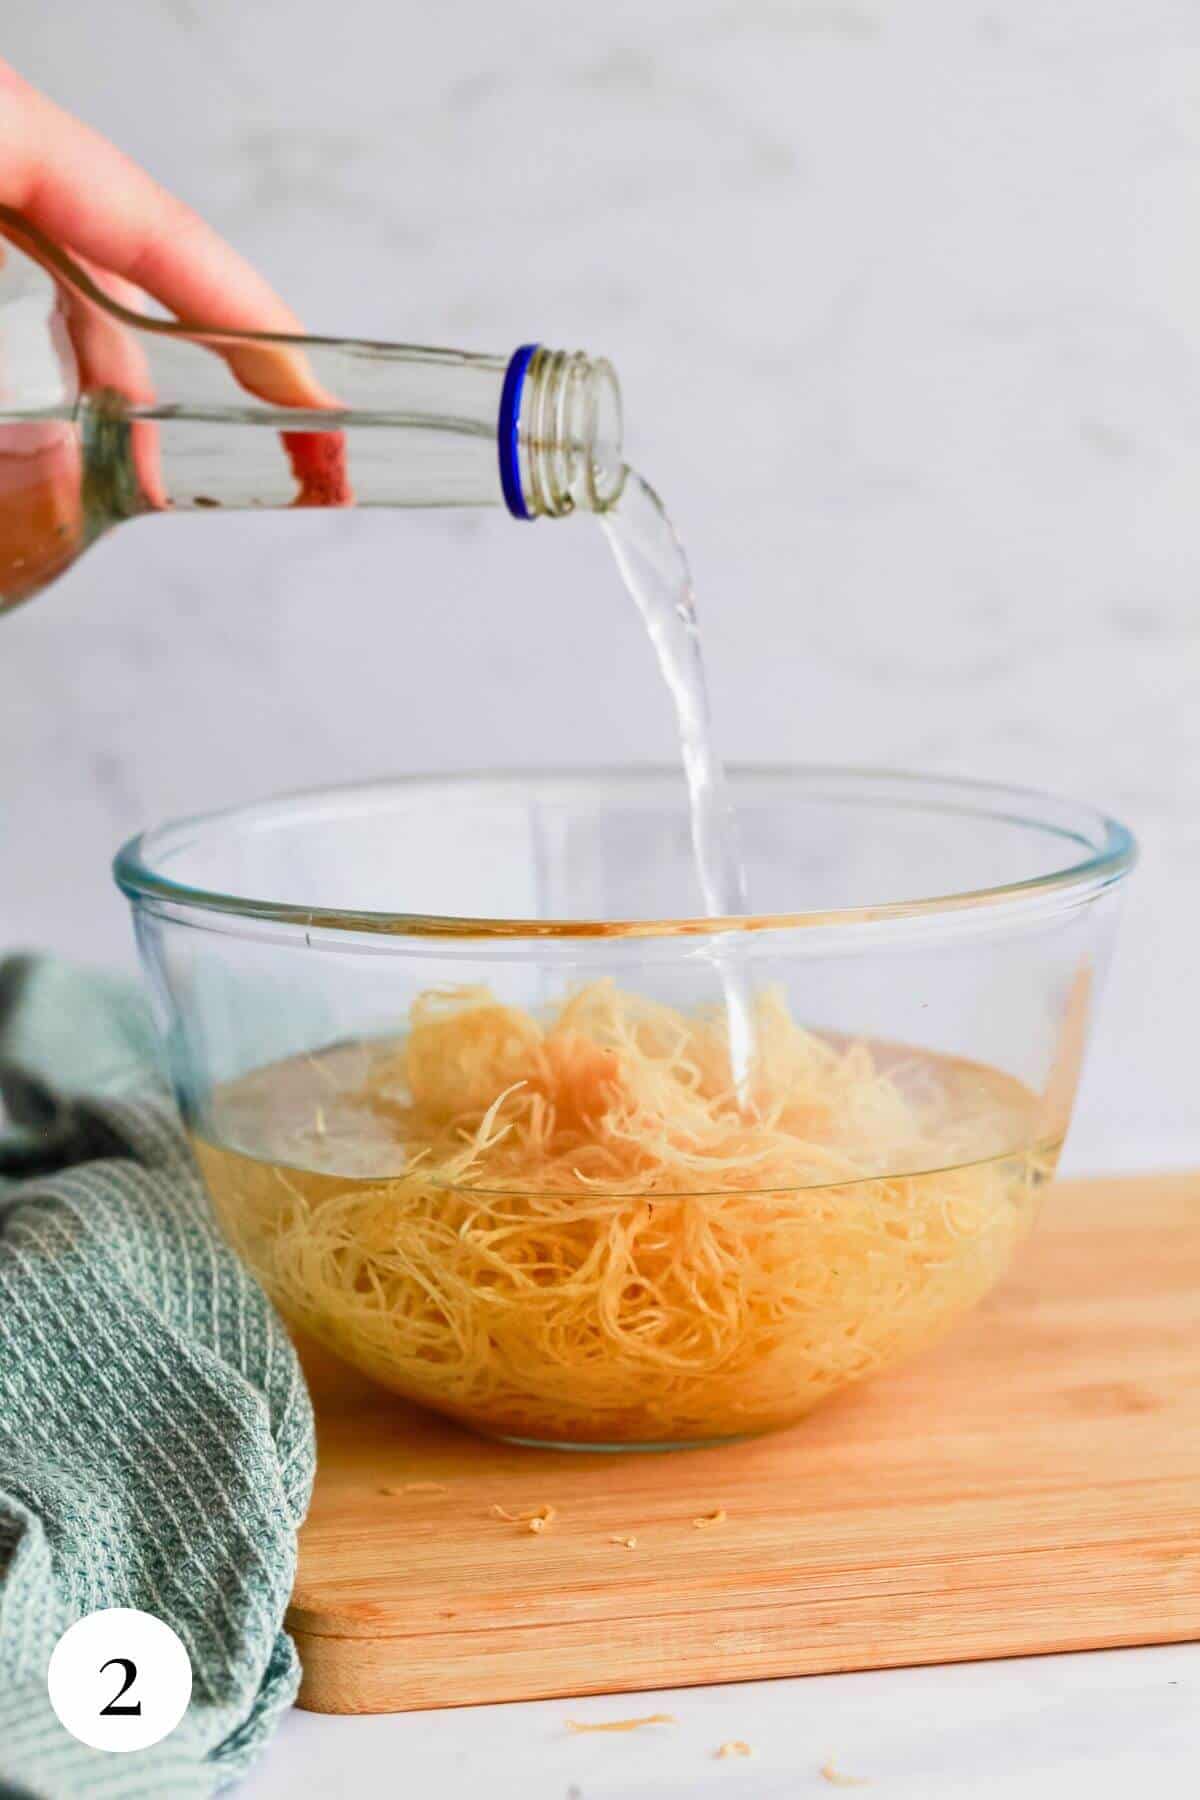
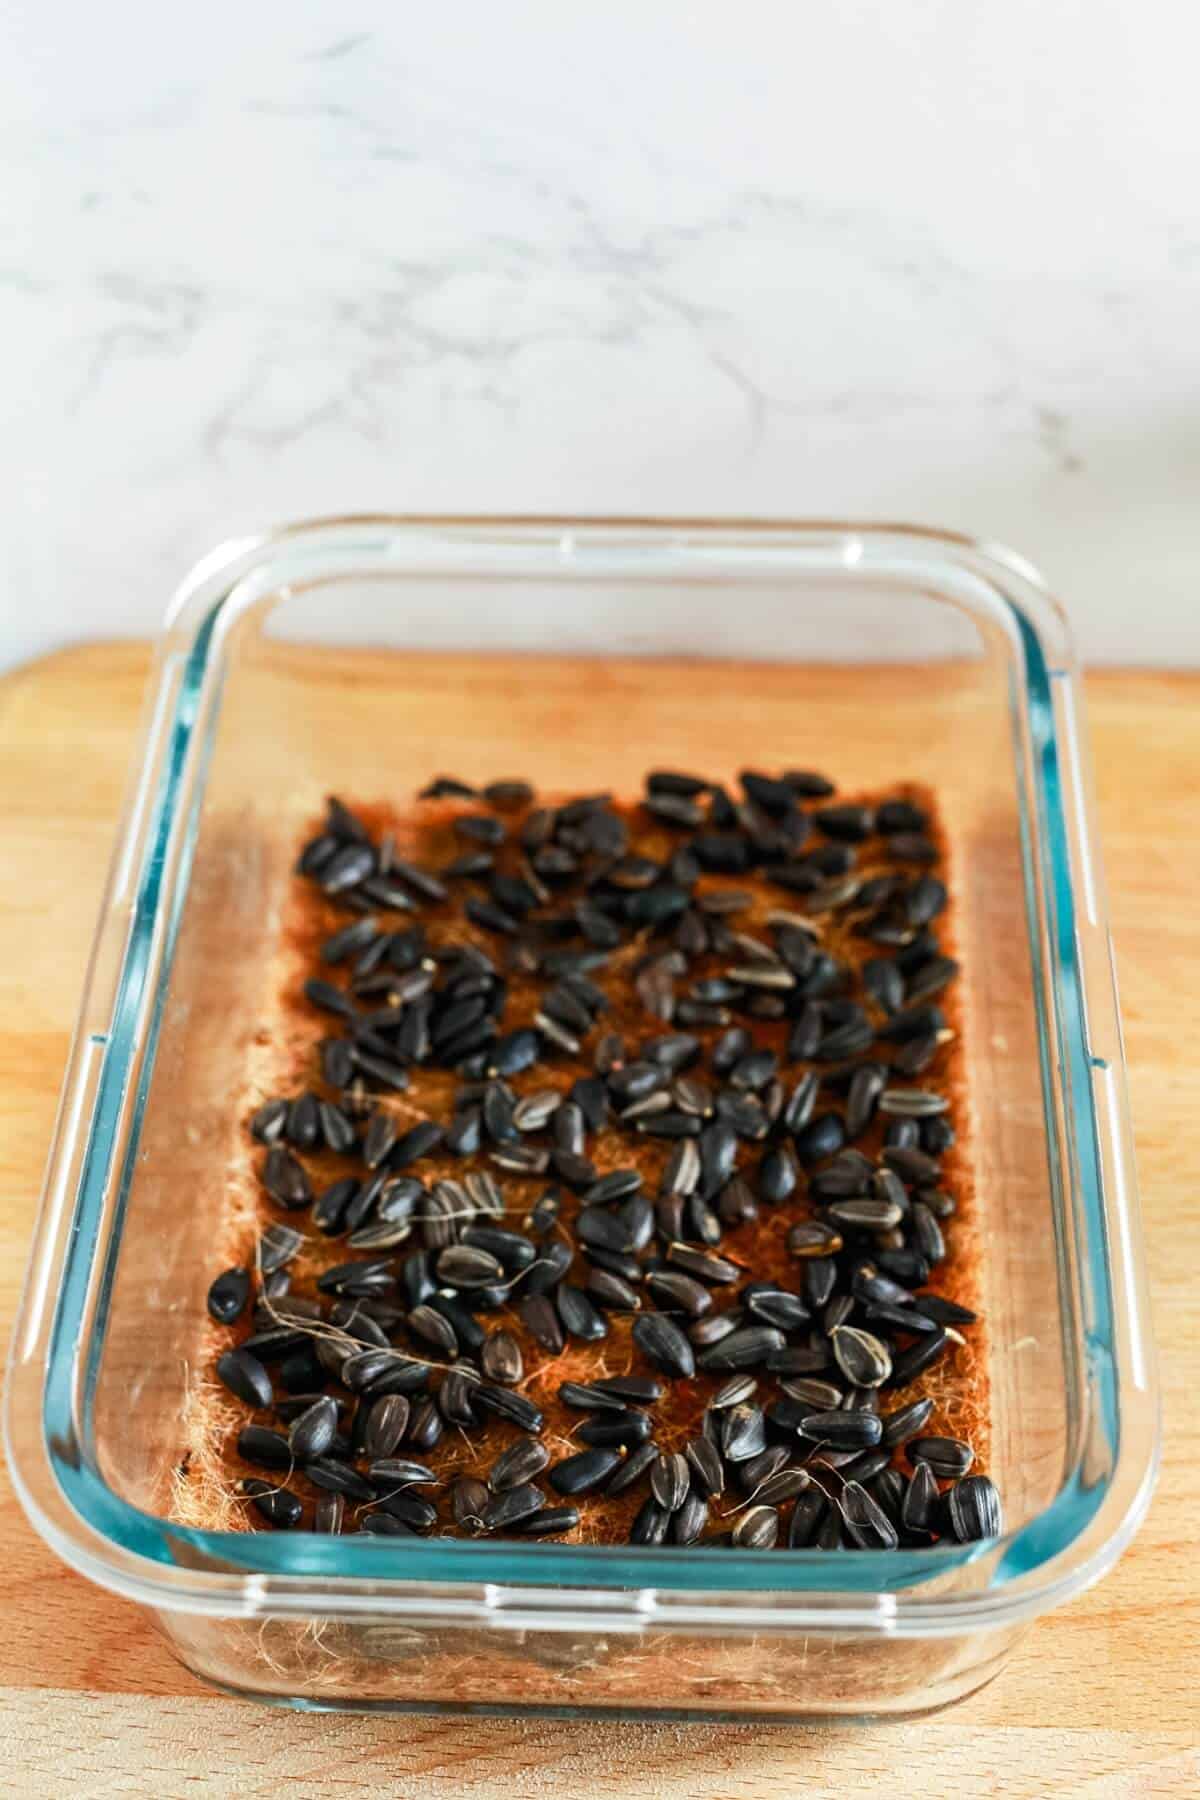
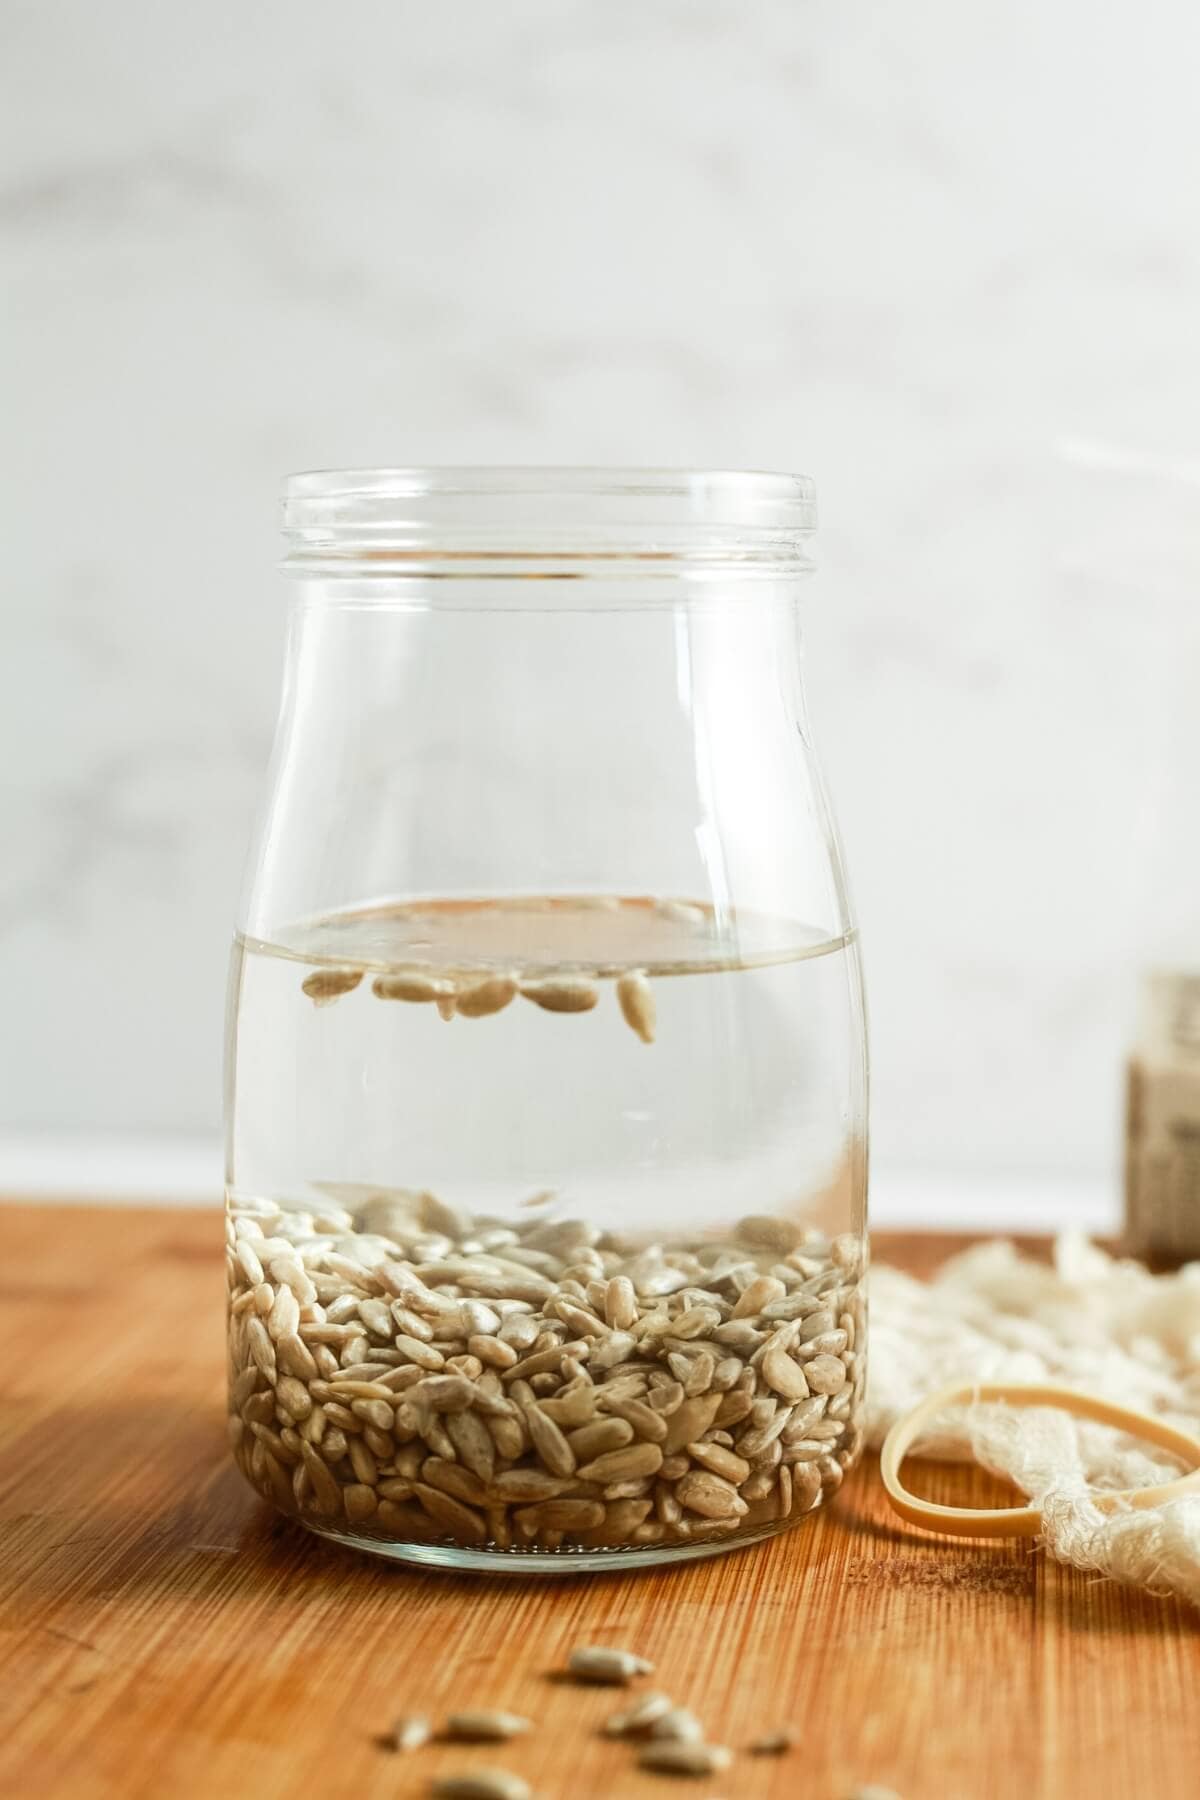
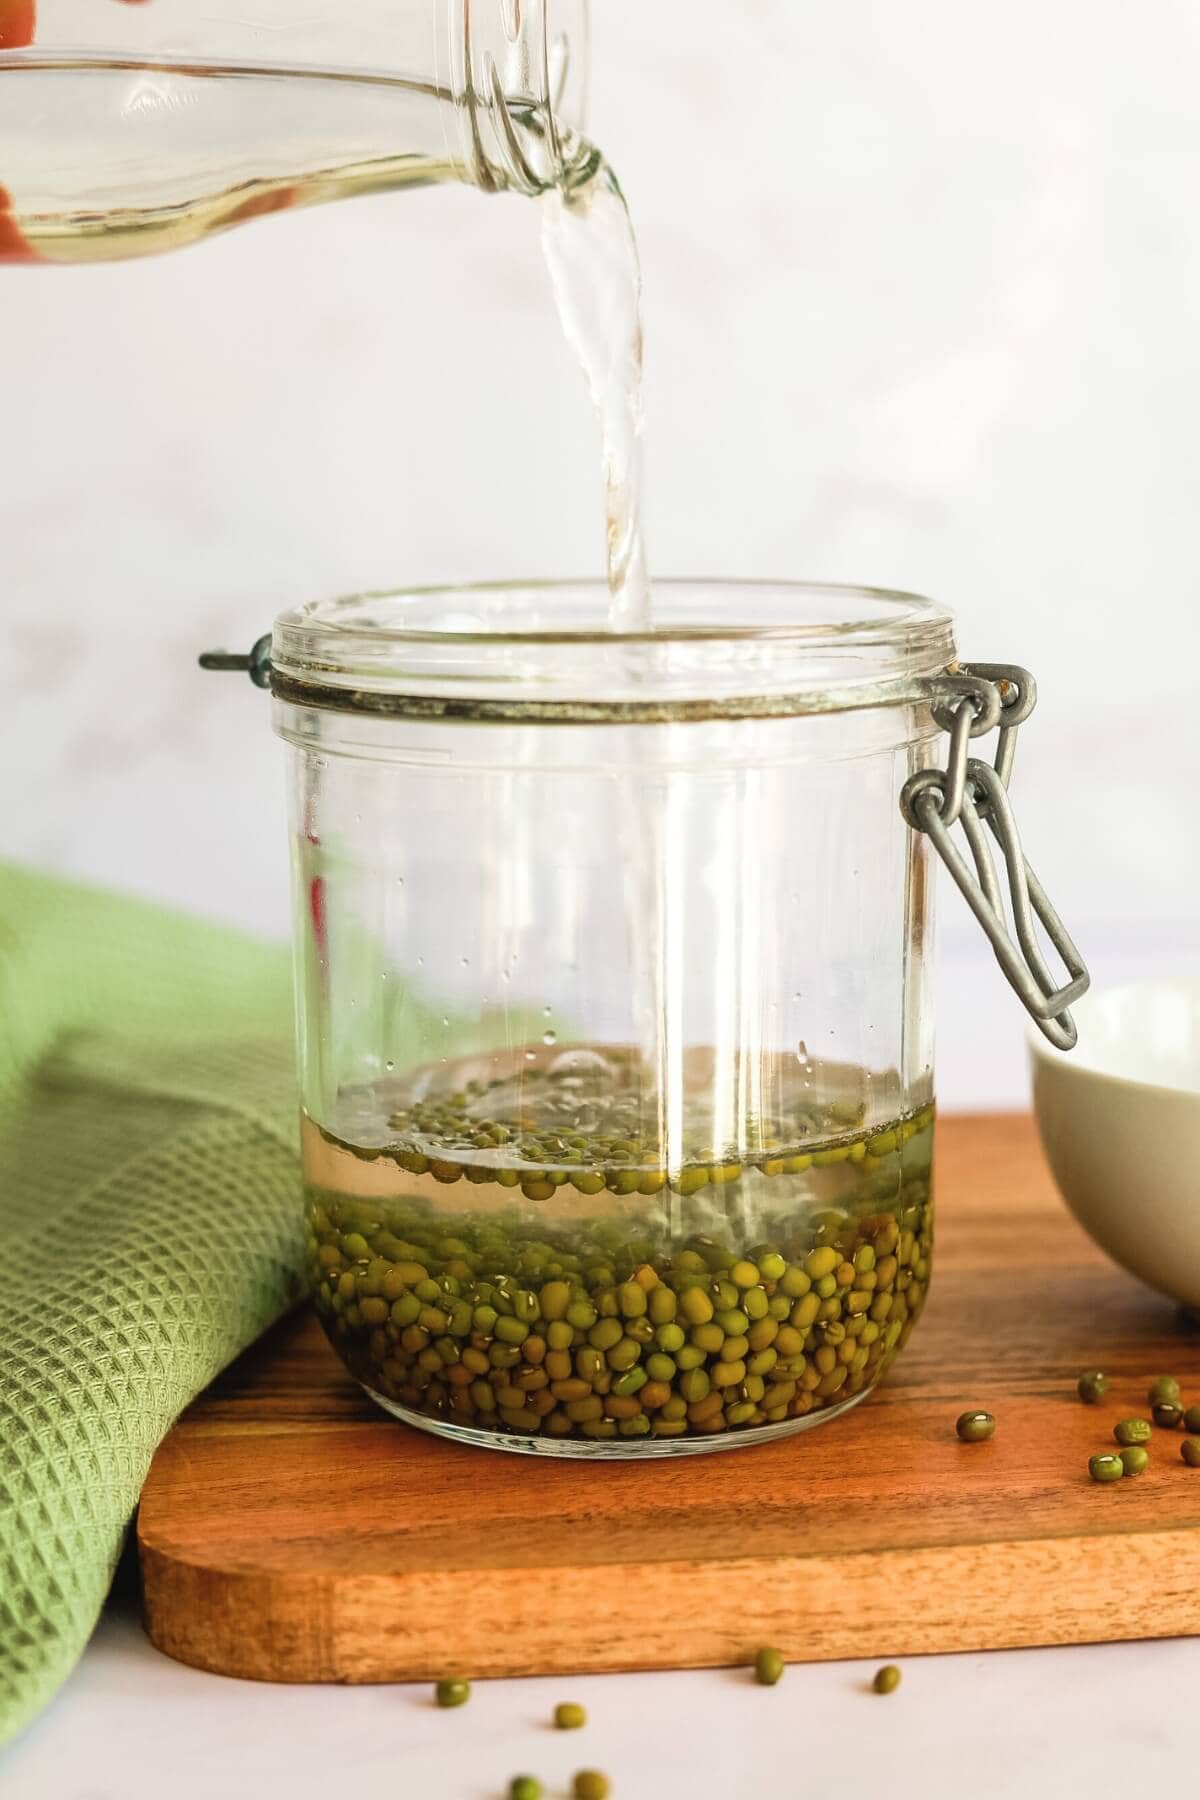
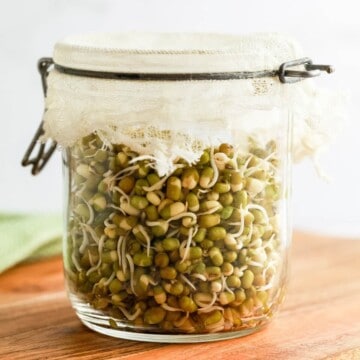
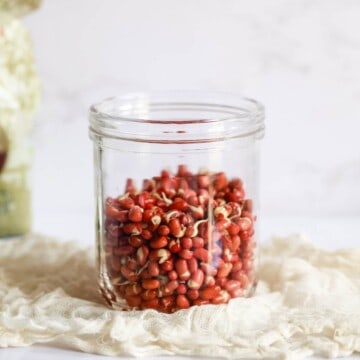
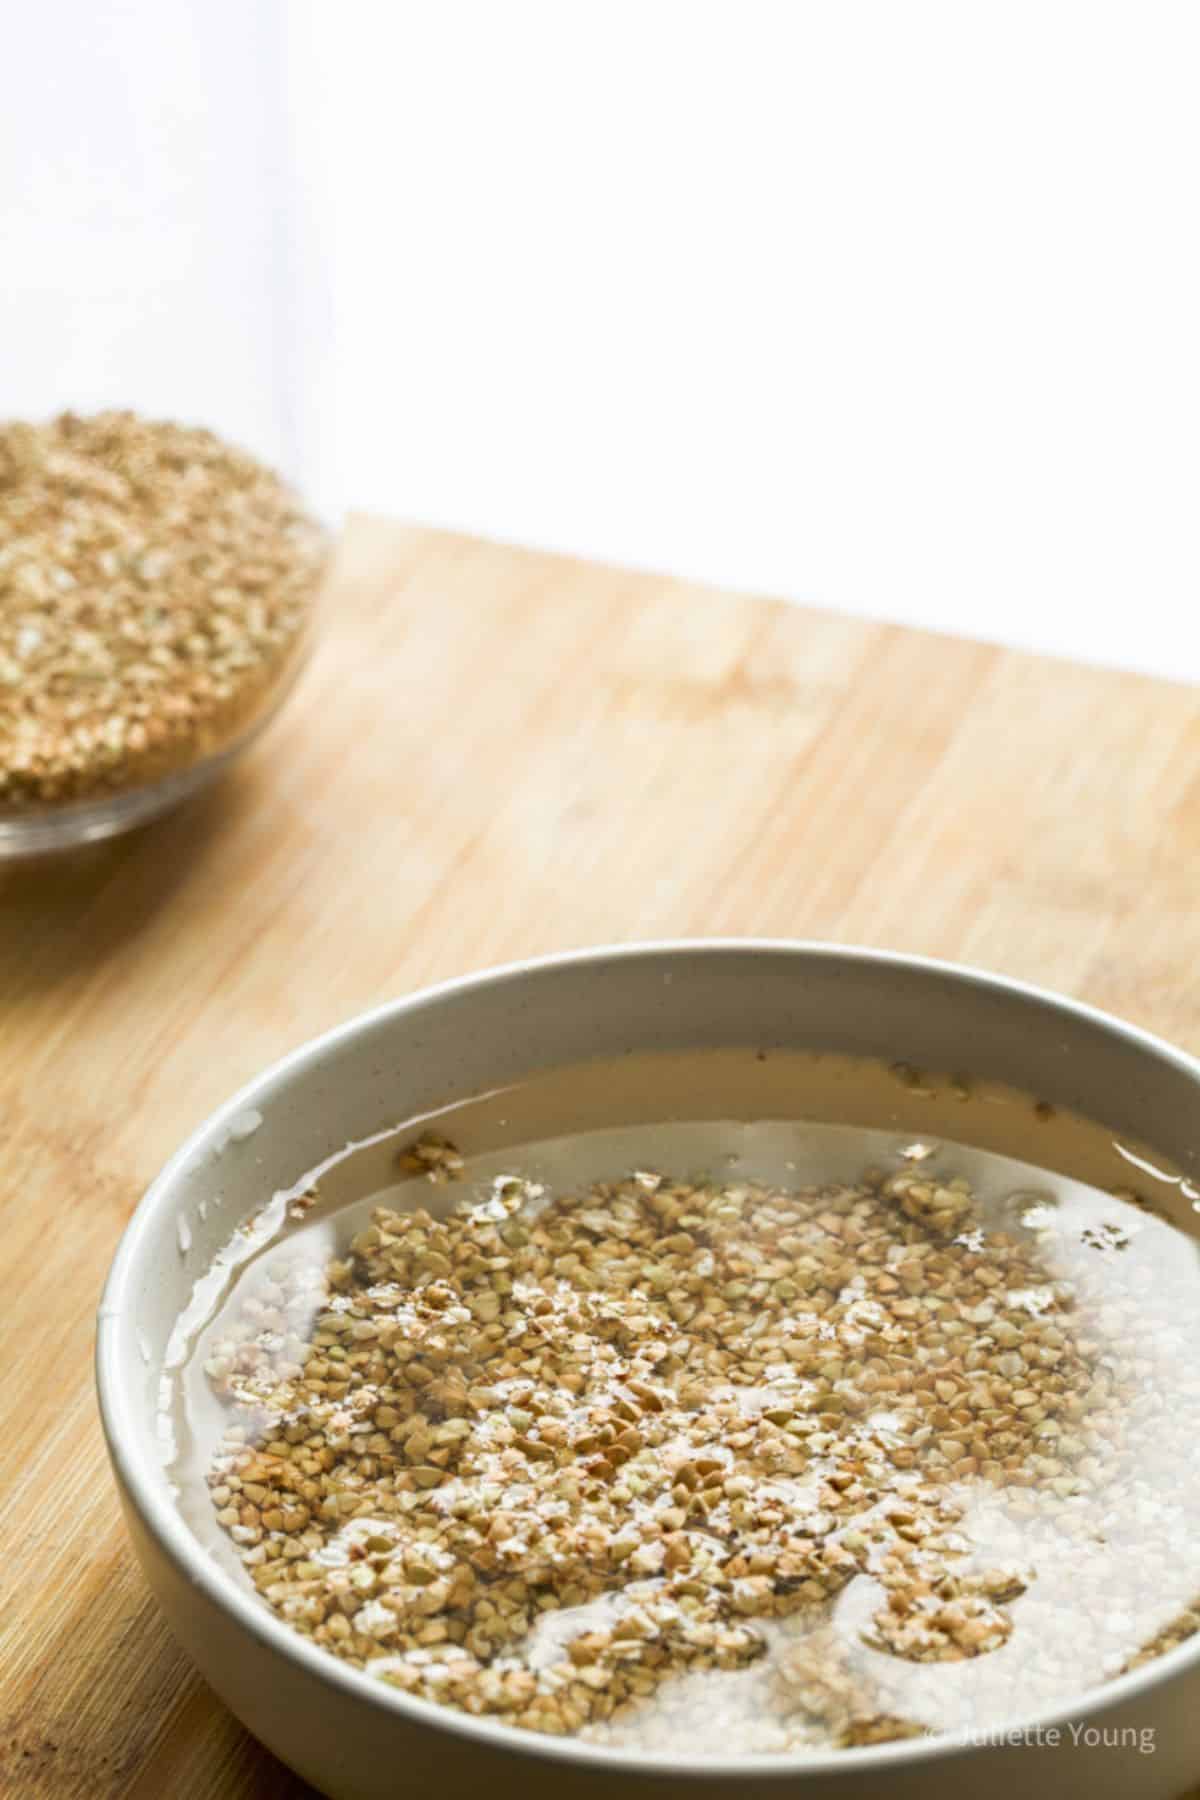
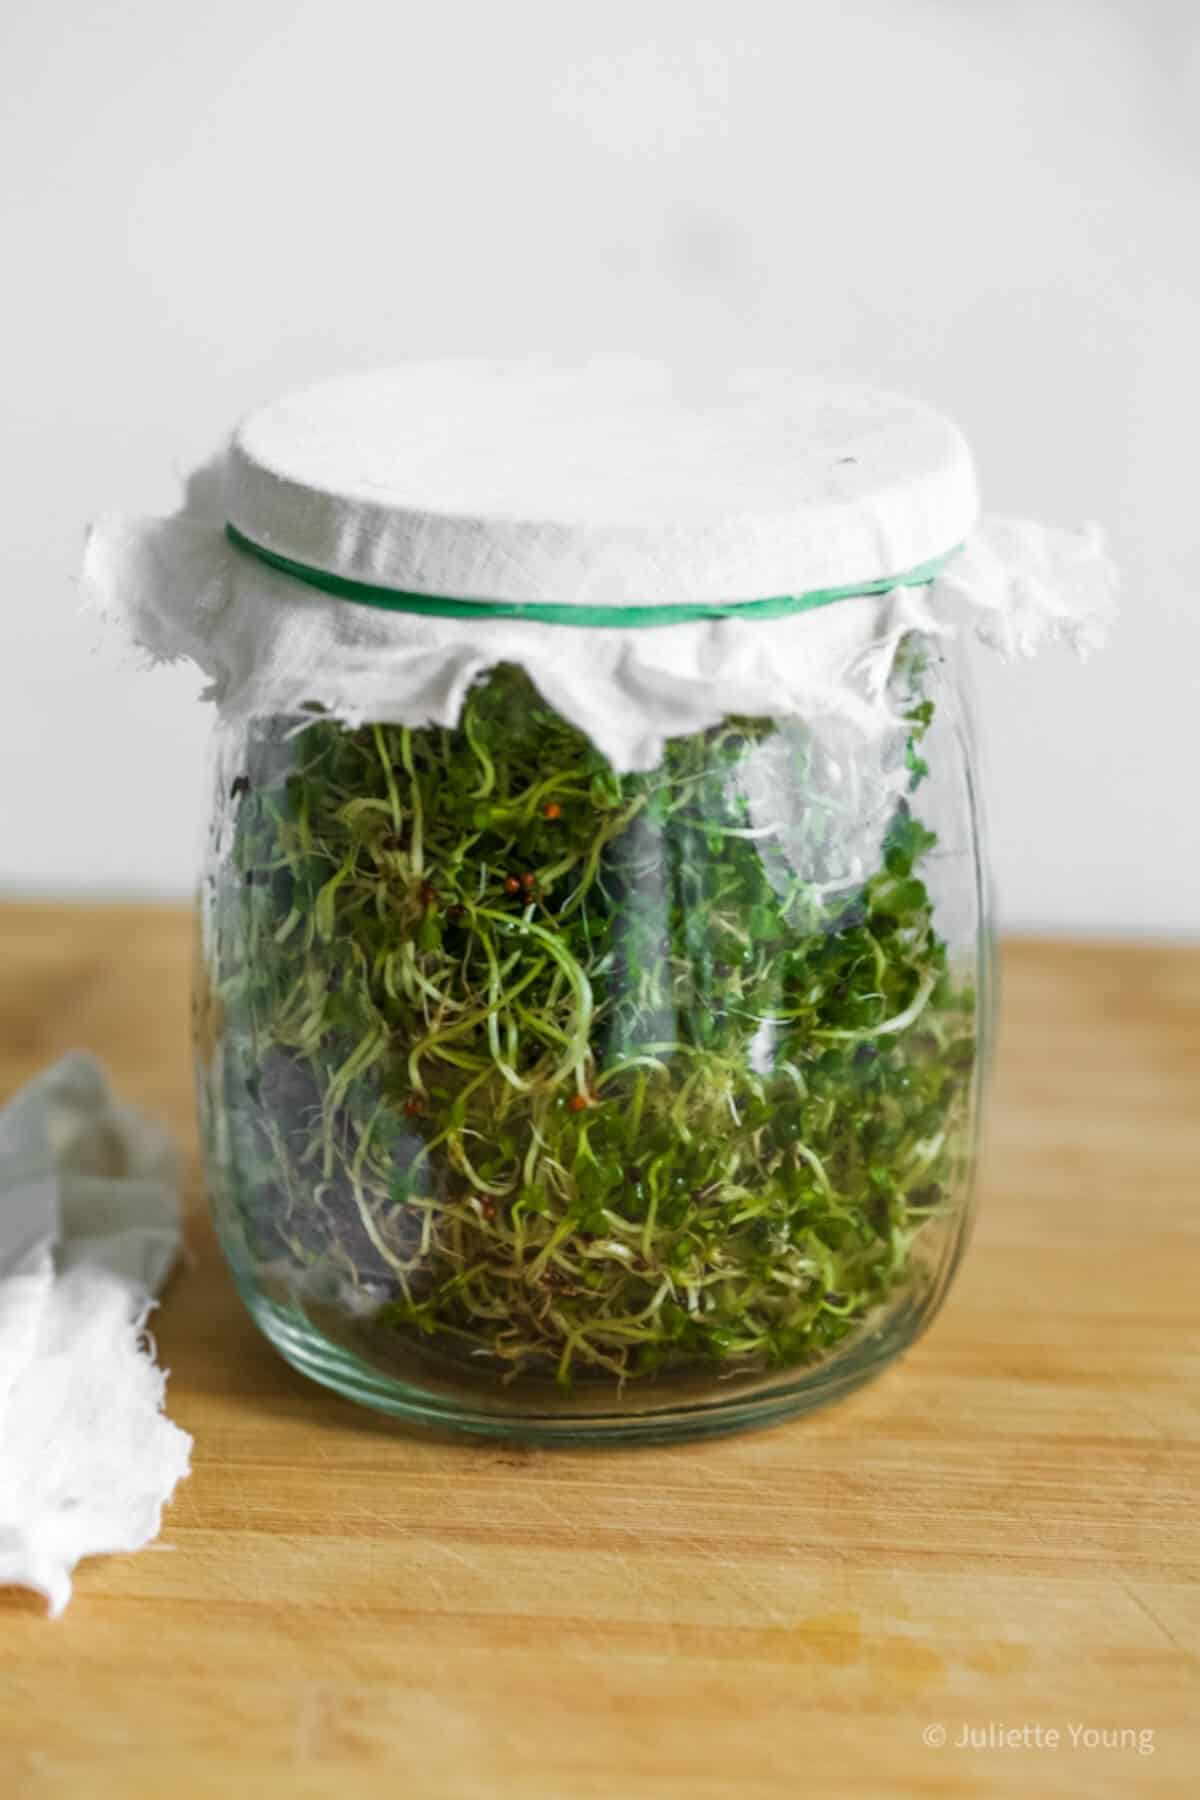
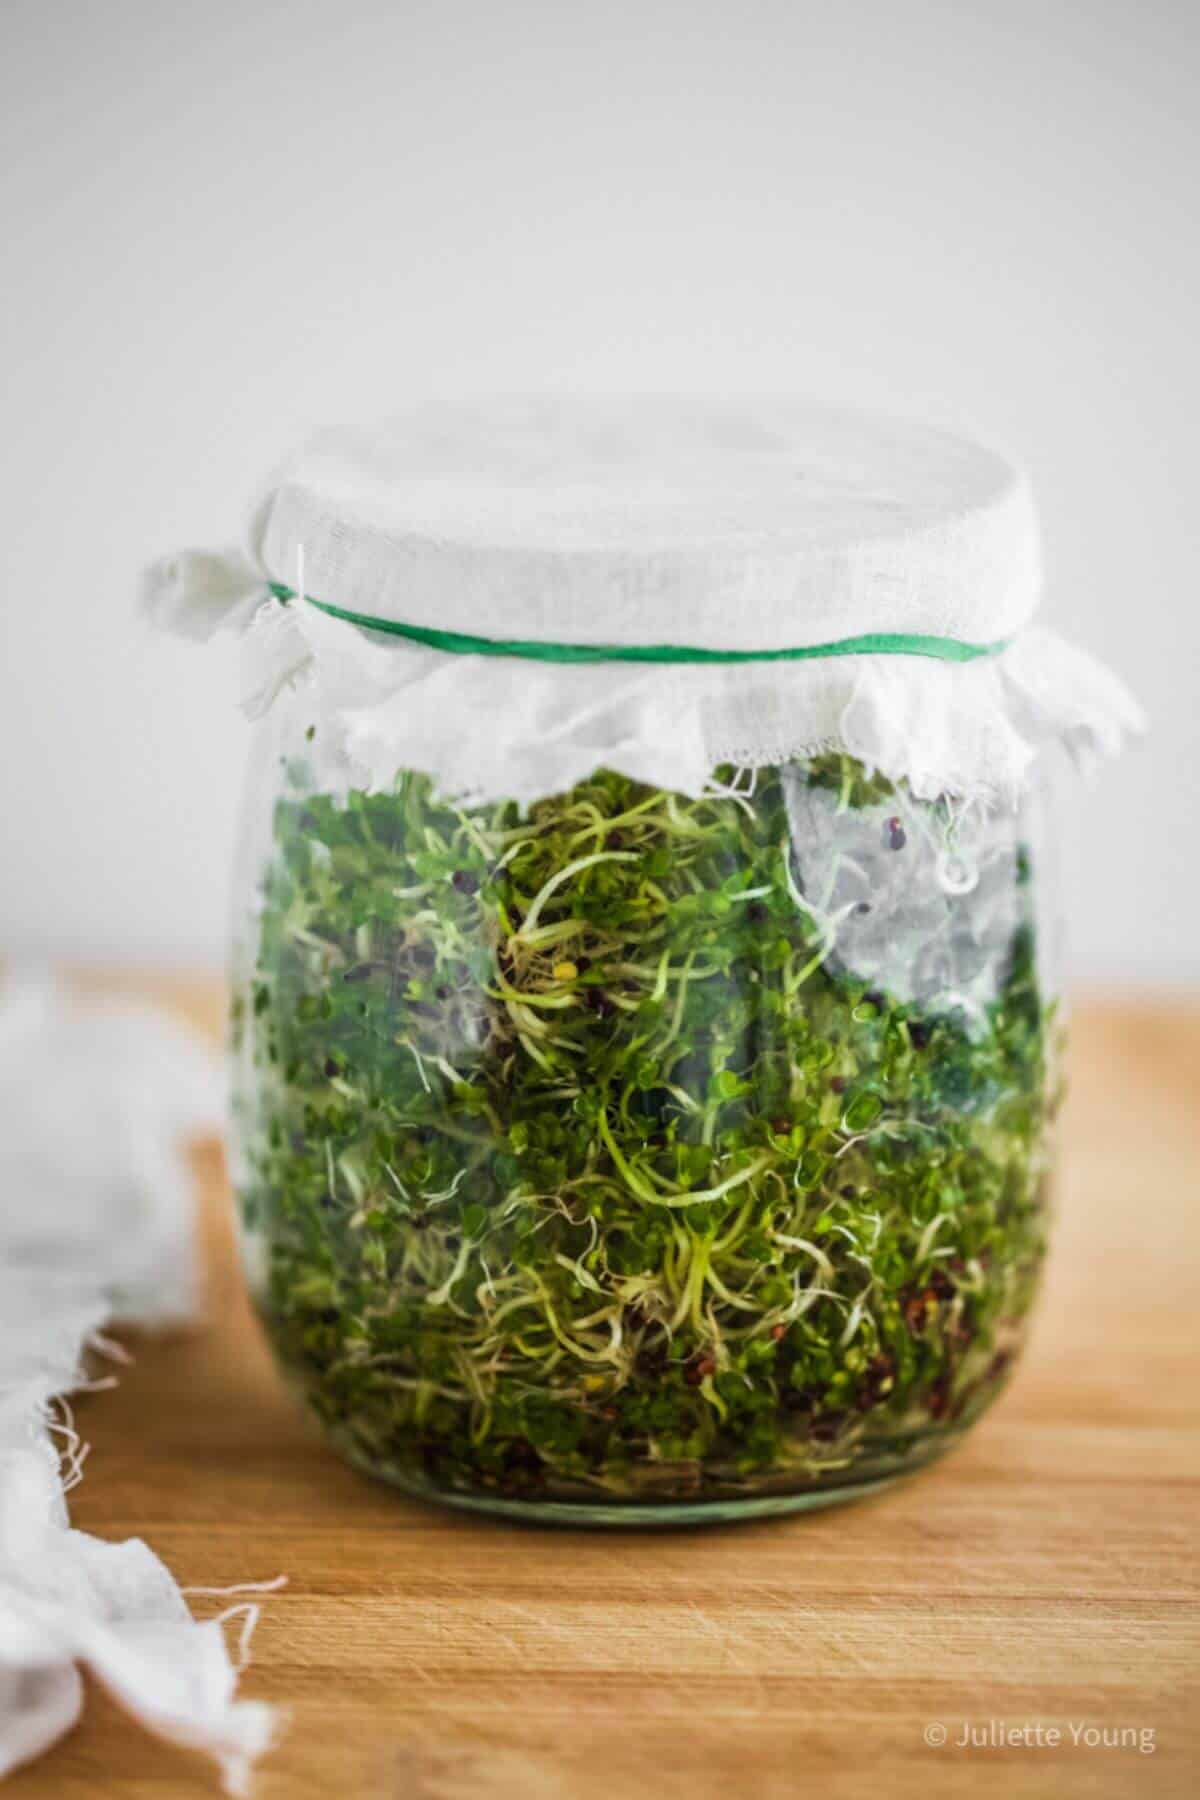
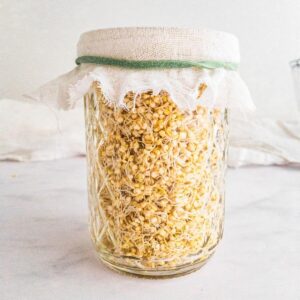
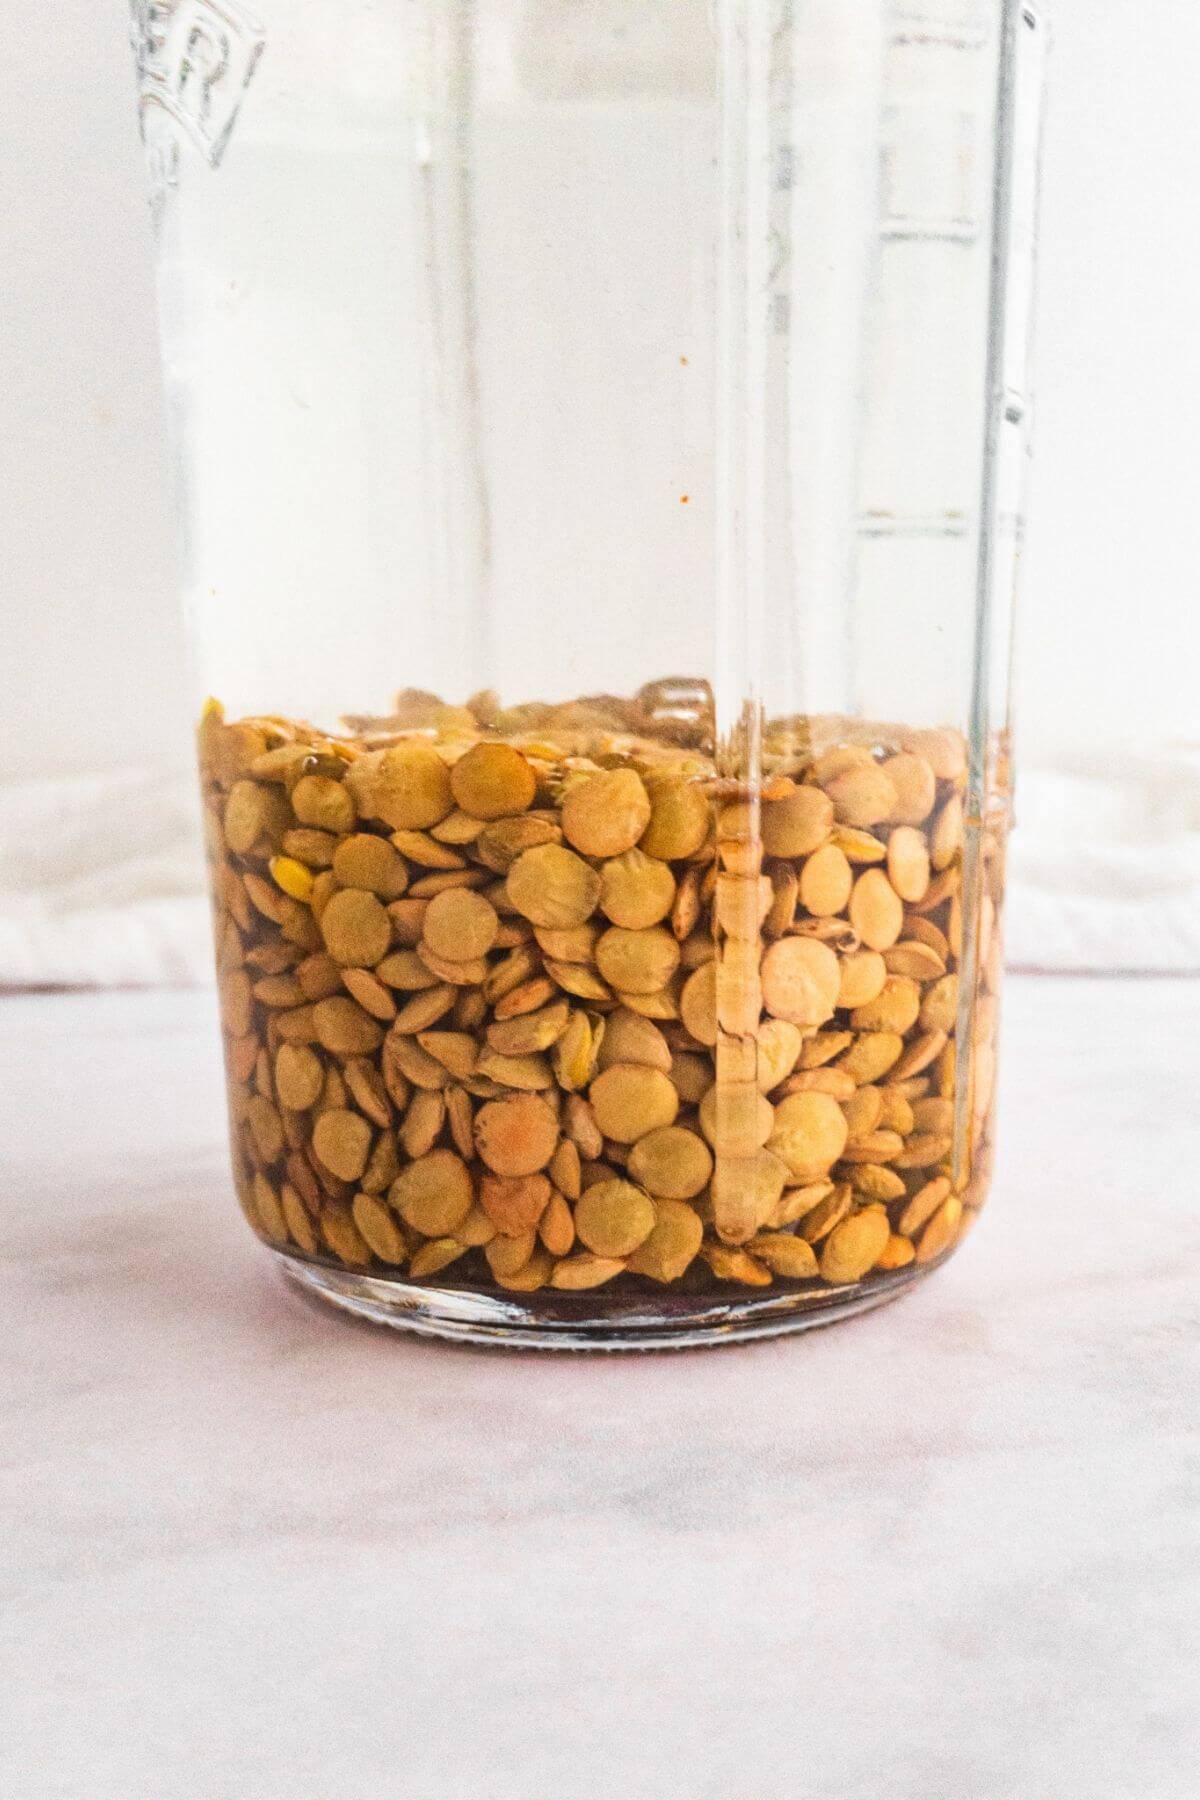
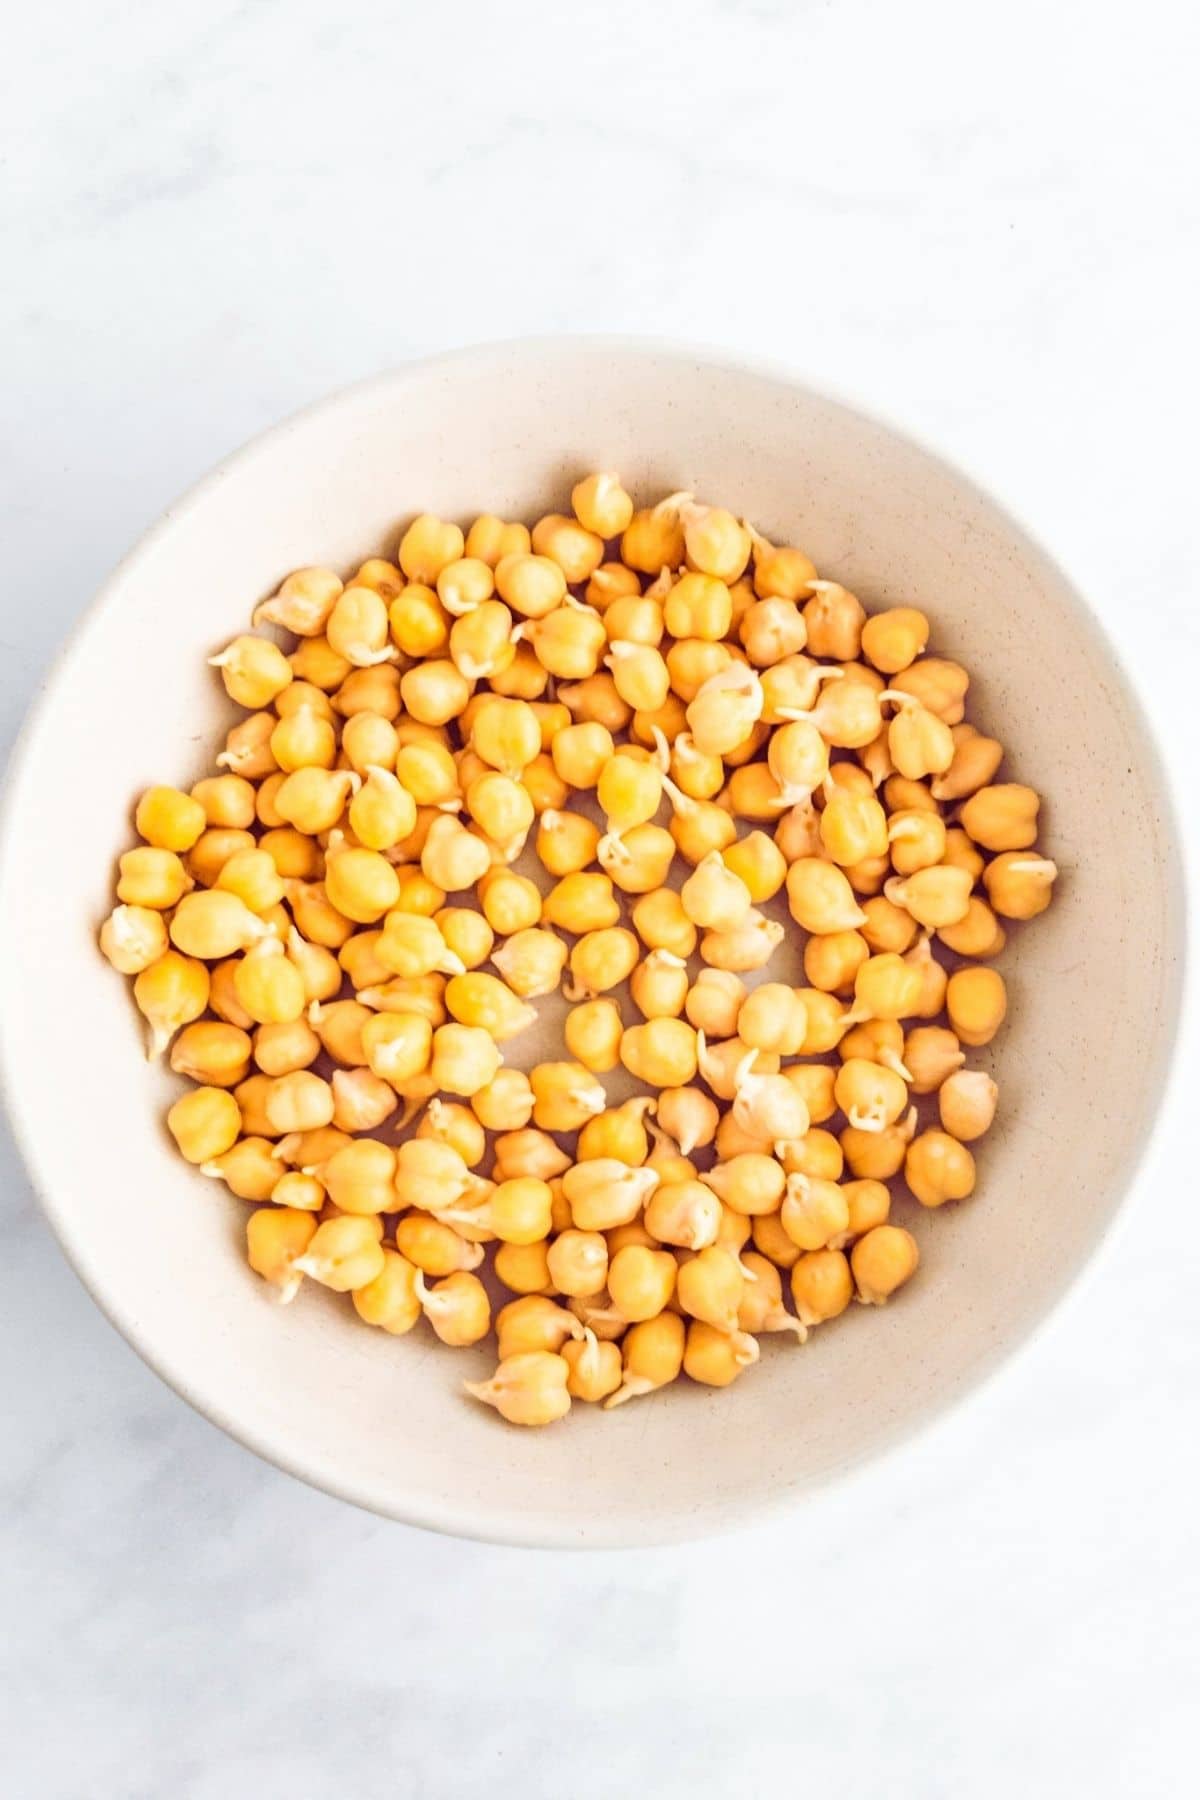
Step 2. Soak. Place sea moss back into the bowl and add spring water to cover. Soak for 12-24 hours. (Check your packet instructions for details.)

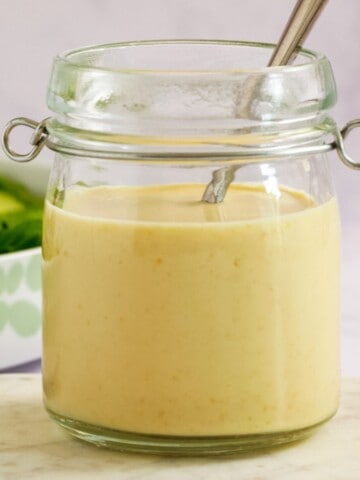
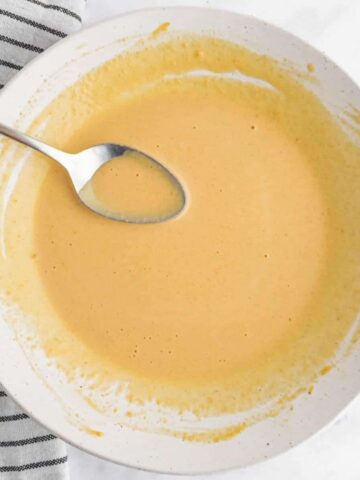
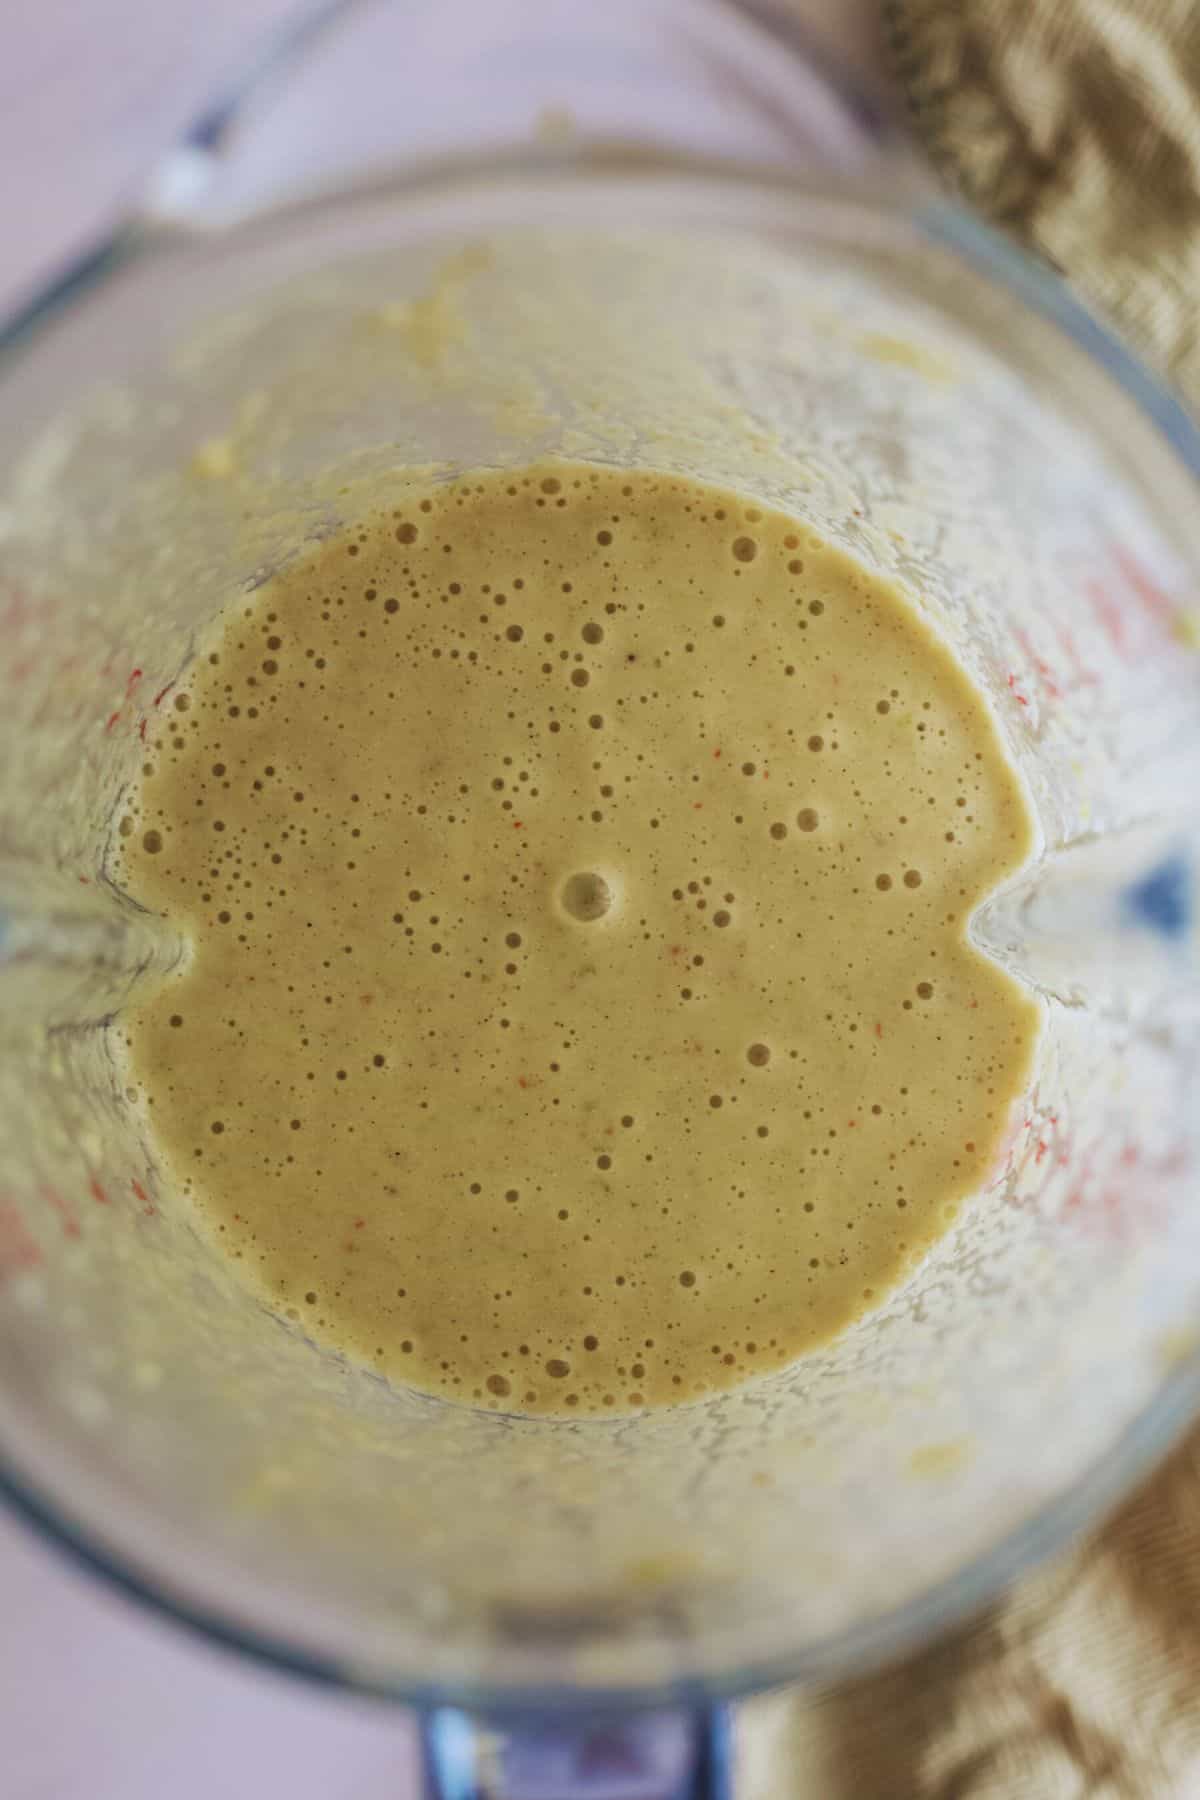
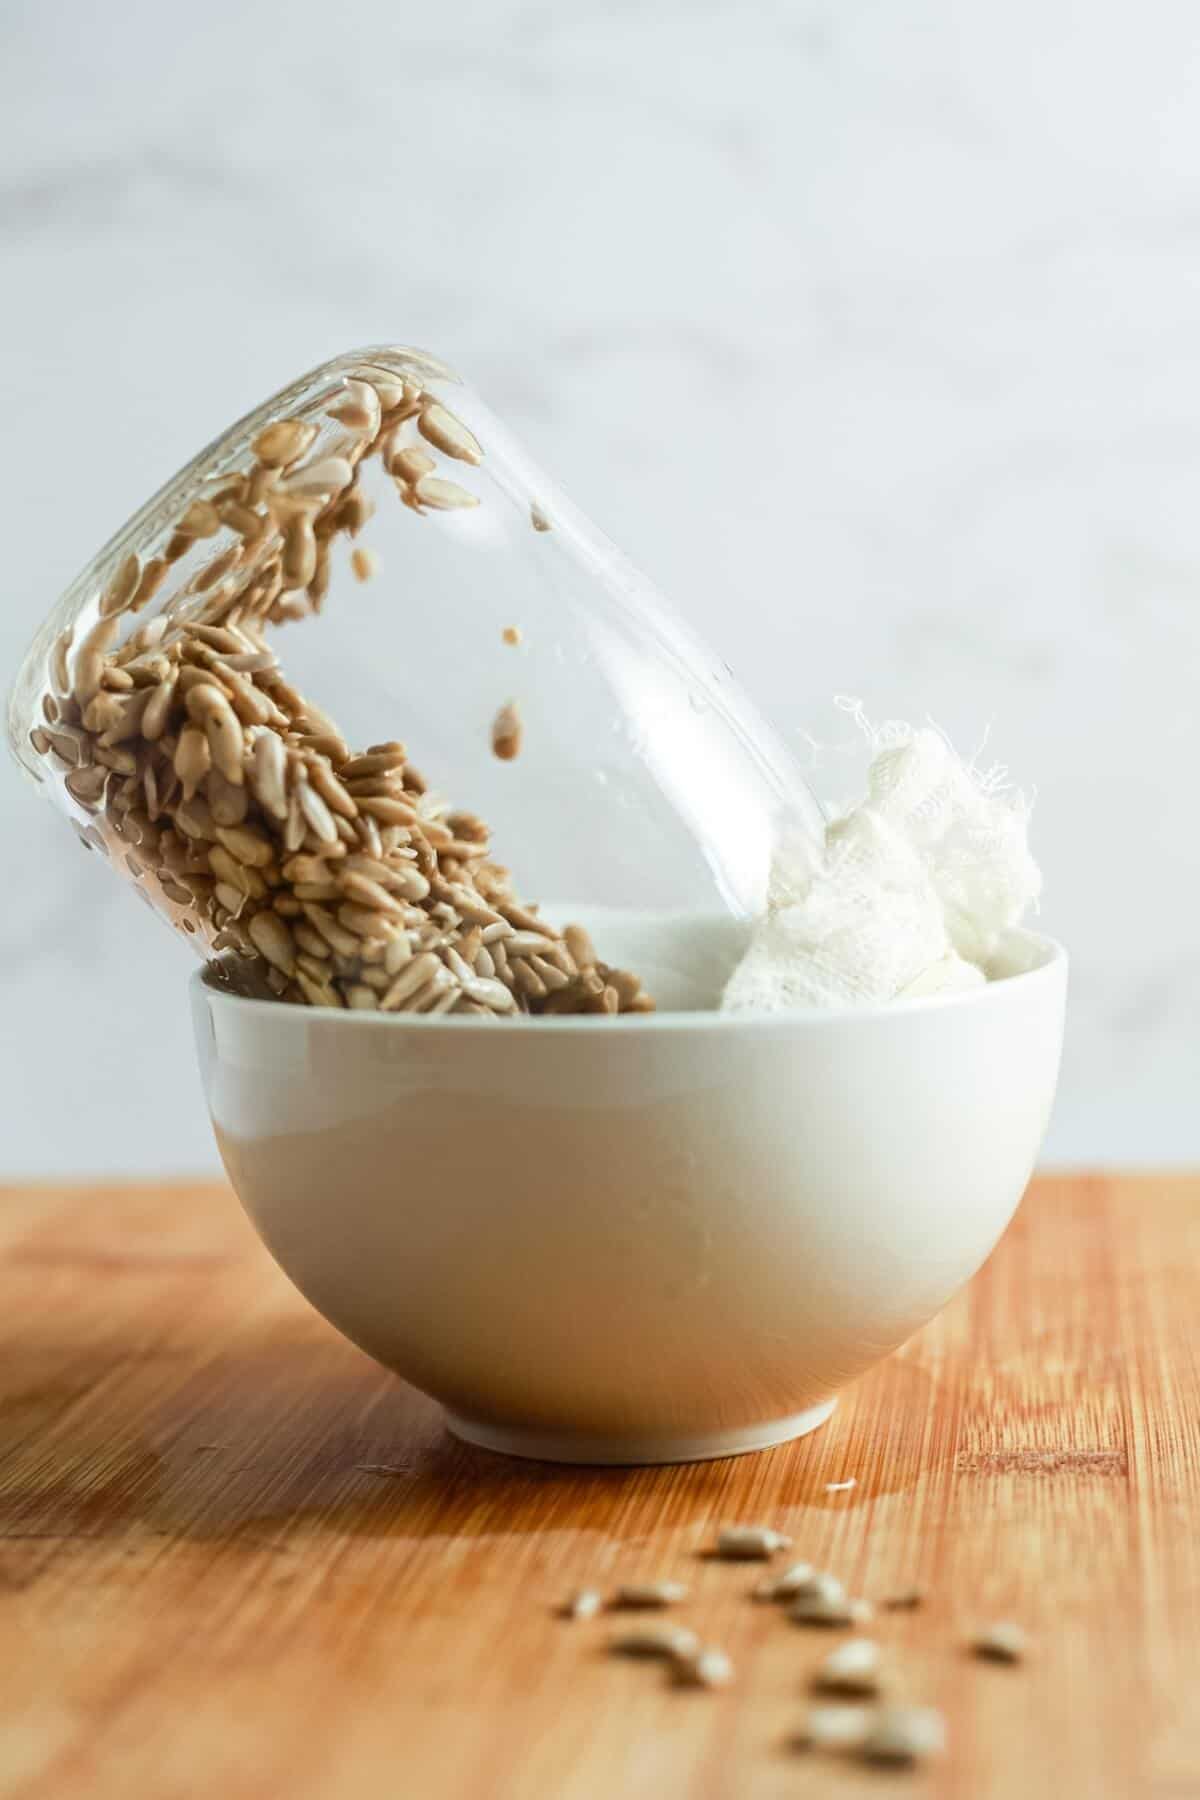
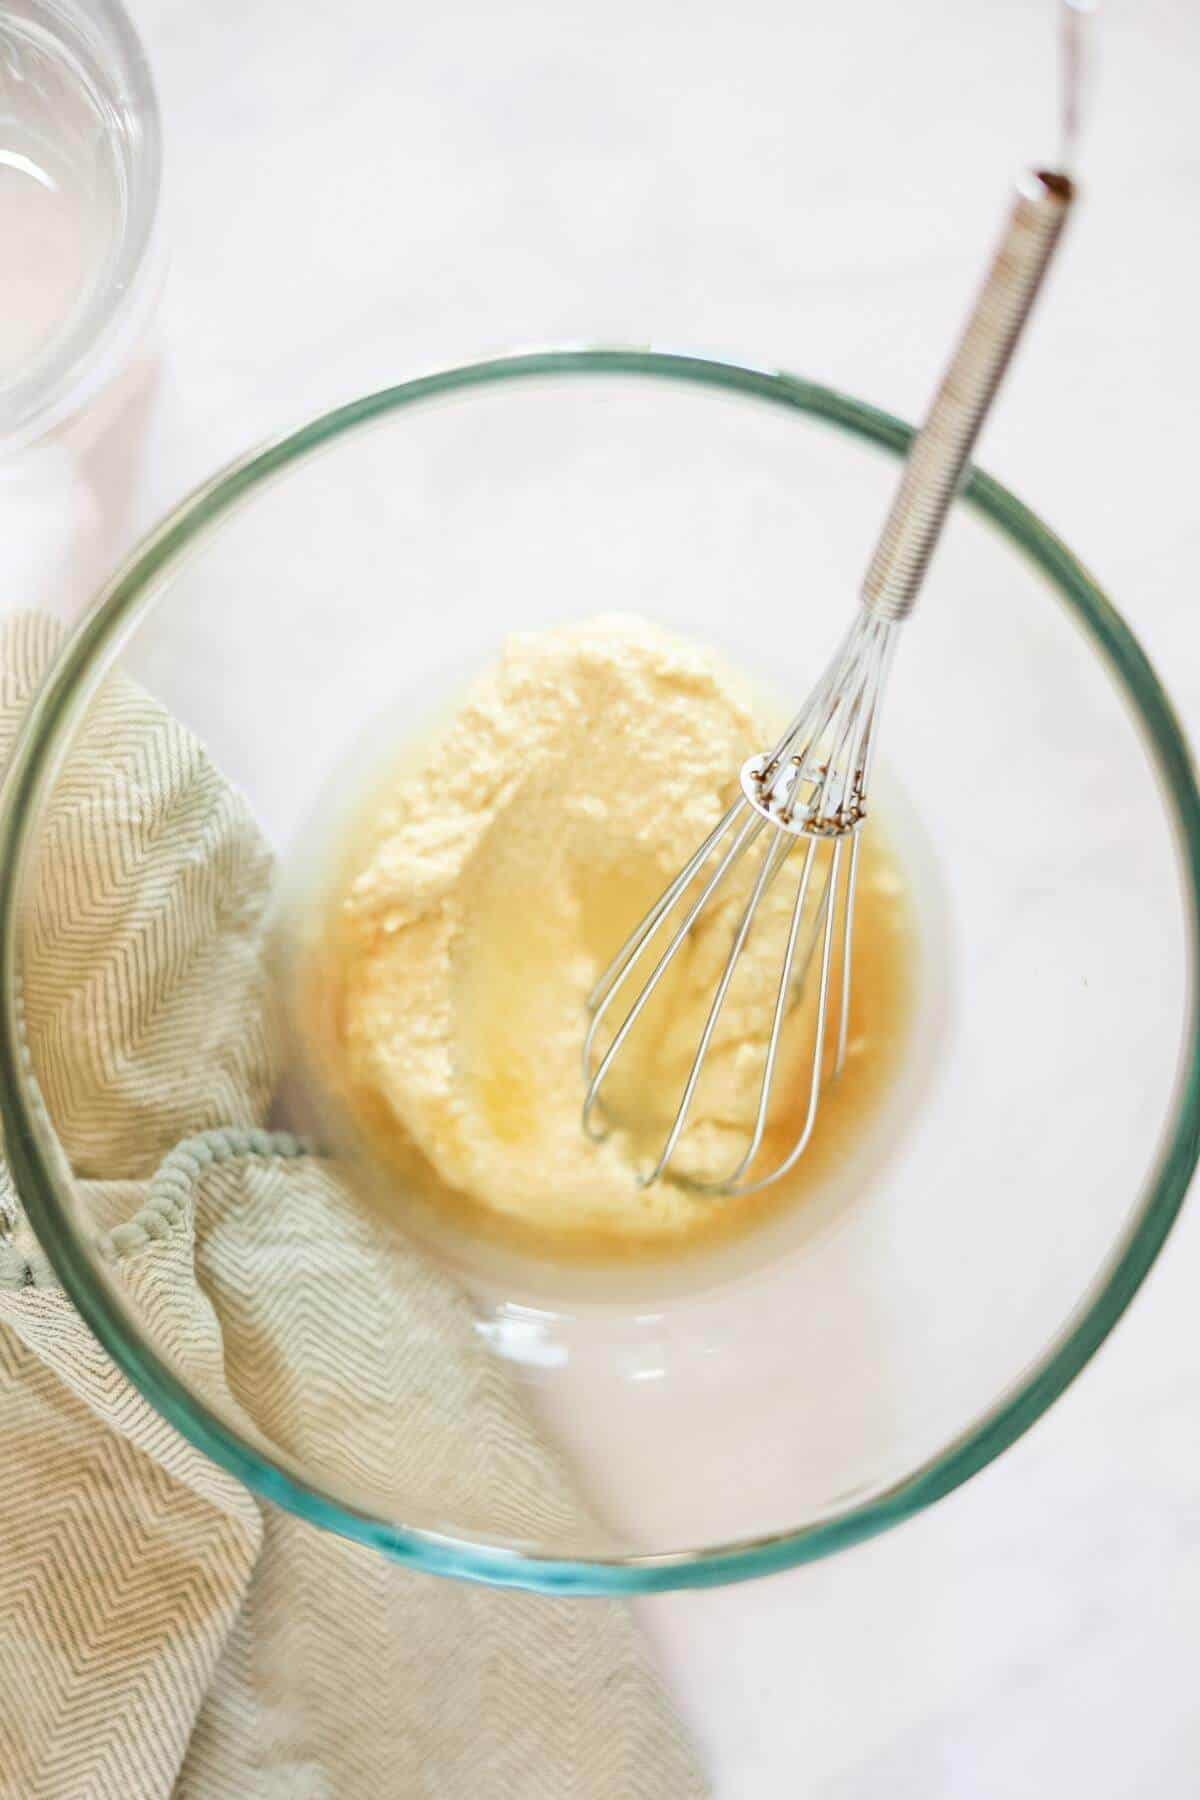
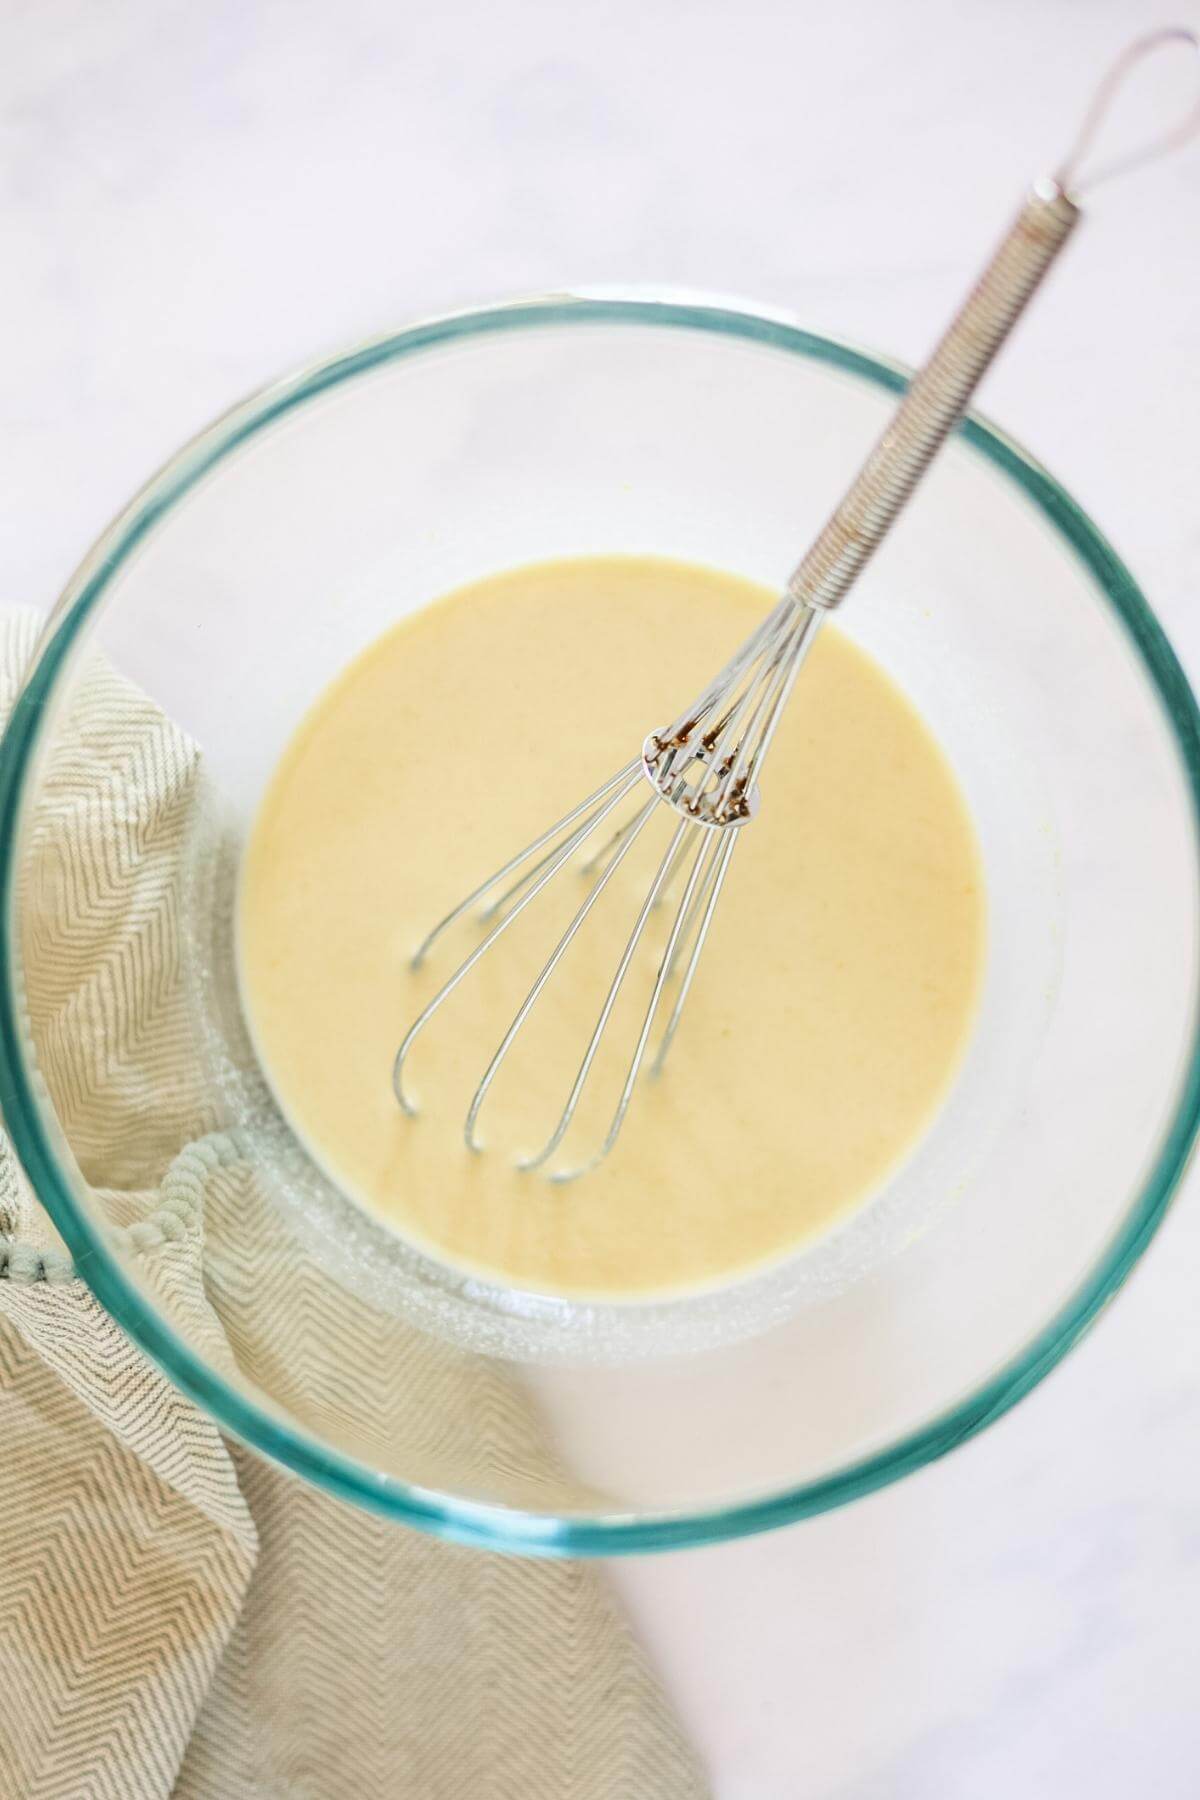
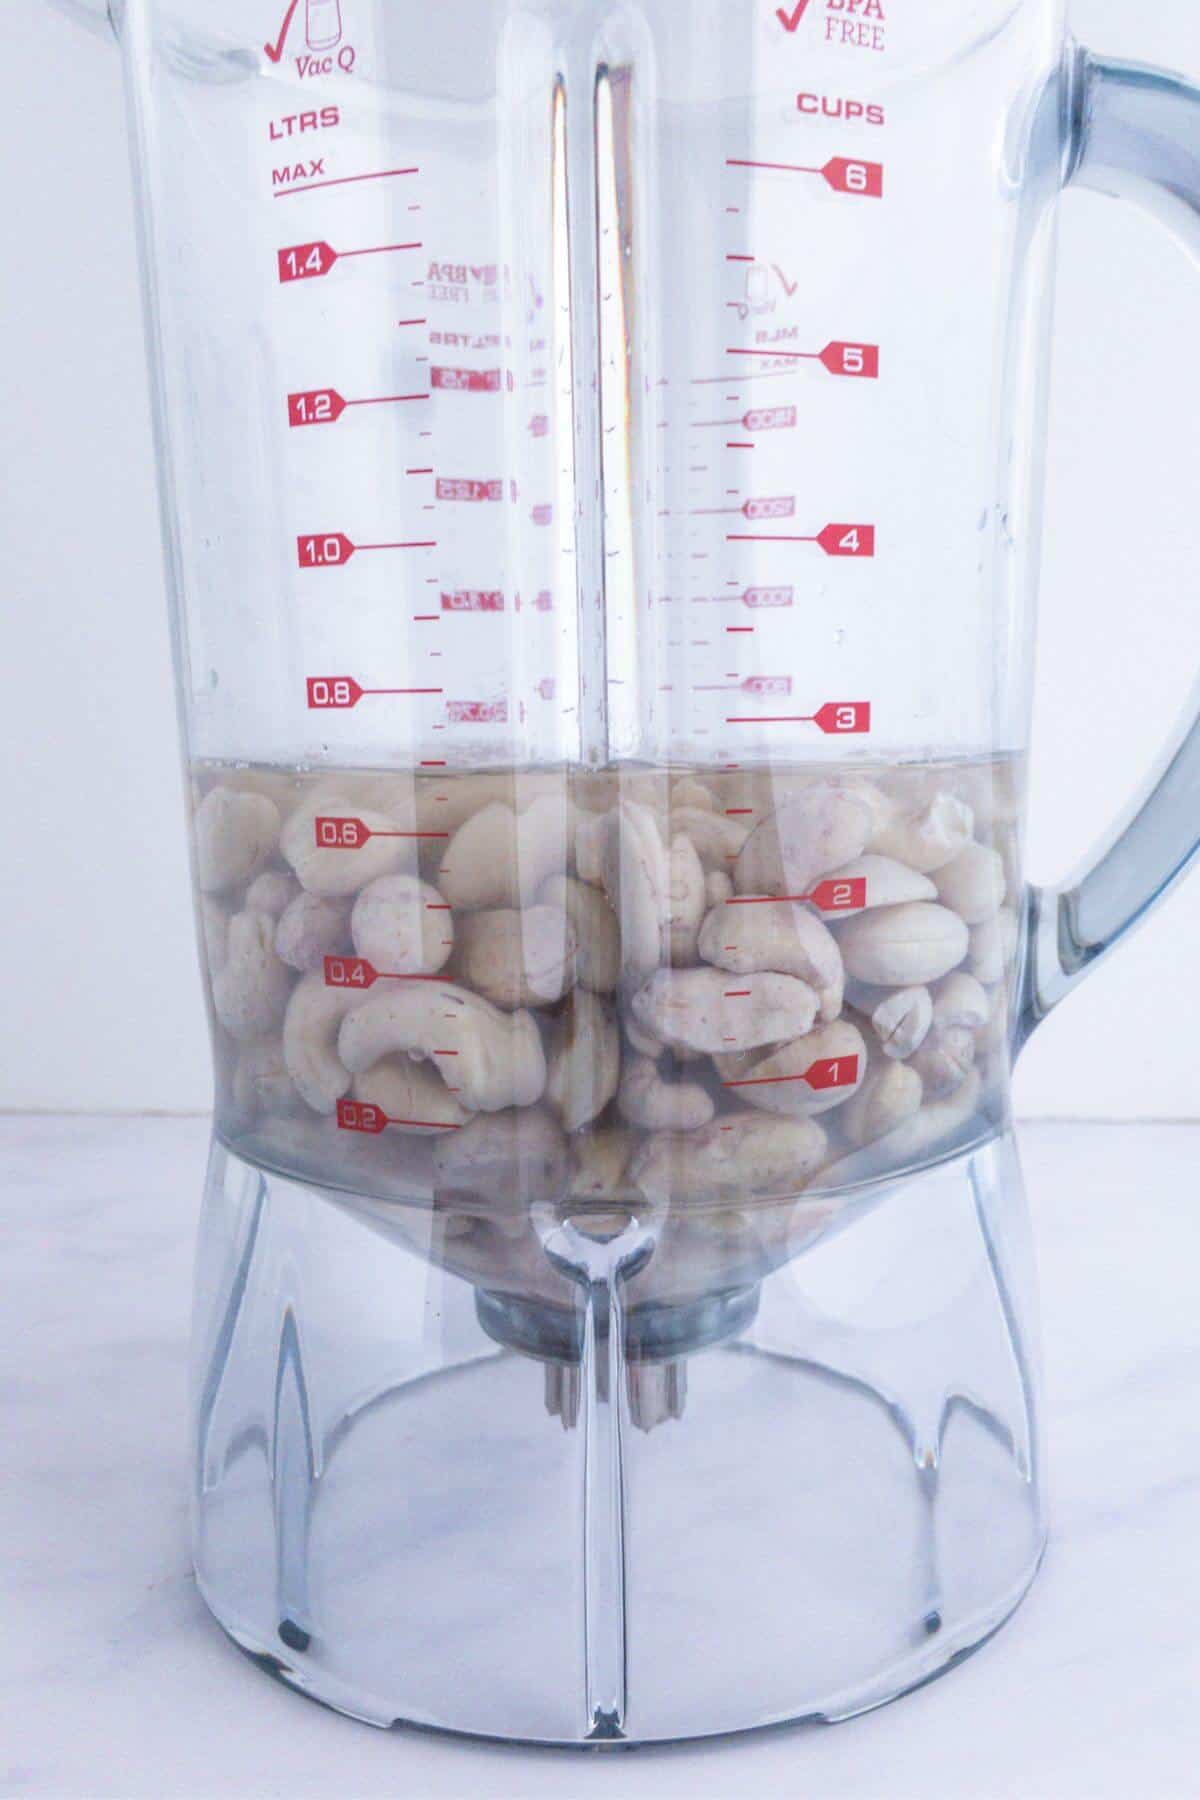
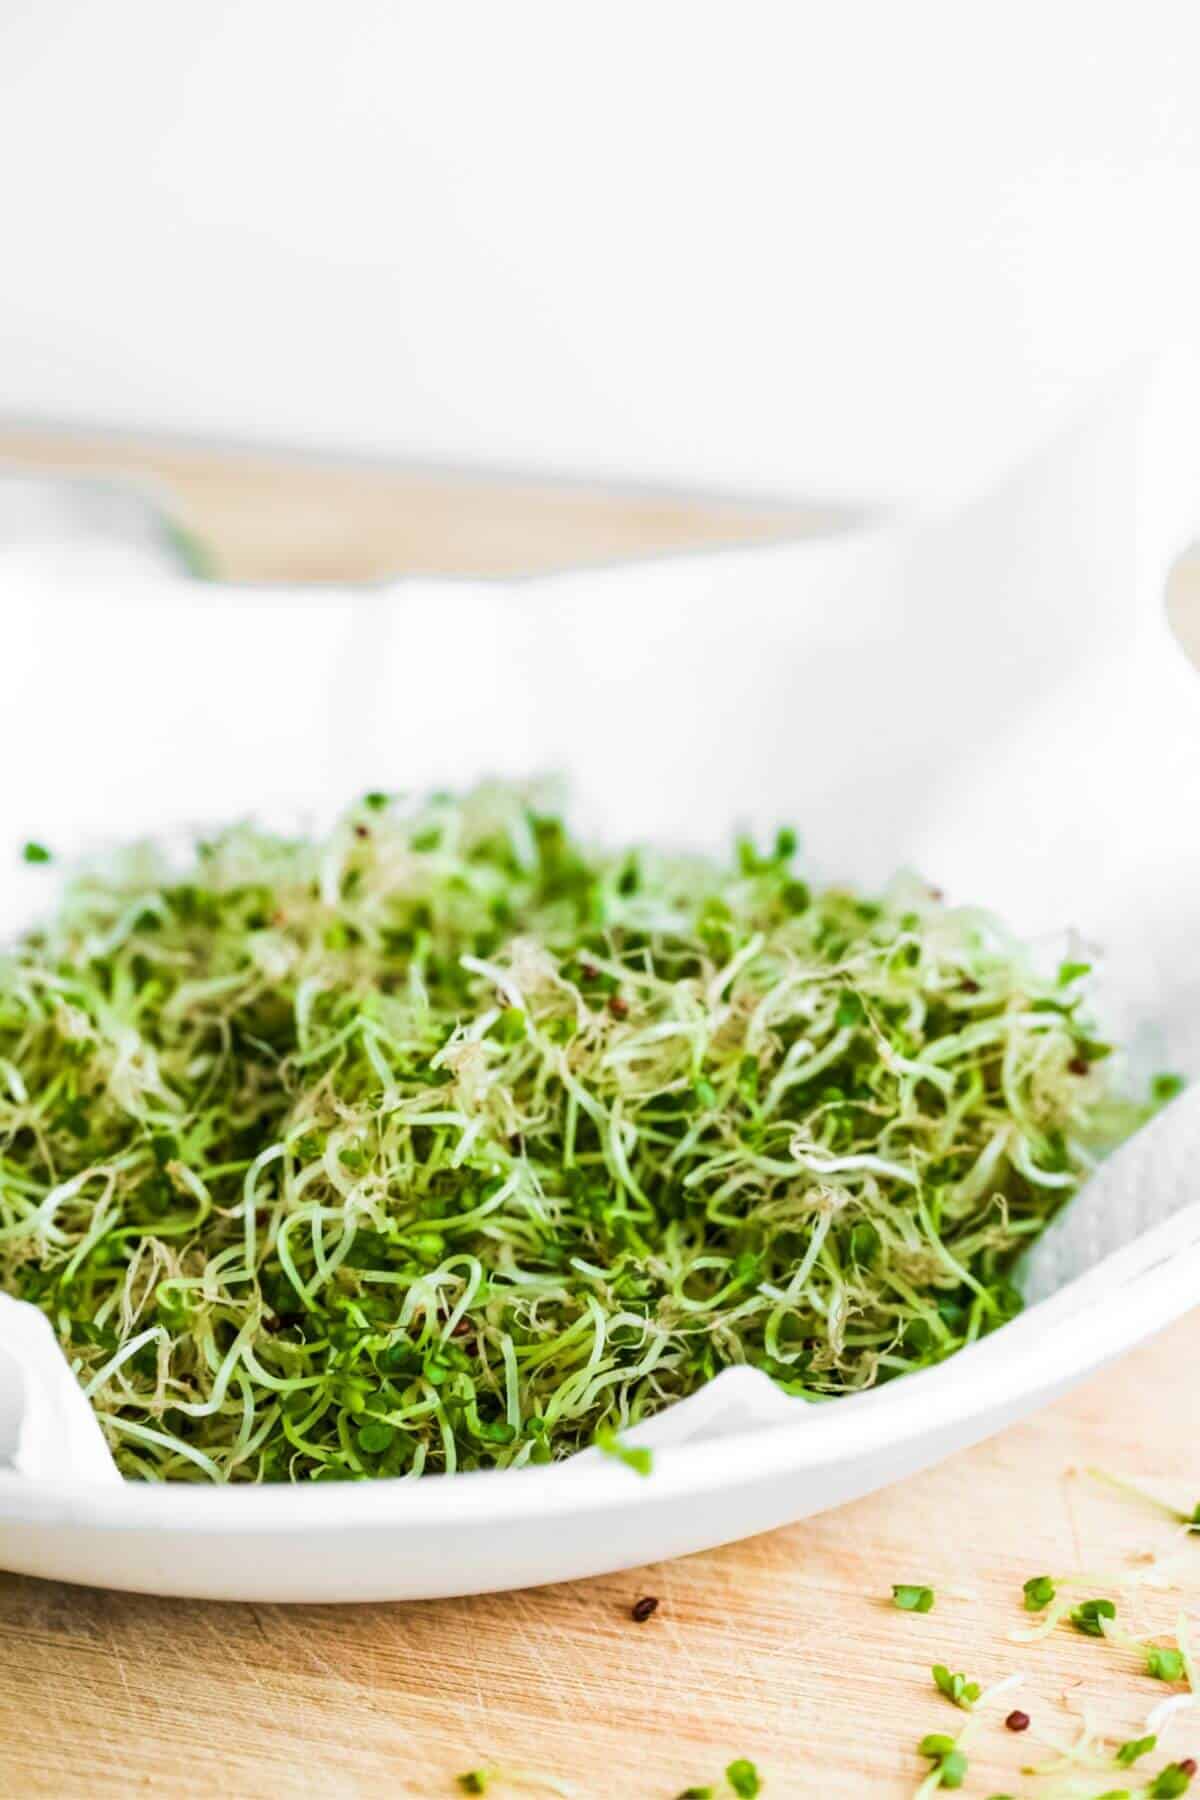
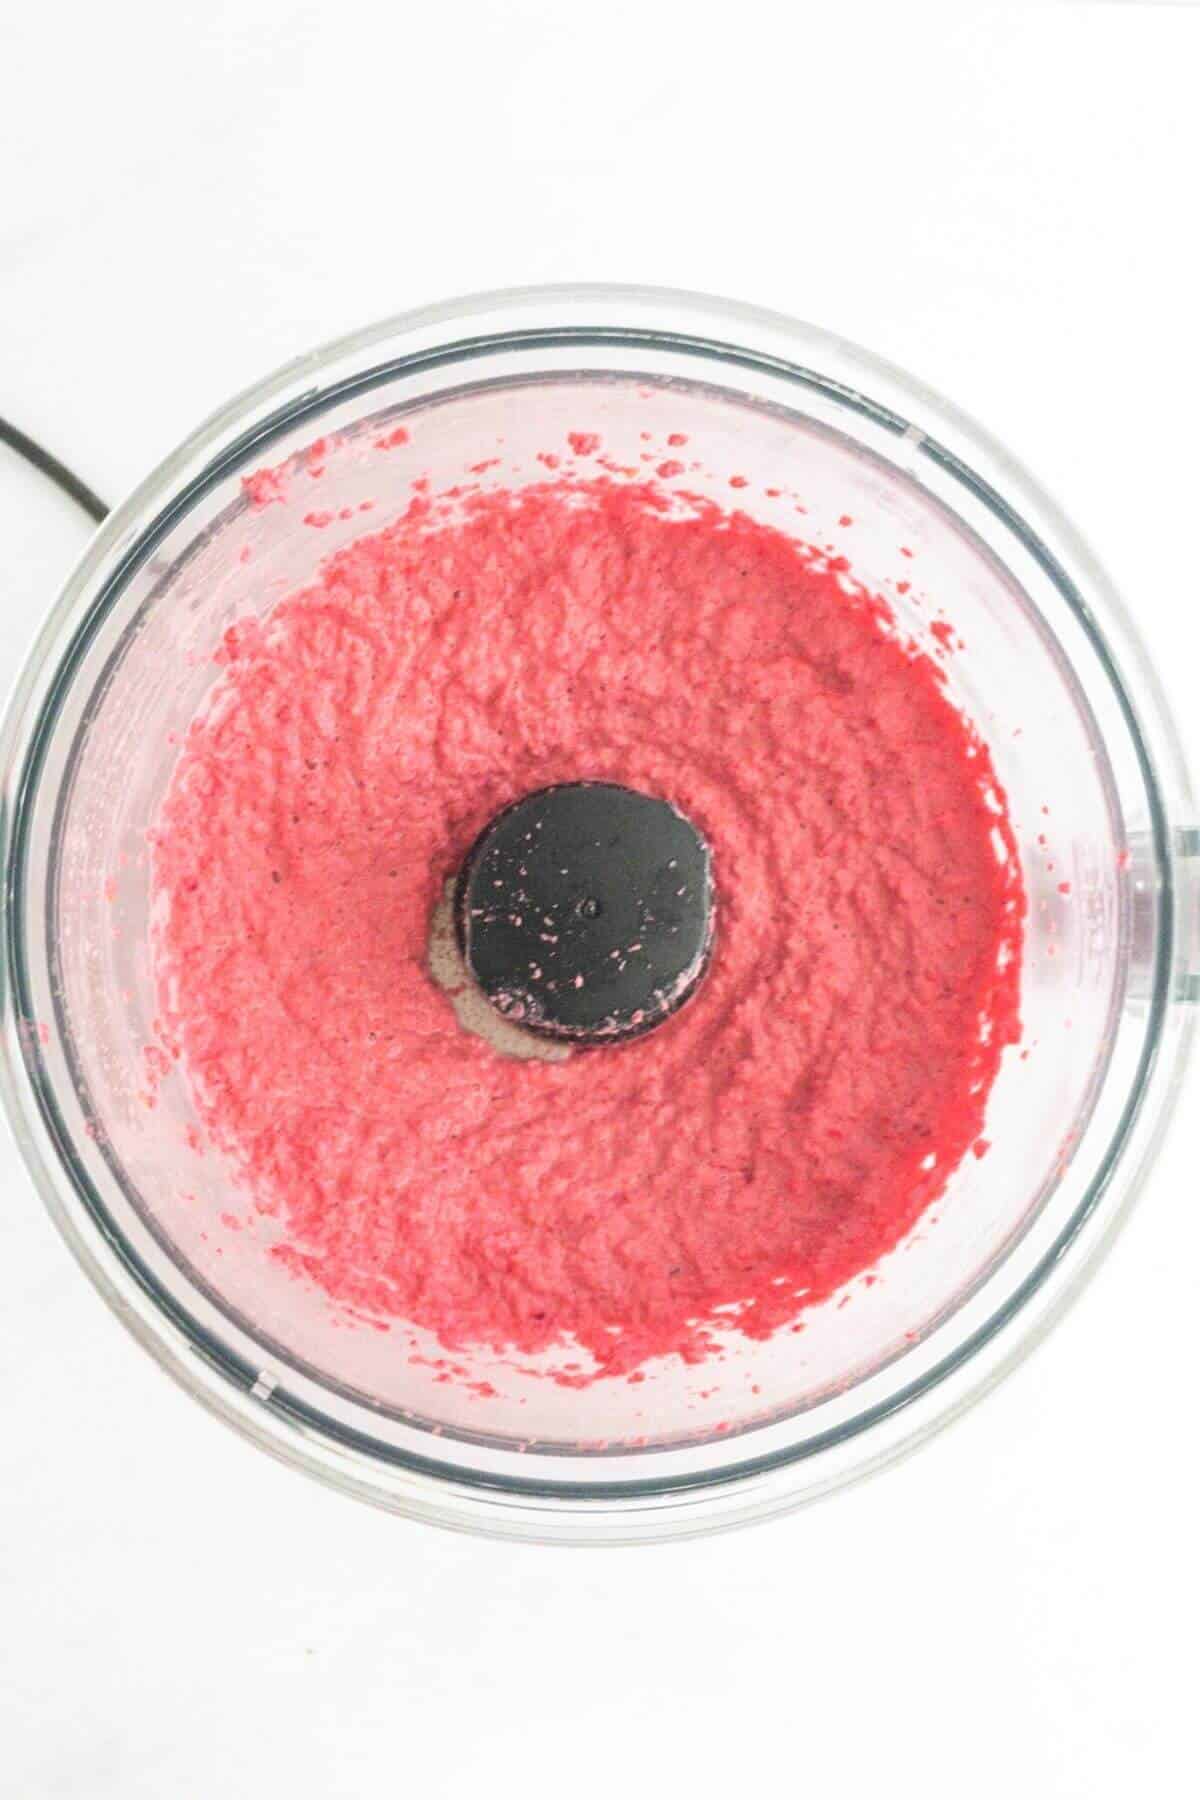
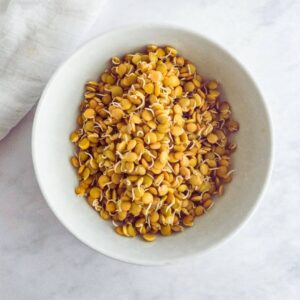
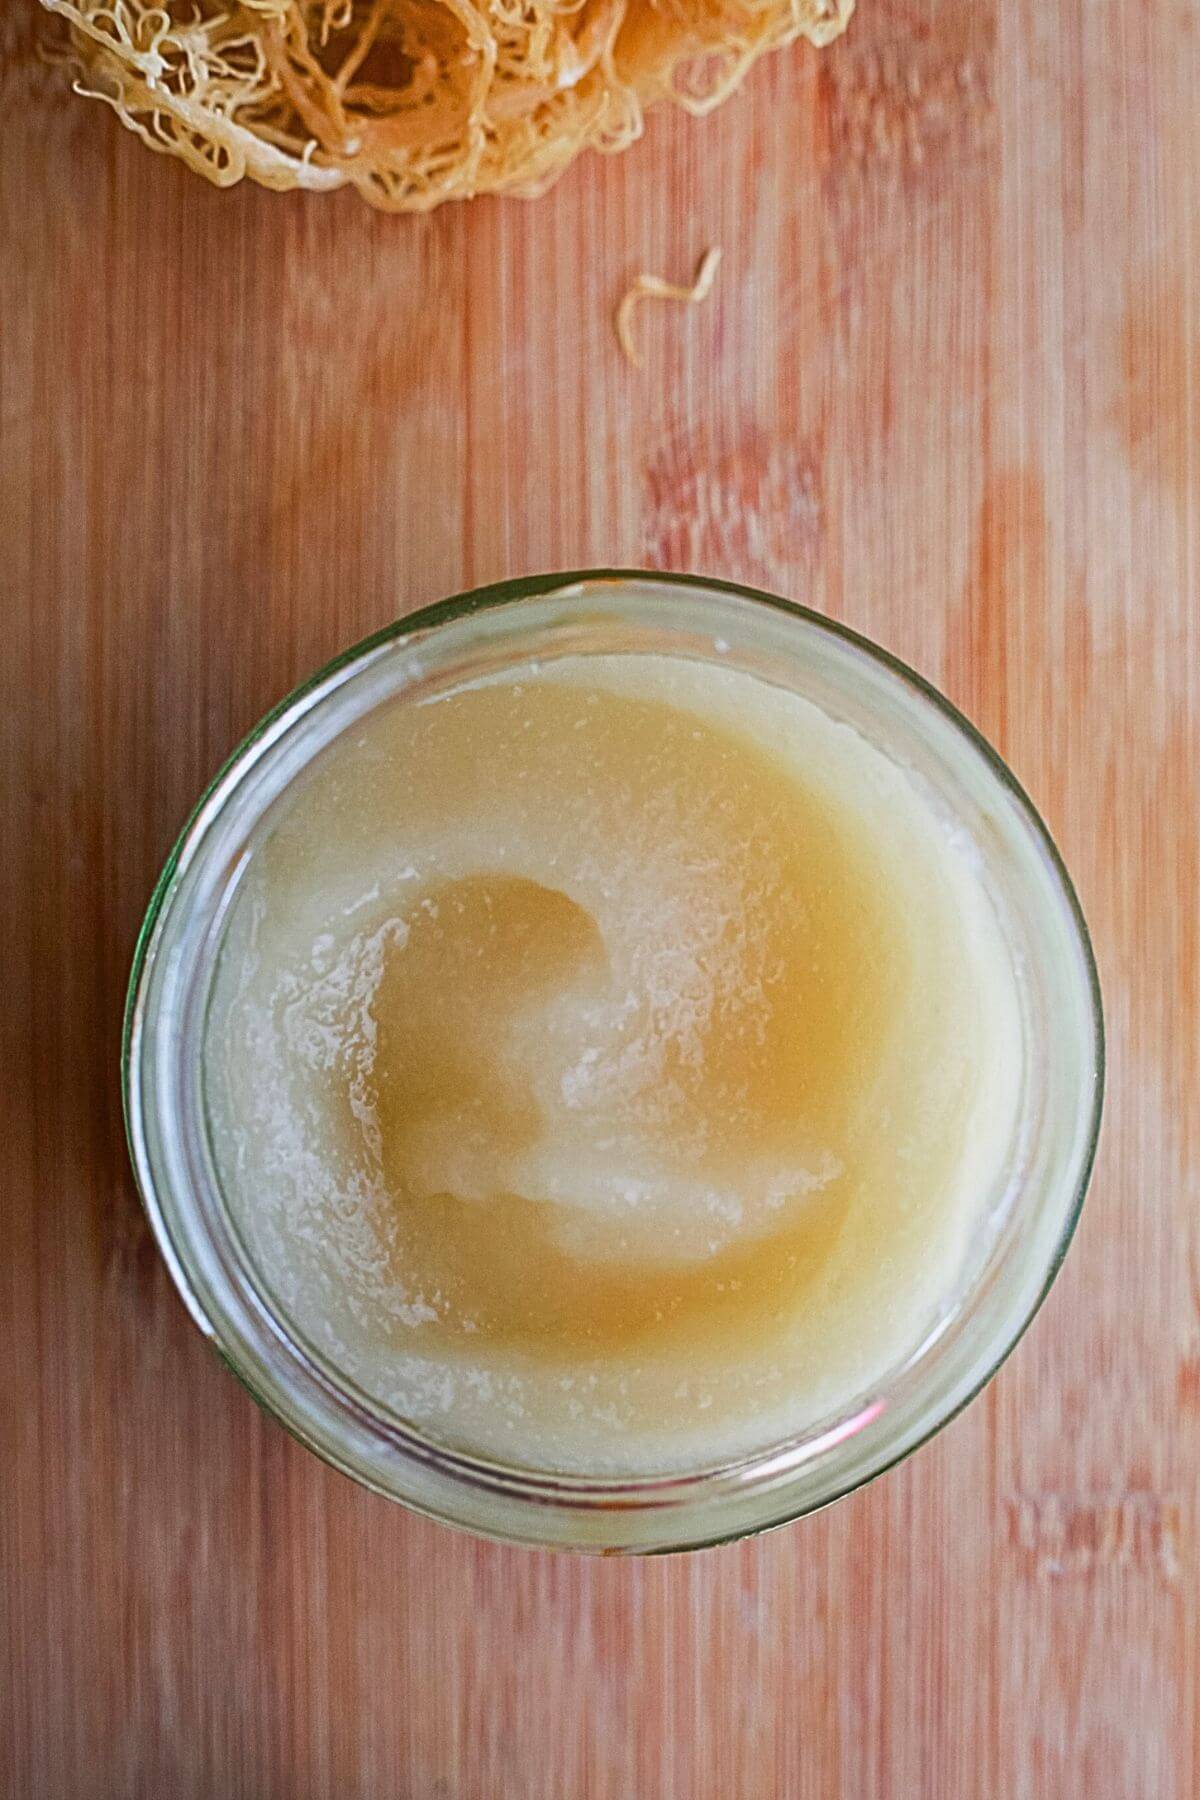
Step 3. Blend. Add the mixture to a blender with a little soaking water and blend until smooth.
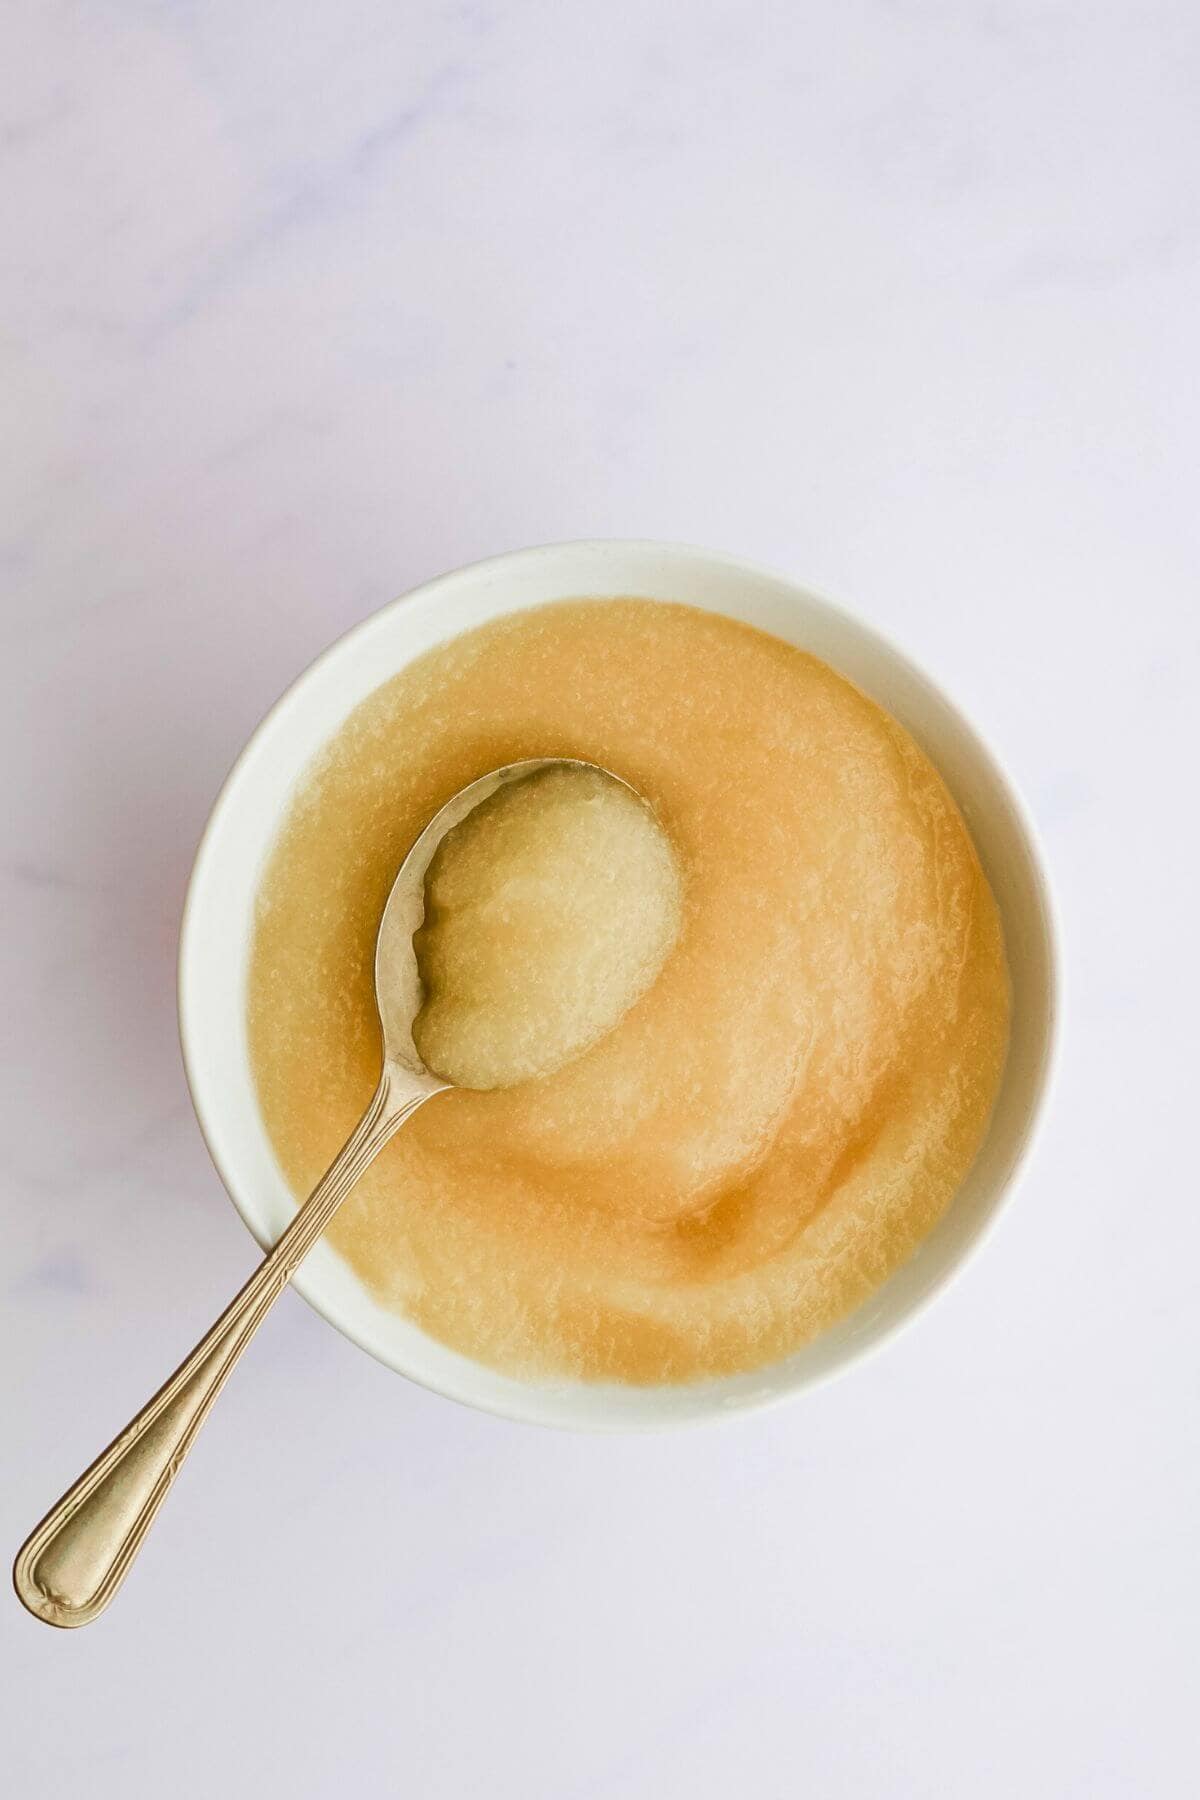
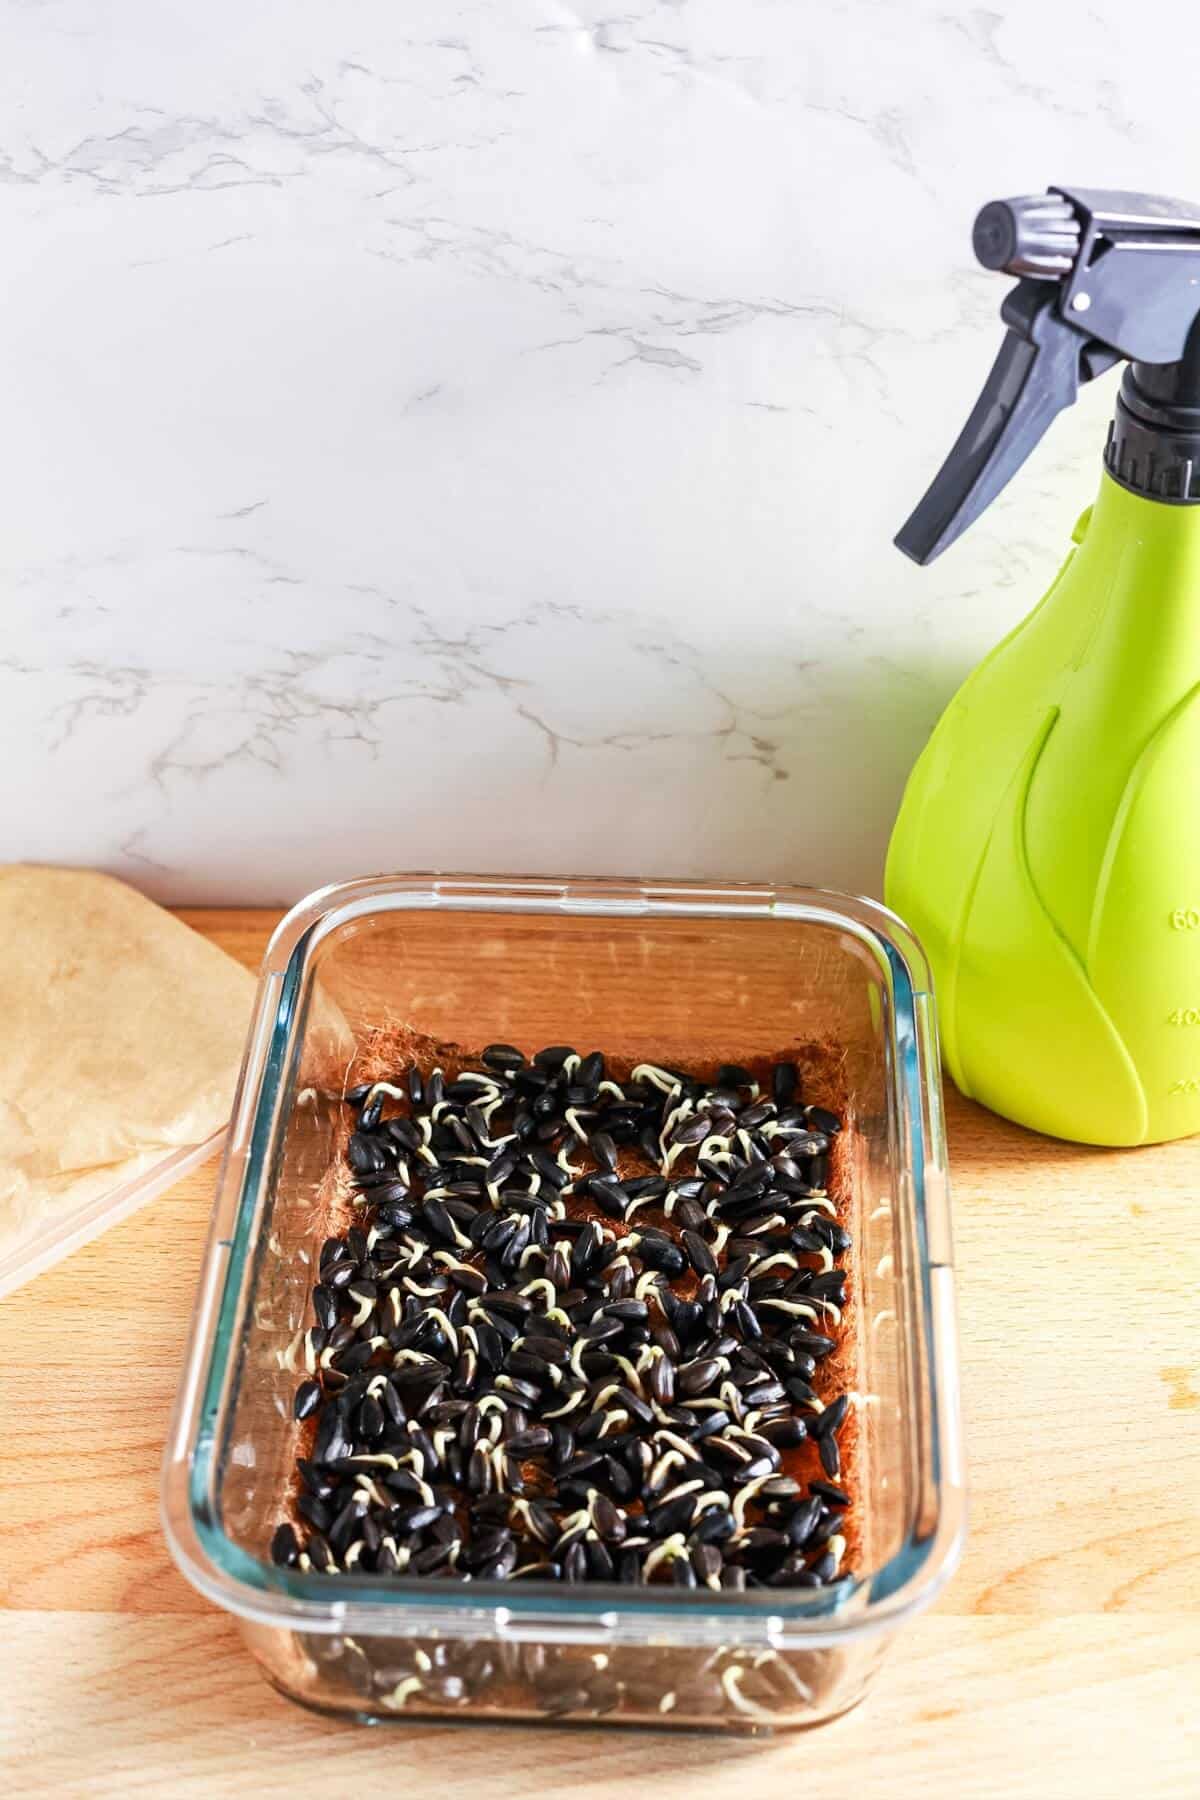
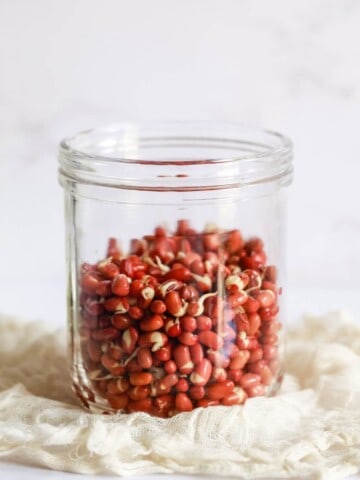
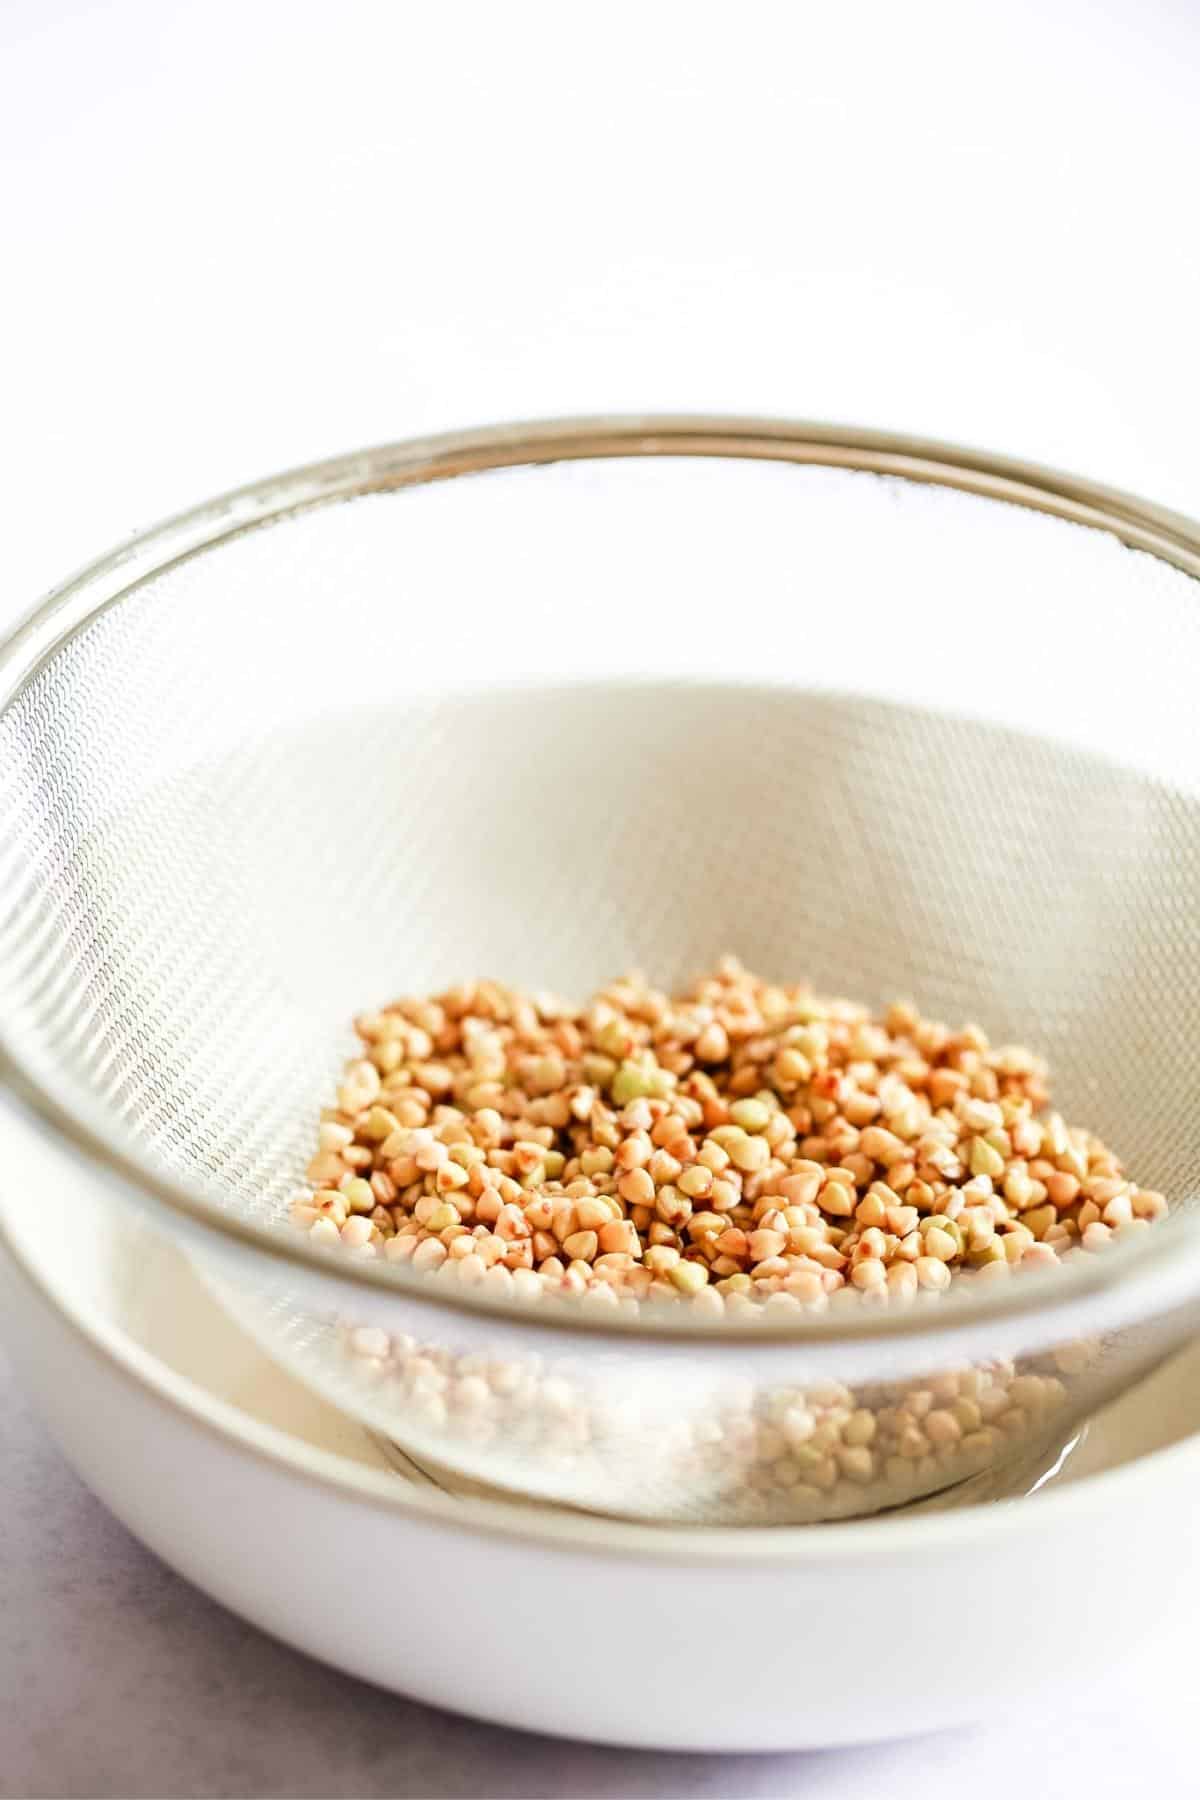
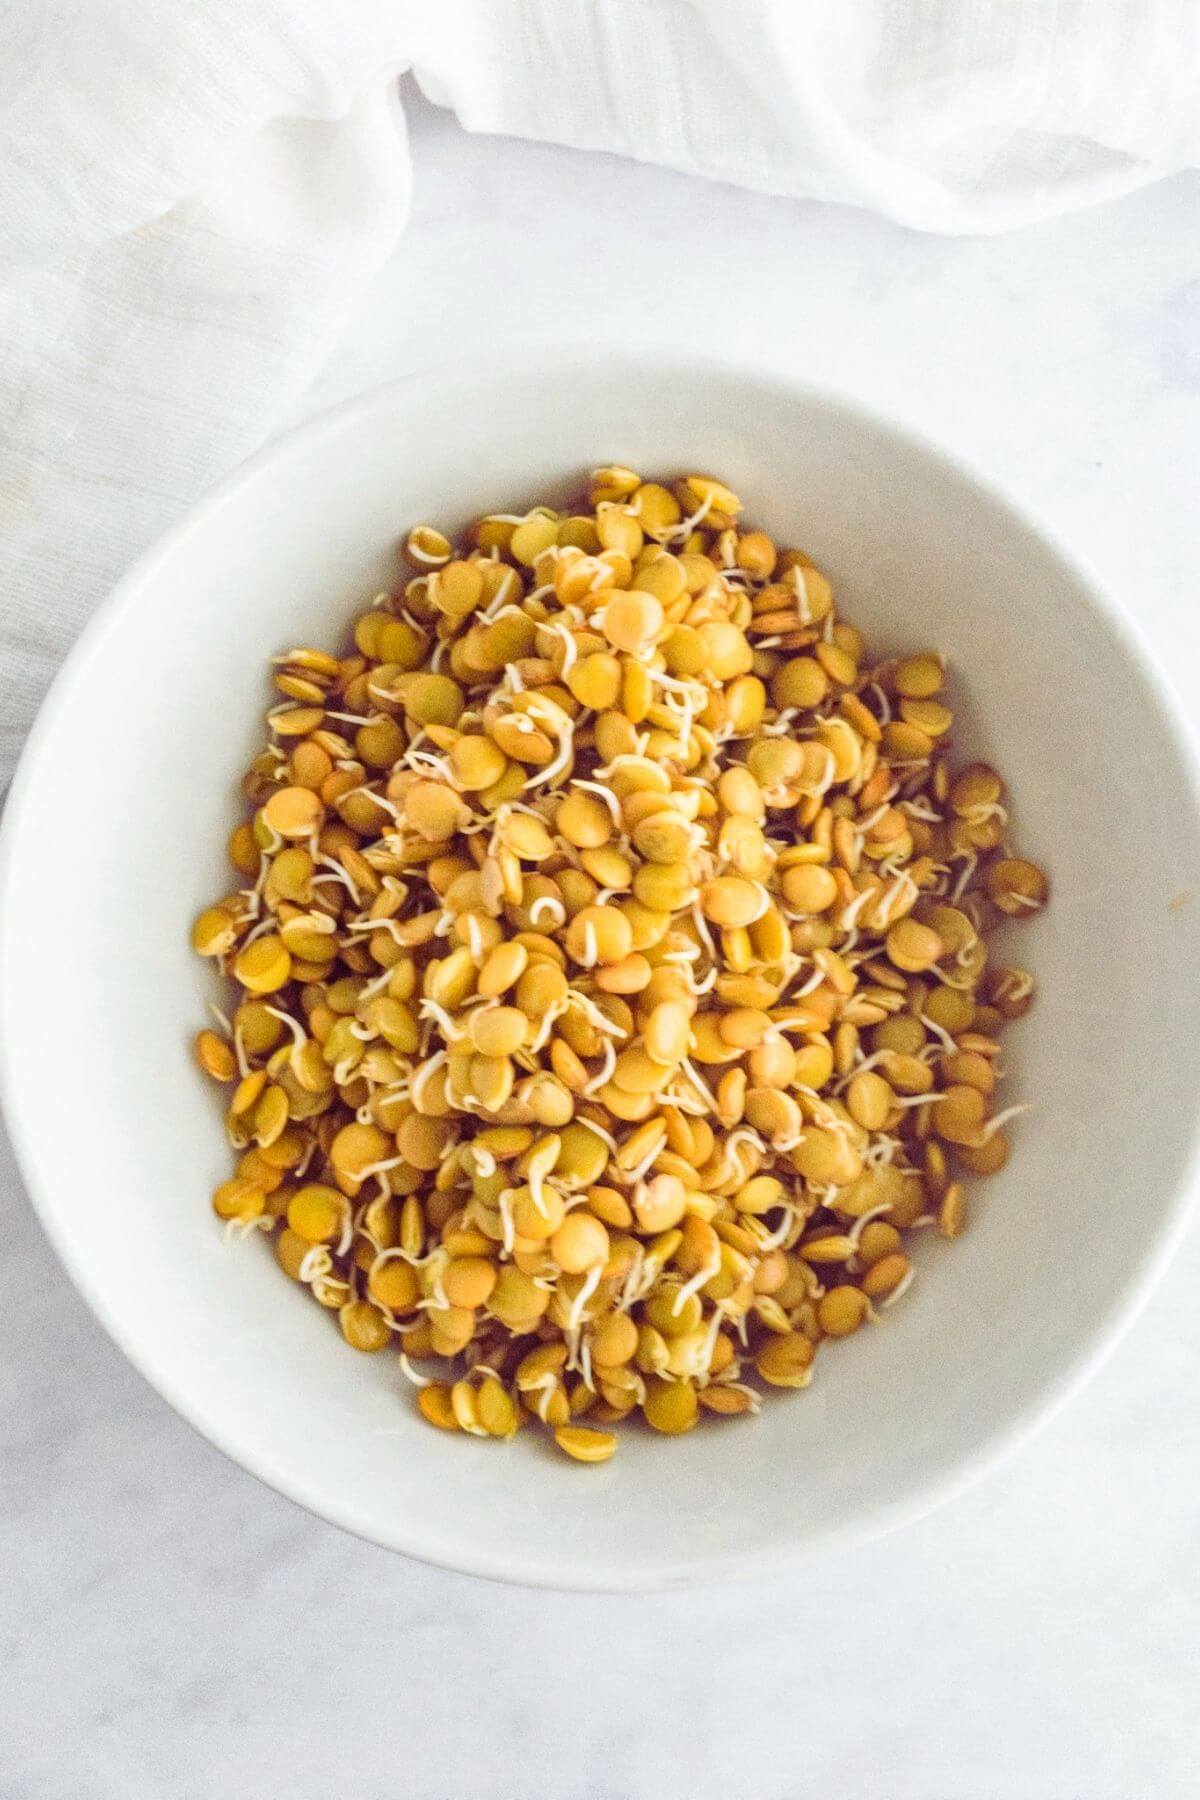
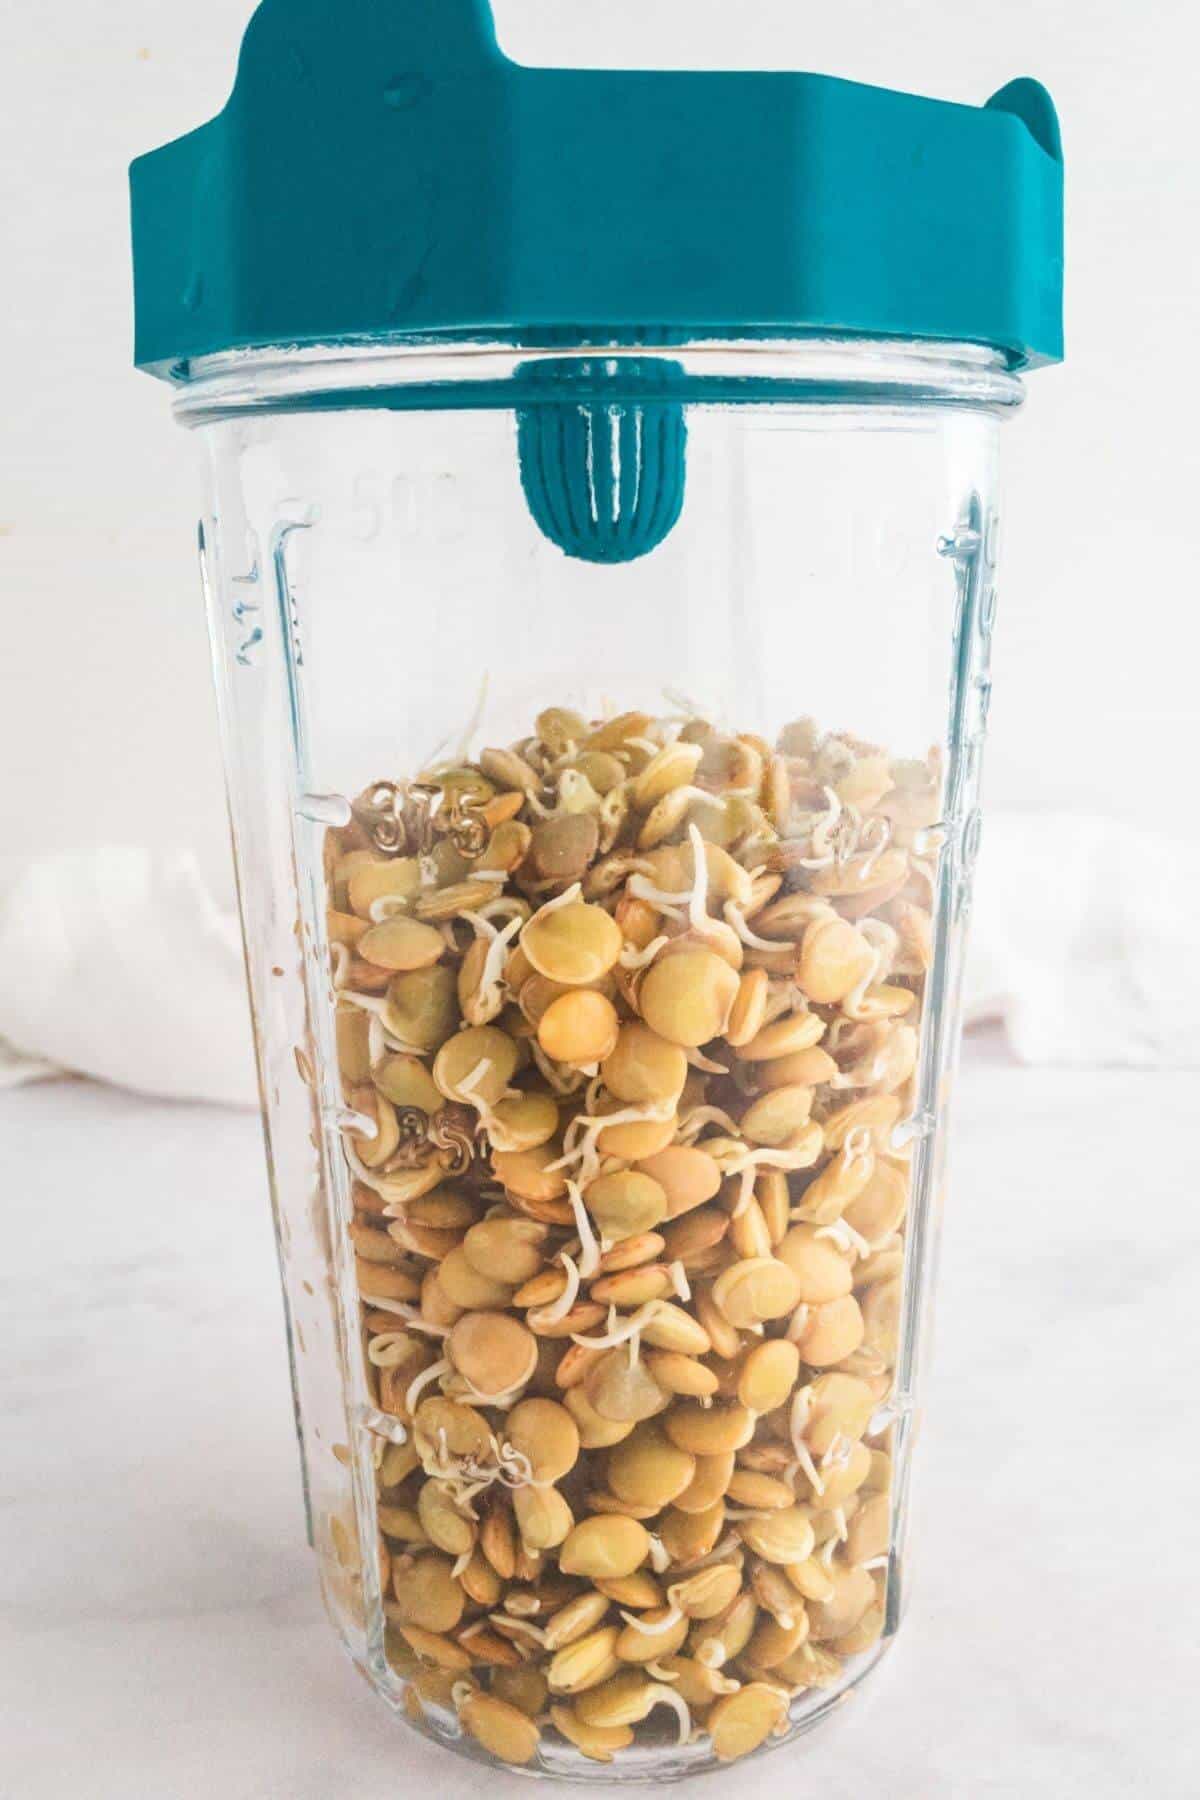
Soaking allows it to rehydrate and soften before blending. At this point, it becomes super slippery and jelly-like and lightens up in colour quite a bit.
Top tips
Here are a few tips on how to prepare:
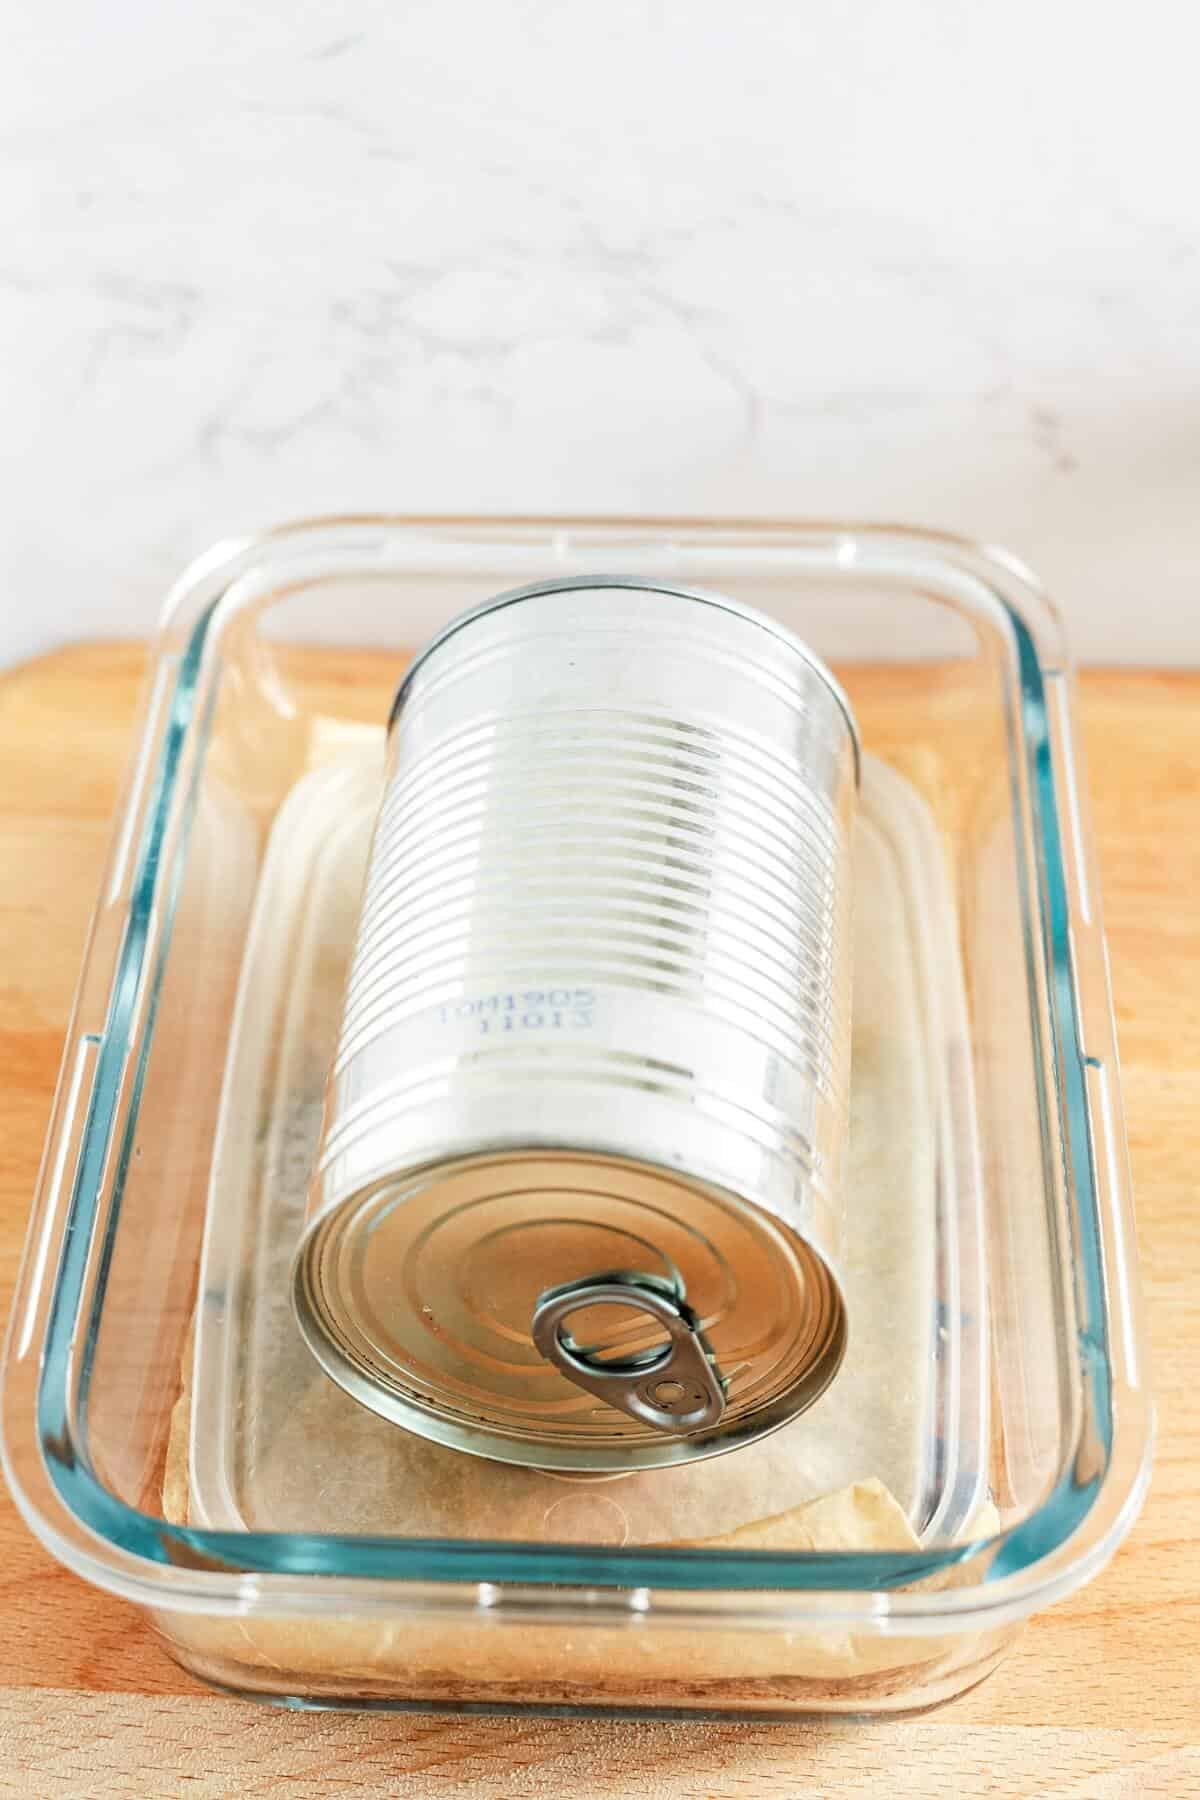
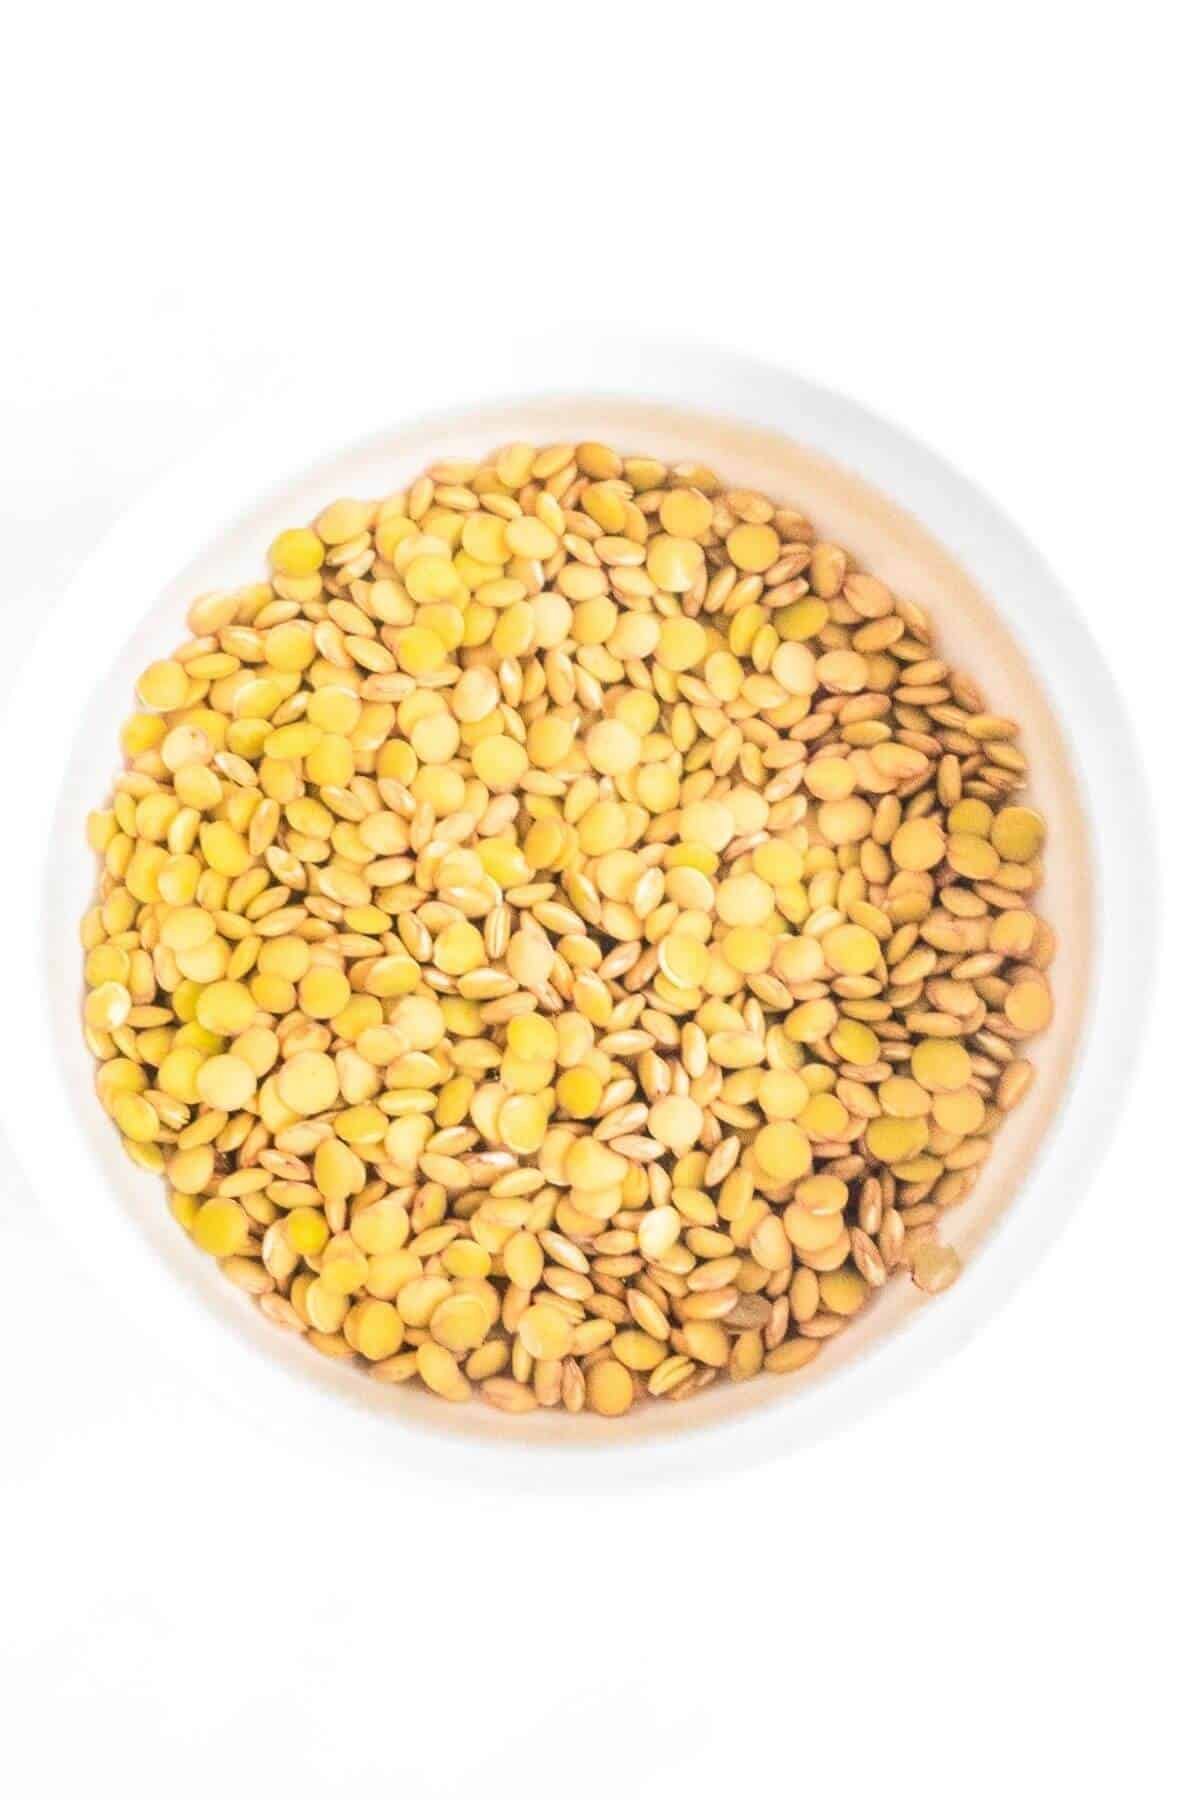
- Dried sea moss will swell up significantly in size while soaking, so it’s important to use plenty of water and to keep it fully submerged. I sometimes place a small plate over the sea moss to hold it underneath the water while it's hydrating.
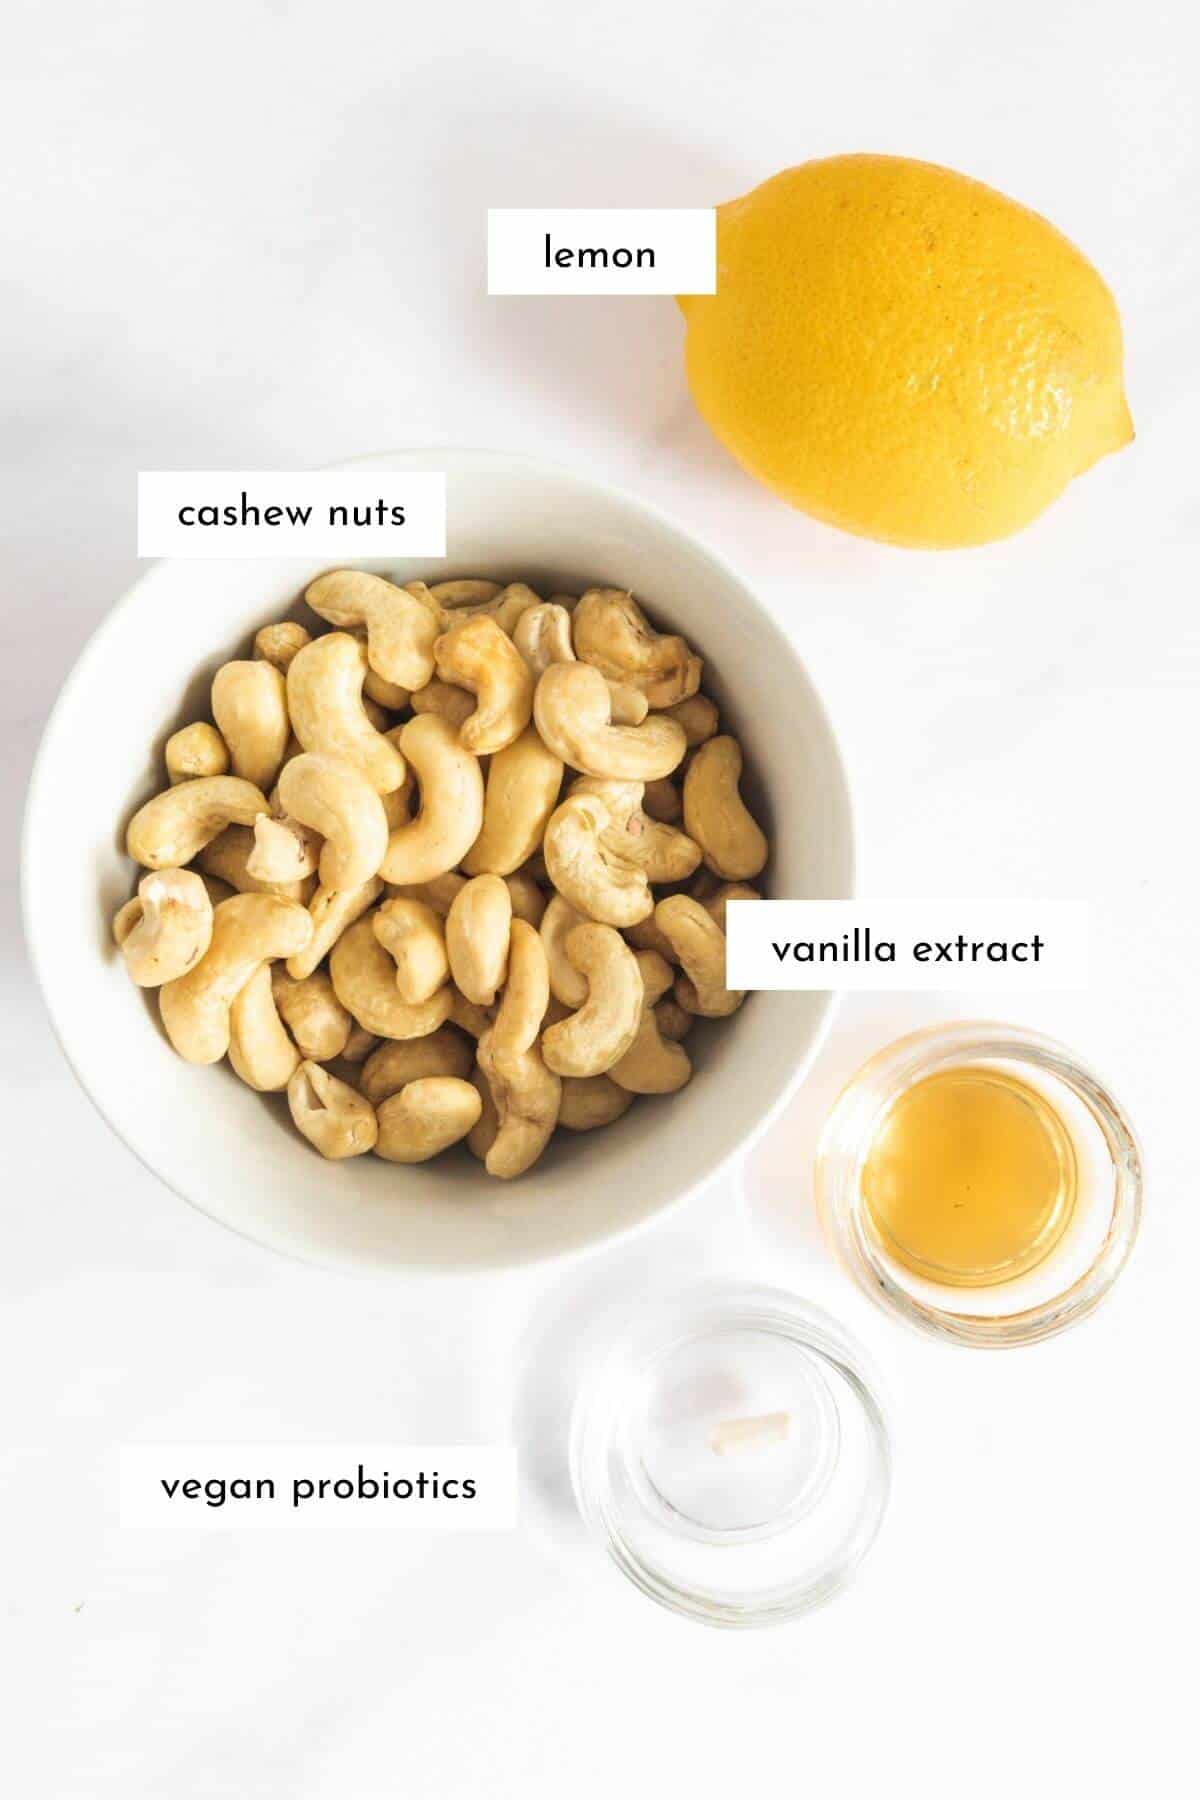
- If it has a strong aroma, add lemon or lime halves to the bowl while soaking to help reduce its fragrance.
- For a soft and more pourable gel, I use 100ml of water per 10g of dried sea moss for blending.
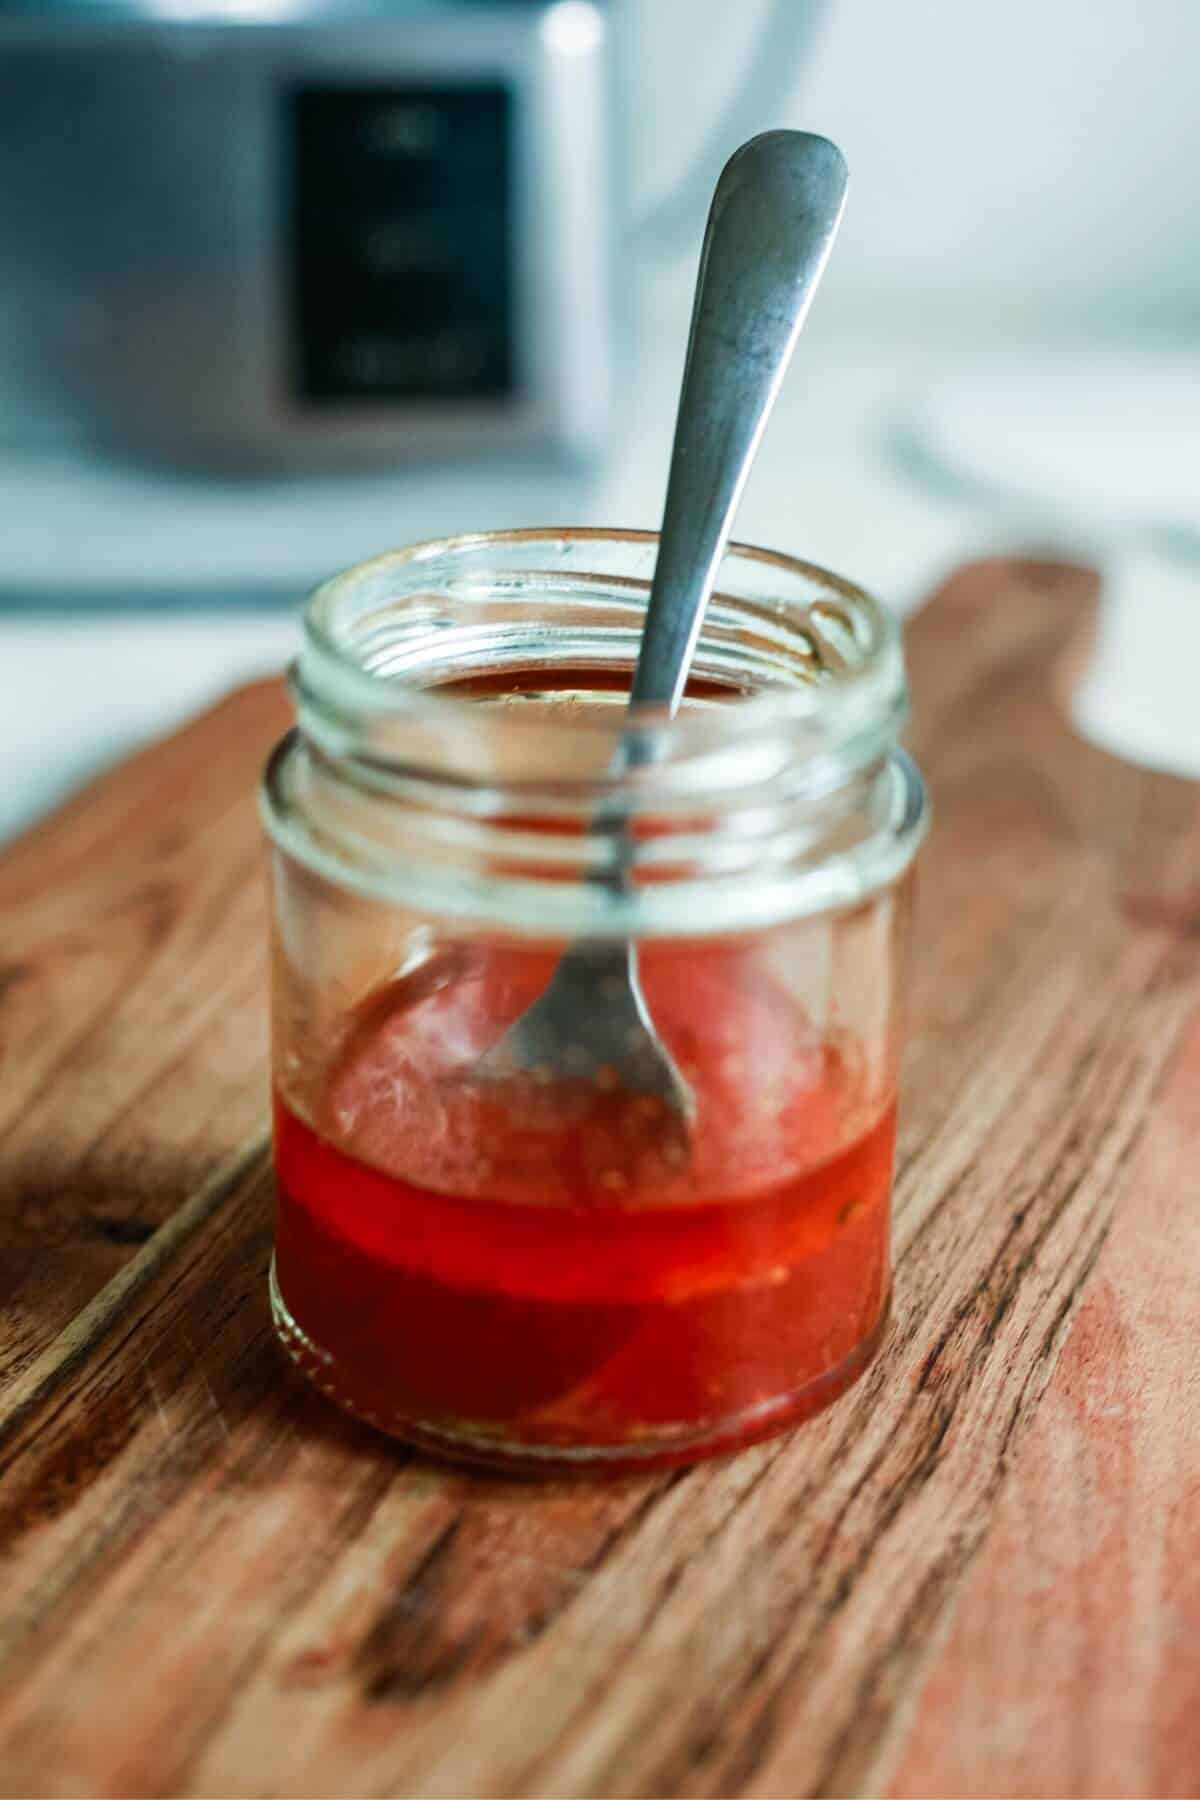
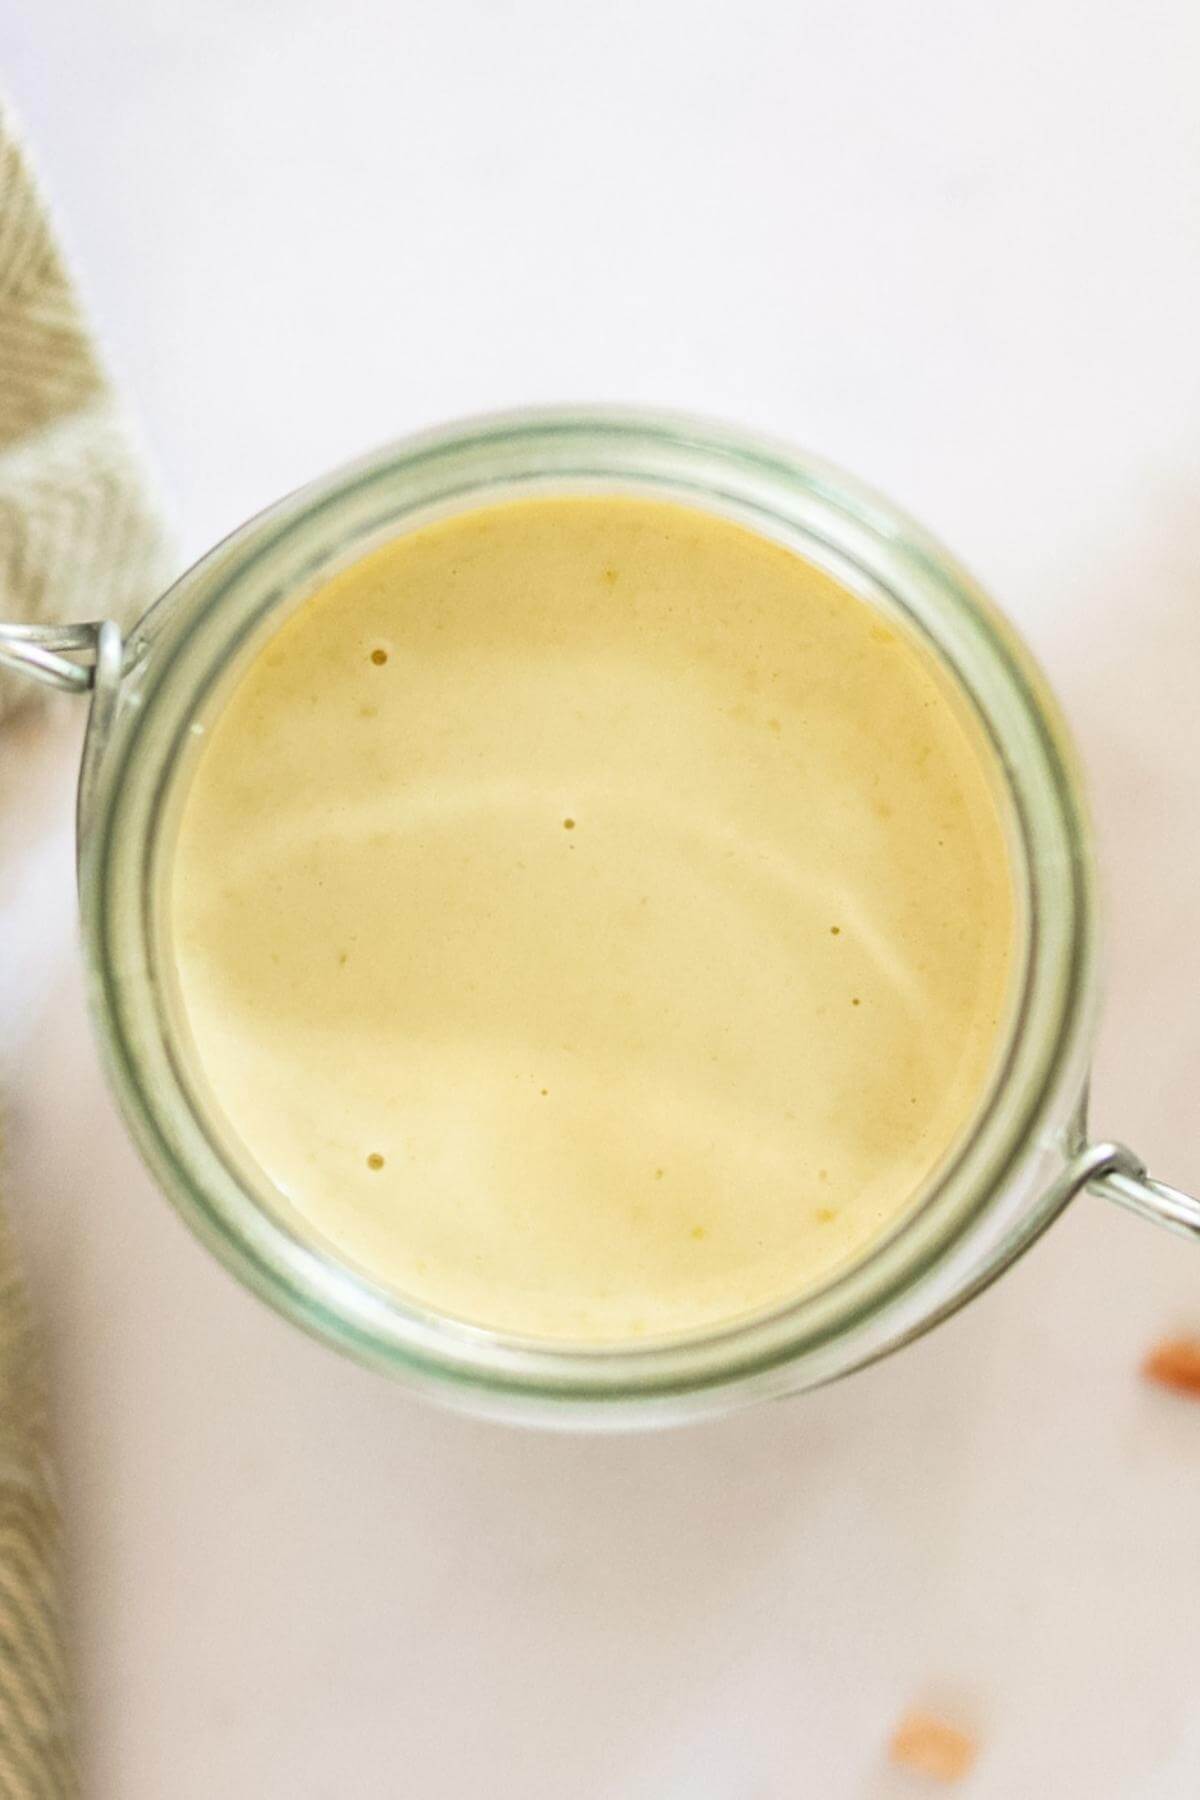
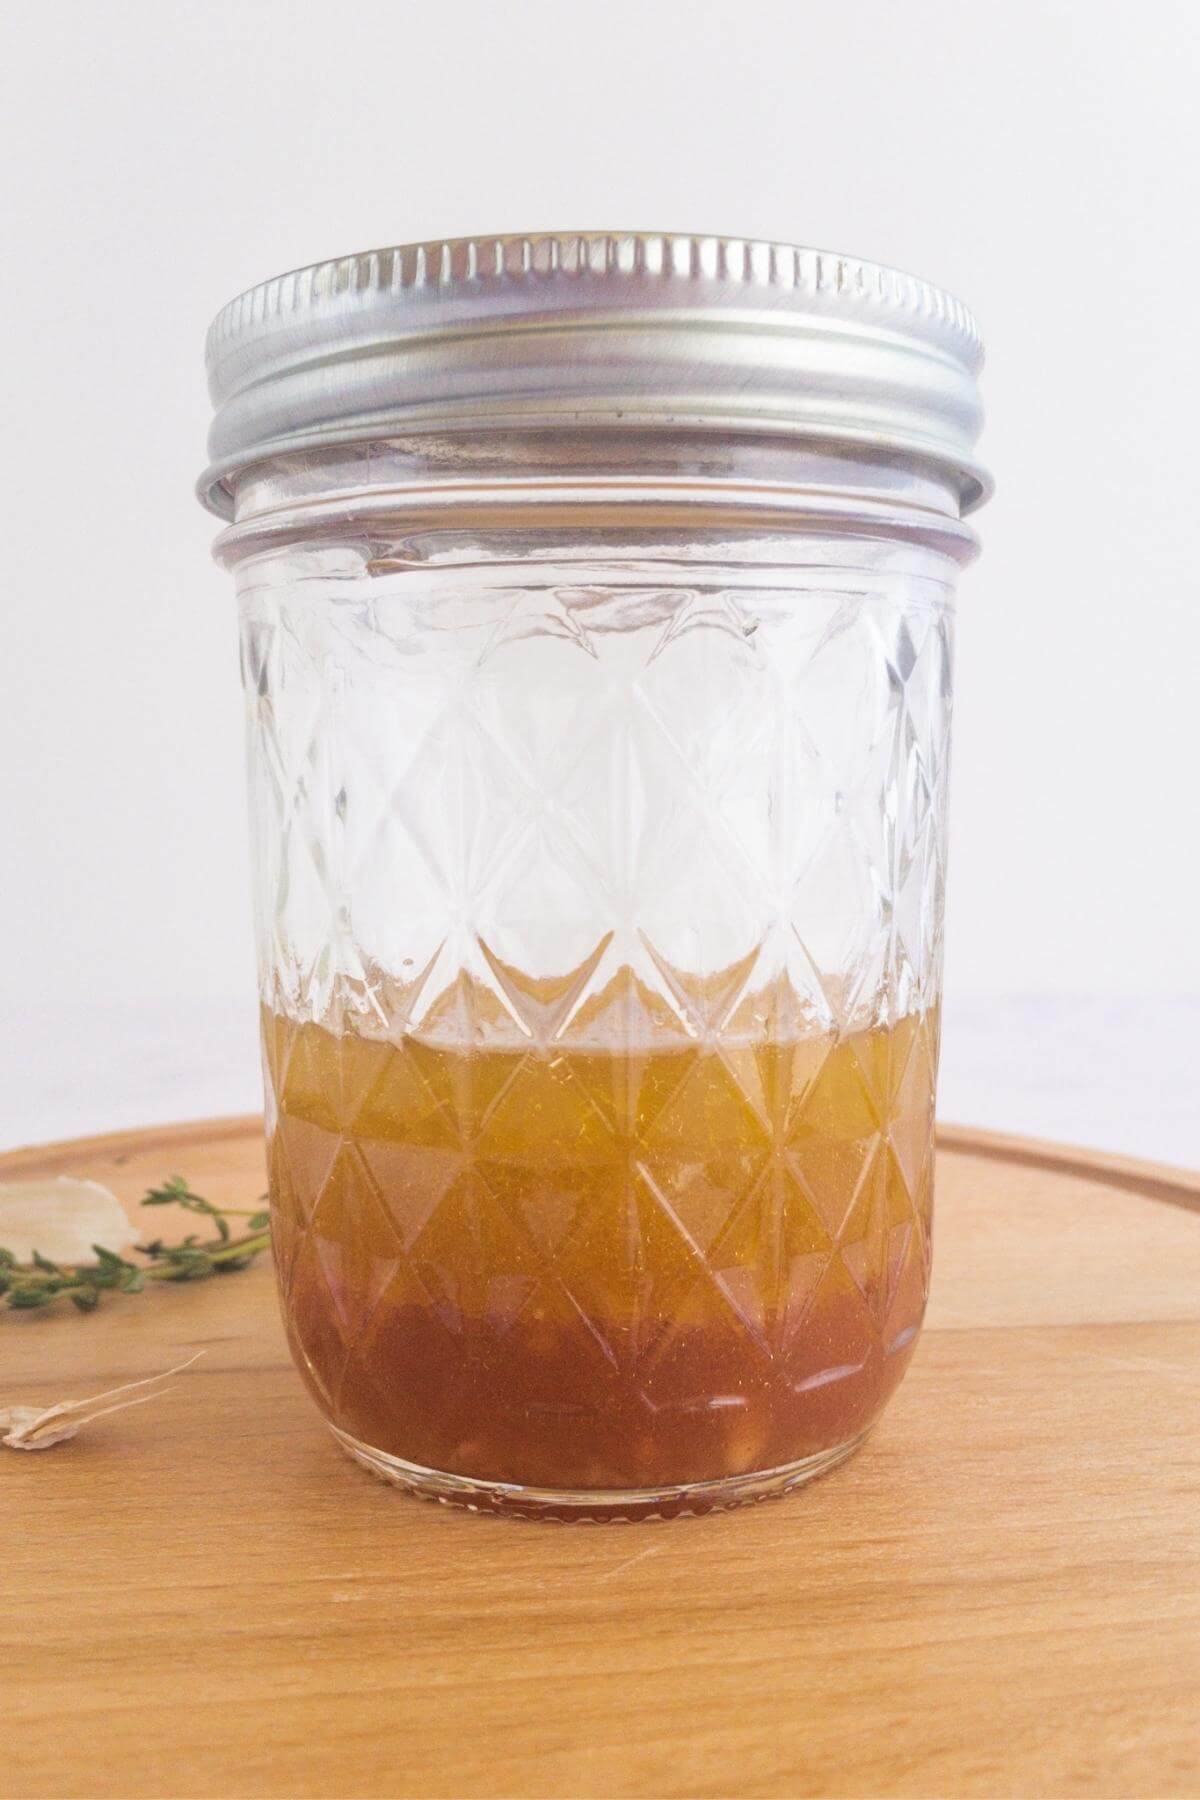
Storing and freezing
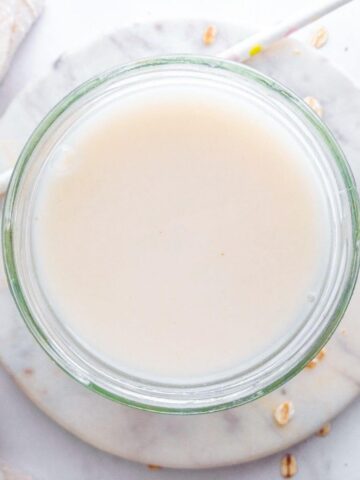
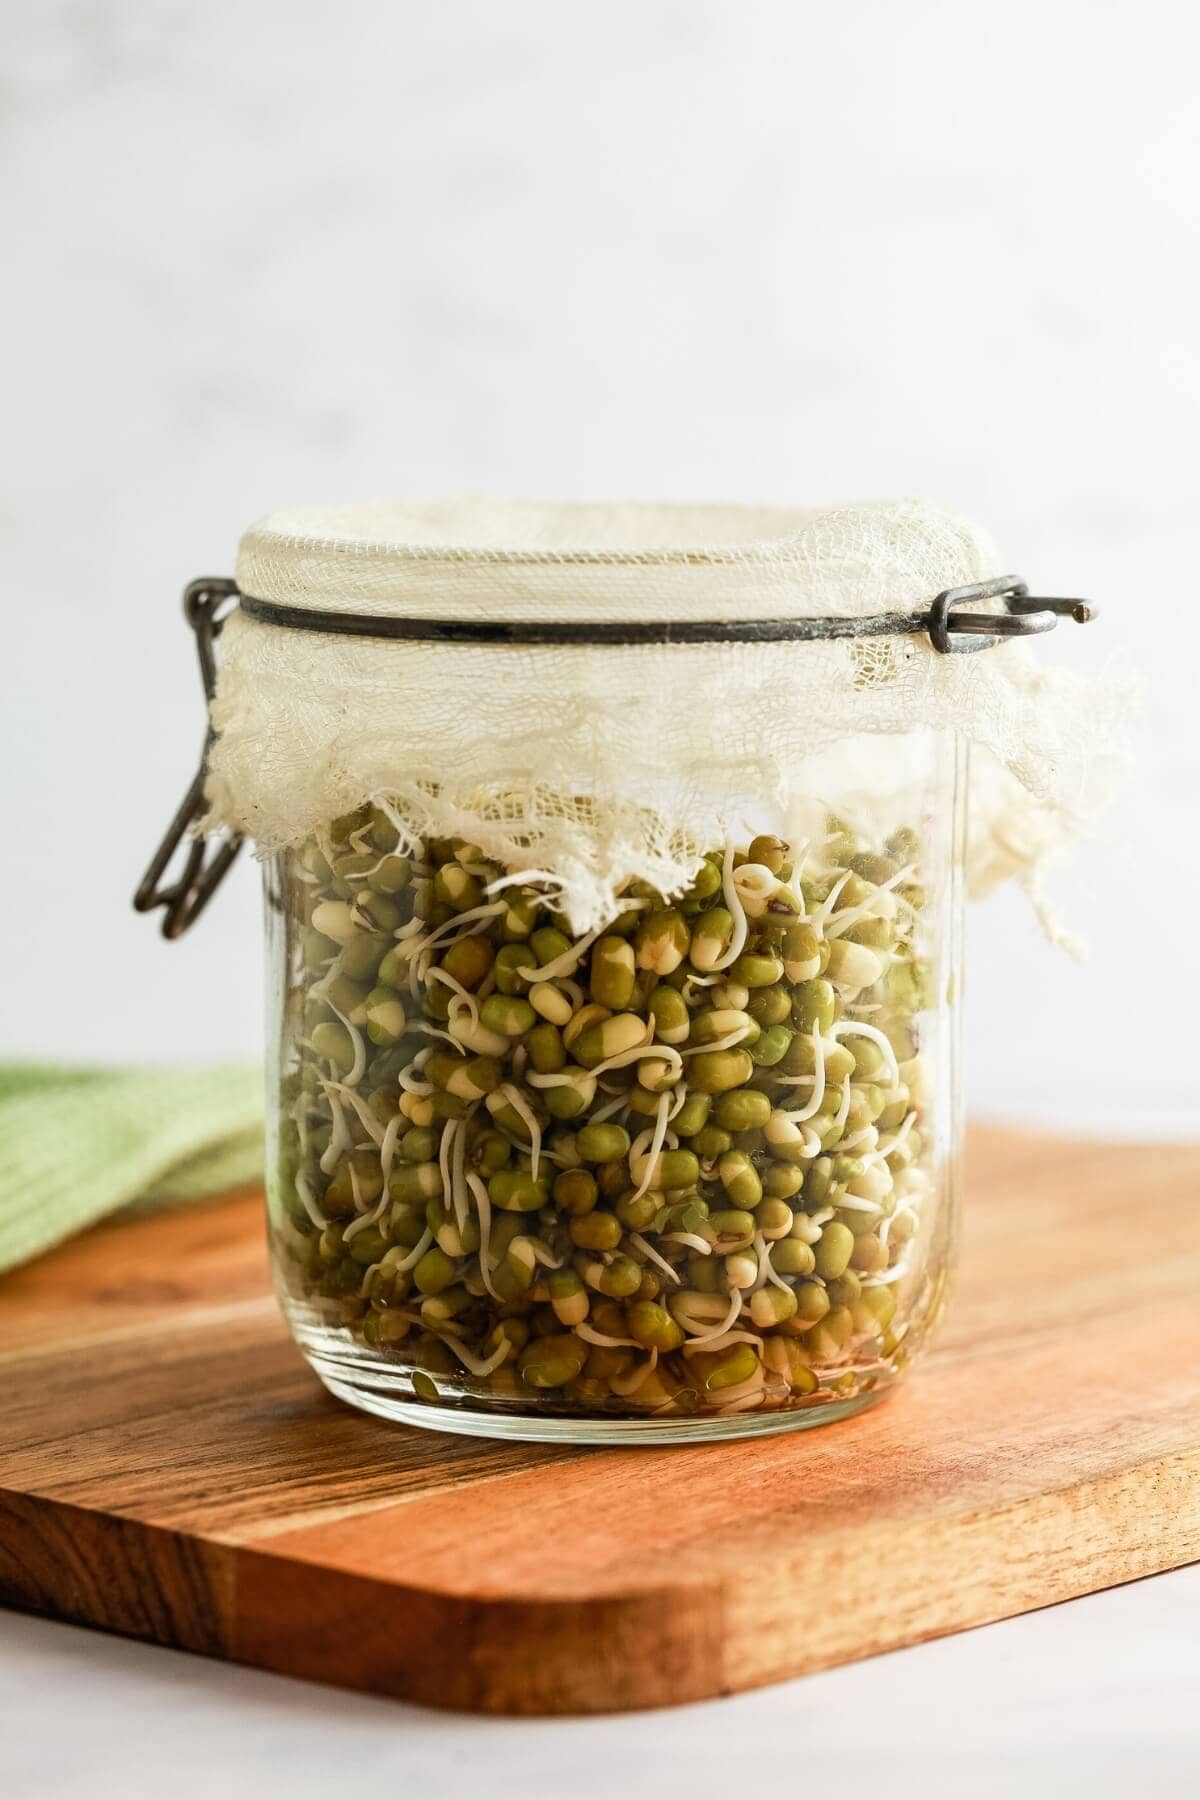
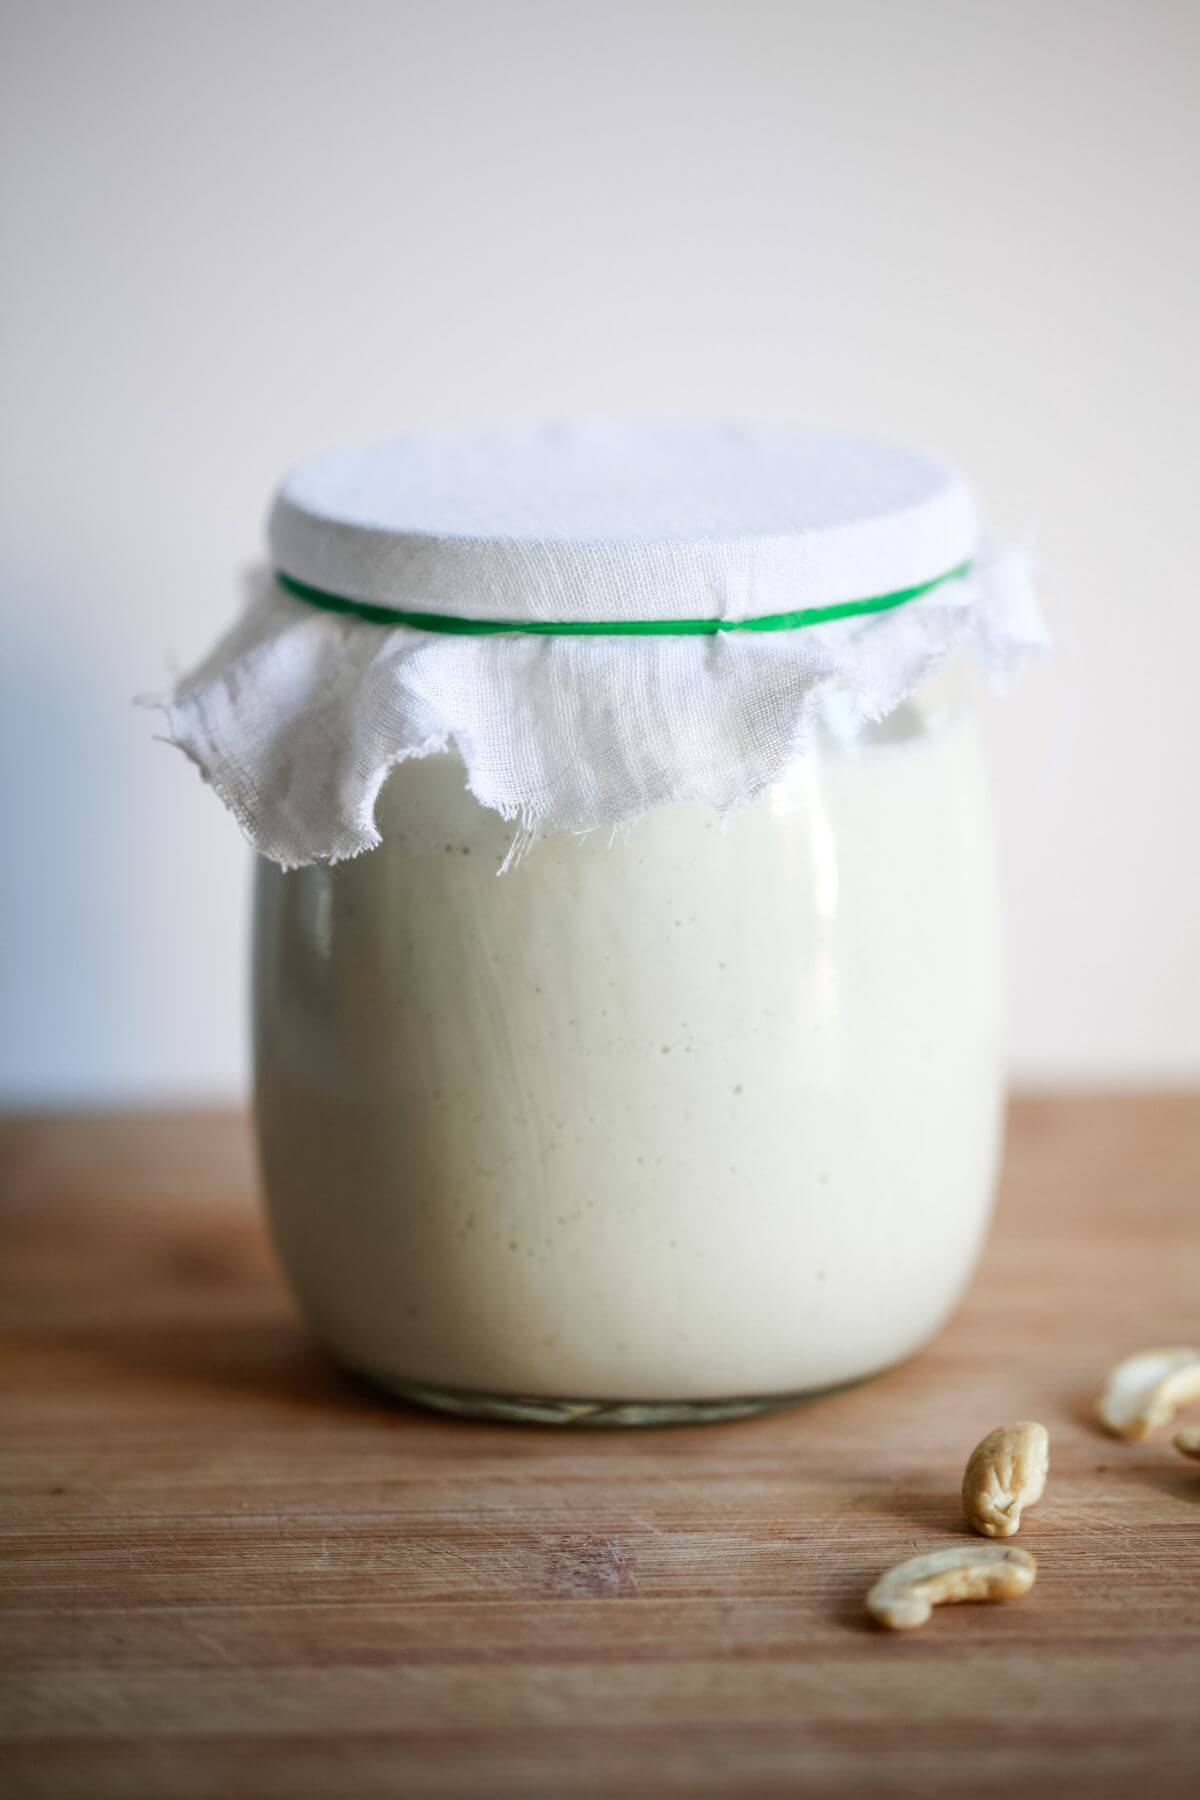
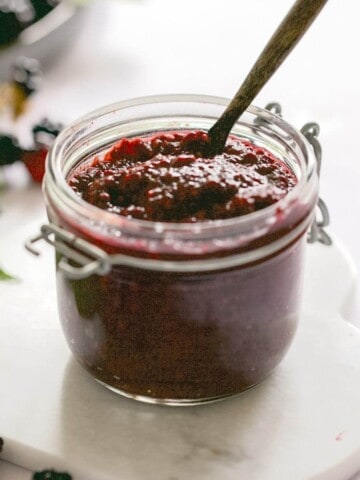
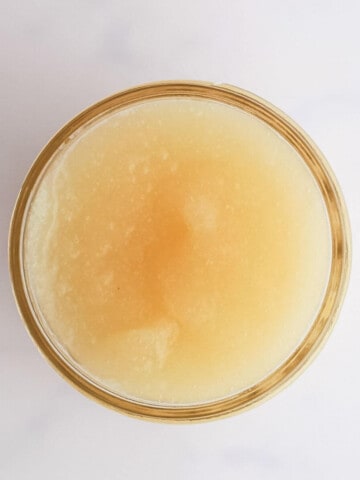
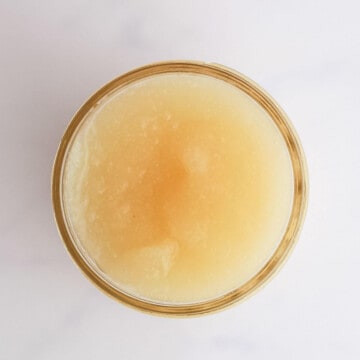
Pour the gel into a sealable glass jar and store it in the fridge. It should stay fresh for 2-3 weeks and will thicken after being chilled.
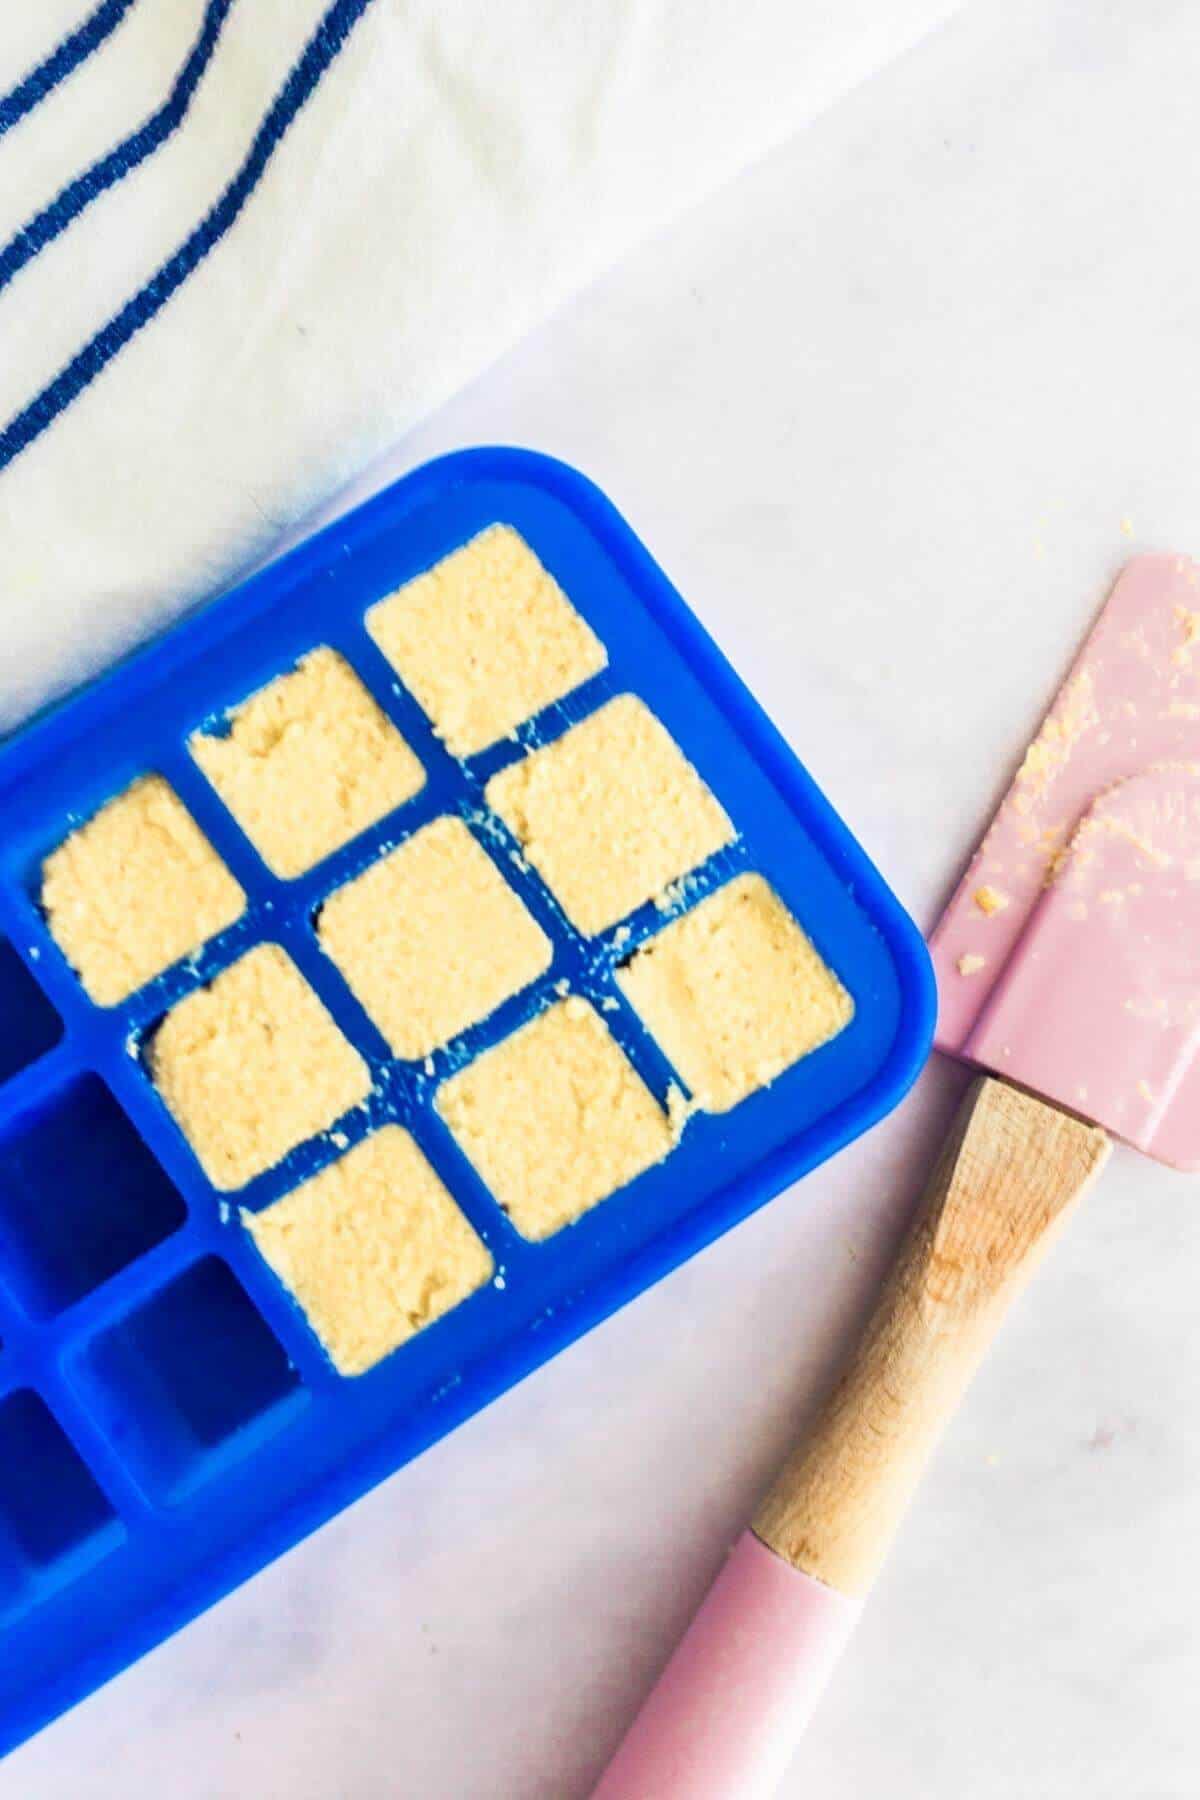
Freezes well for up to three months and is easy to add to ice cube trays. Once frozen, add the cubes to a freezer bag and remove them as and when.
Defrost before use.
📖 Recipe
How to make Sea Moss Gel
Equipment
- a blender or food processor with an s-blade.
- Large bowl.
- 1 clean glass jar with lid or mason jar.
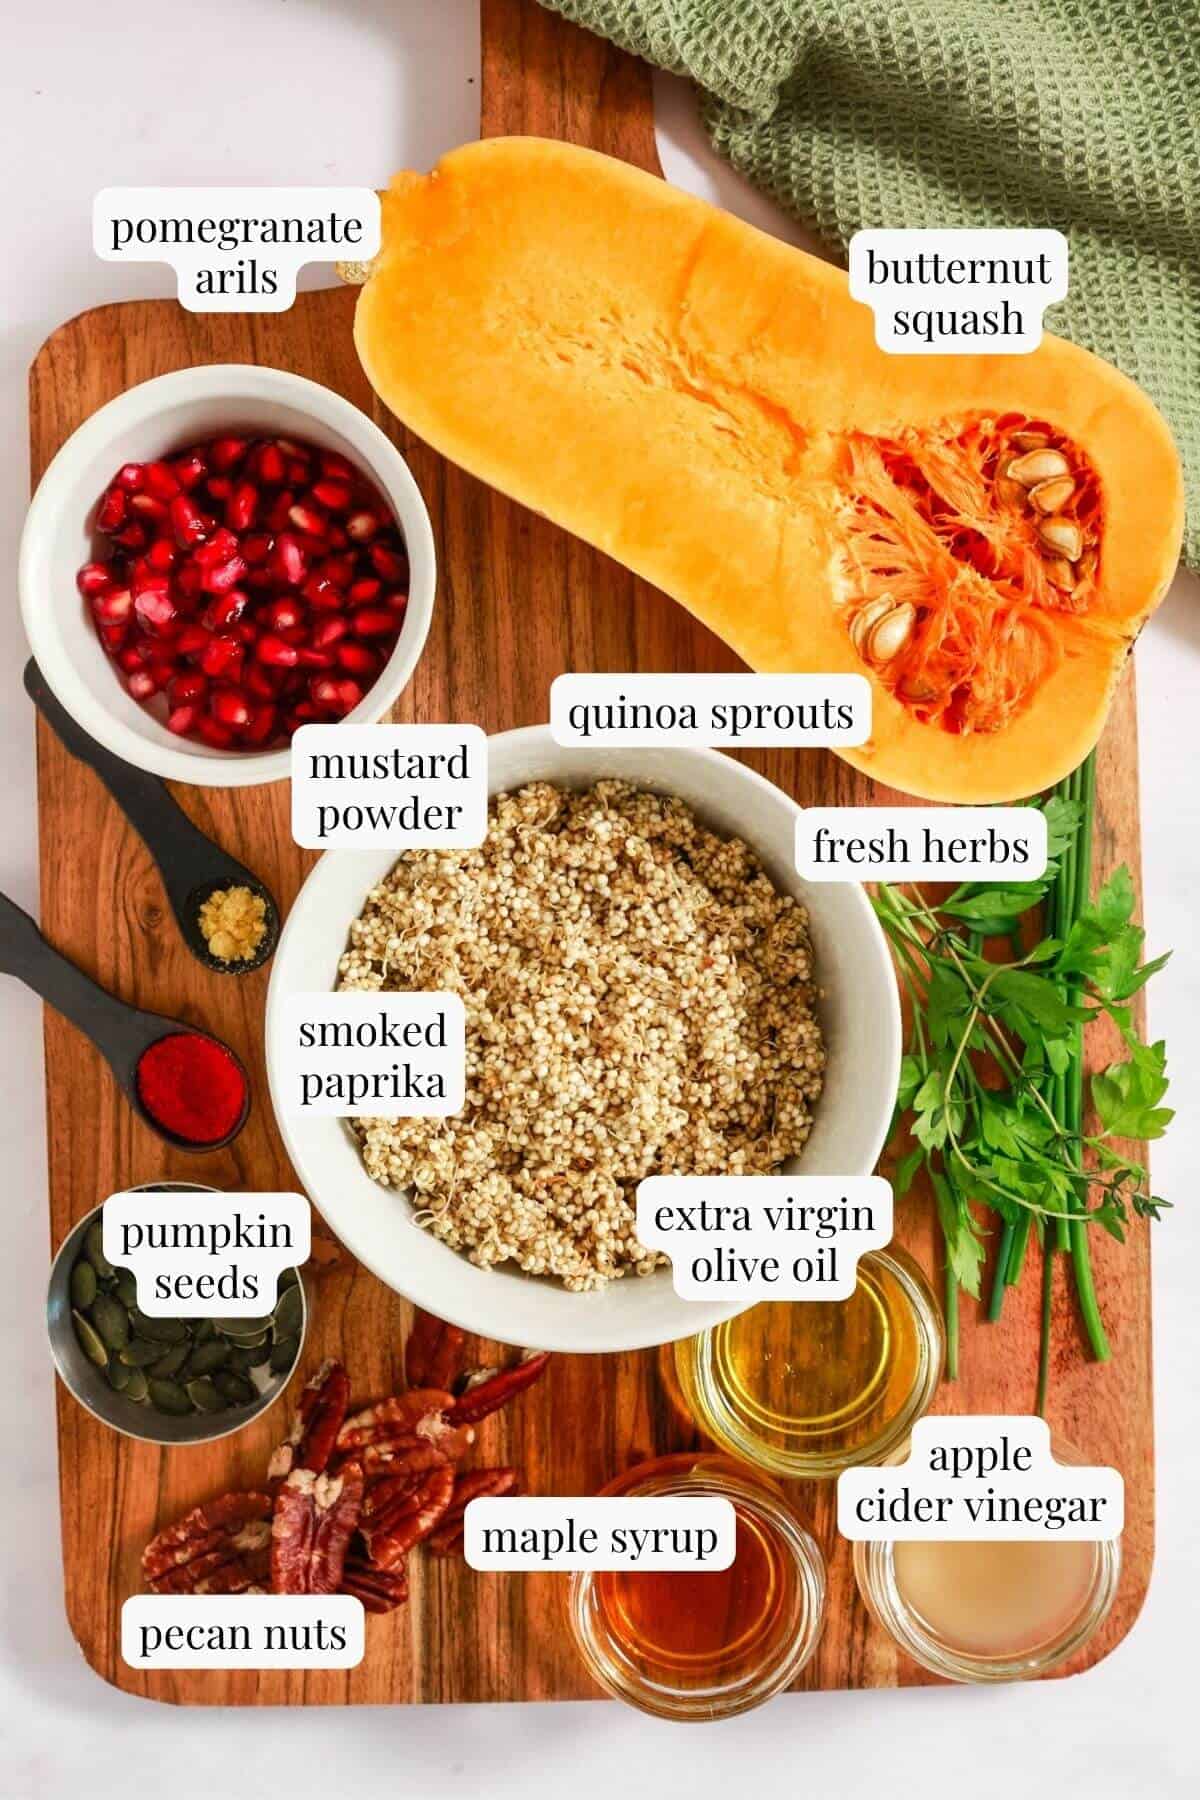
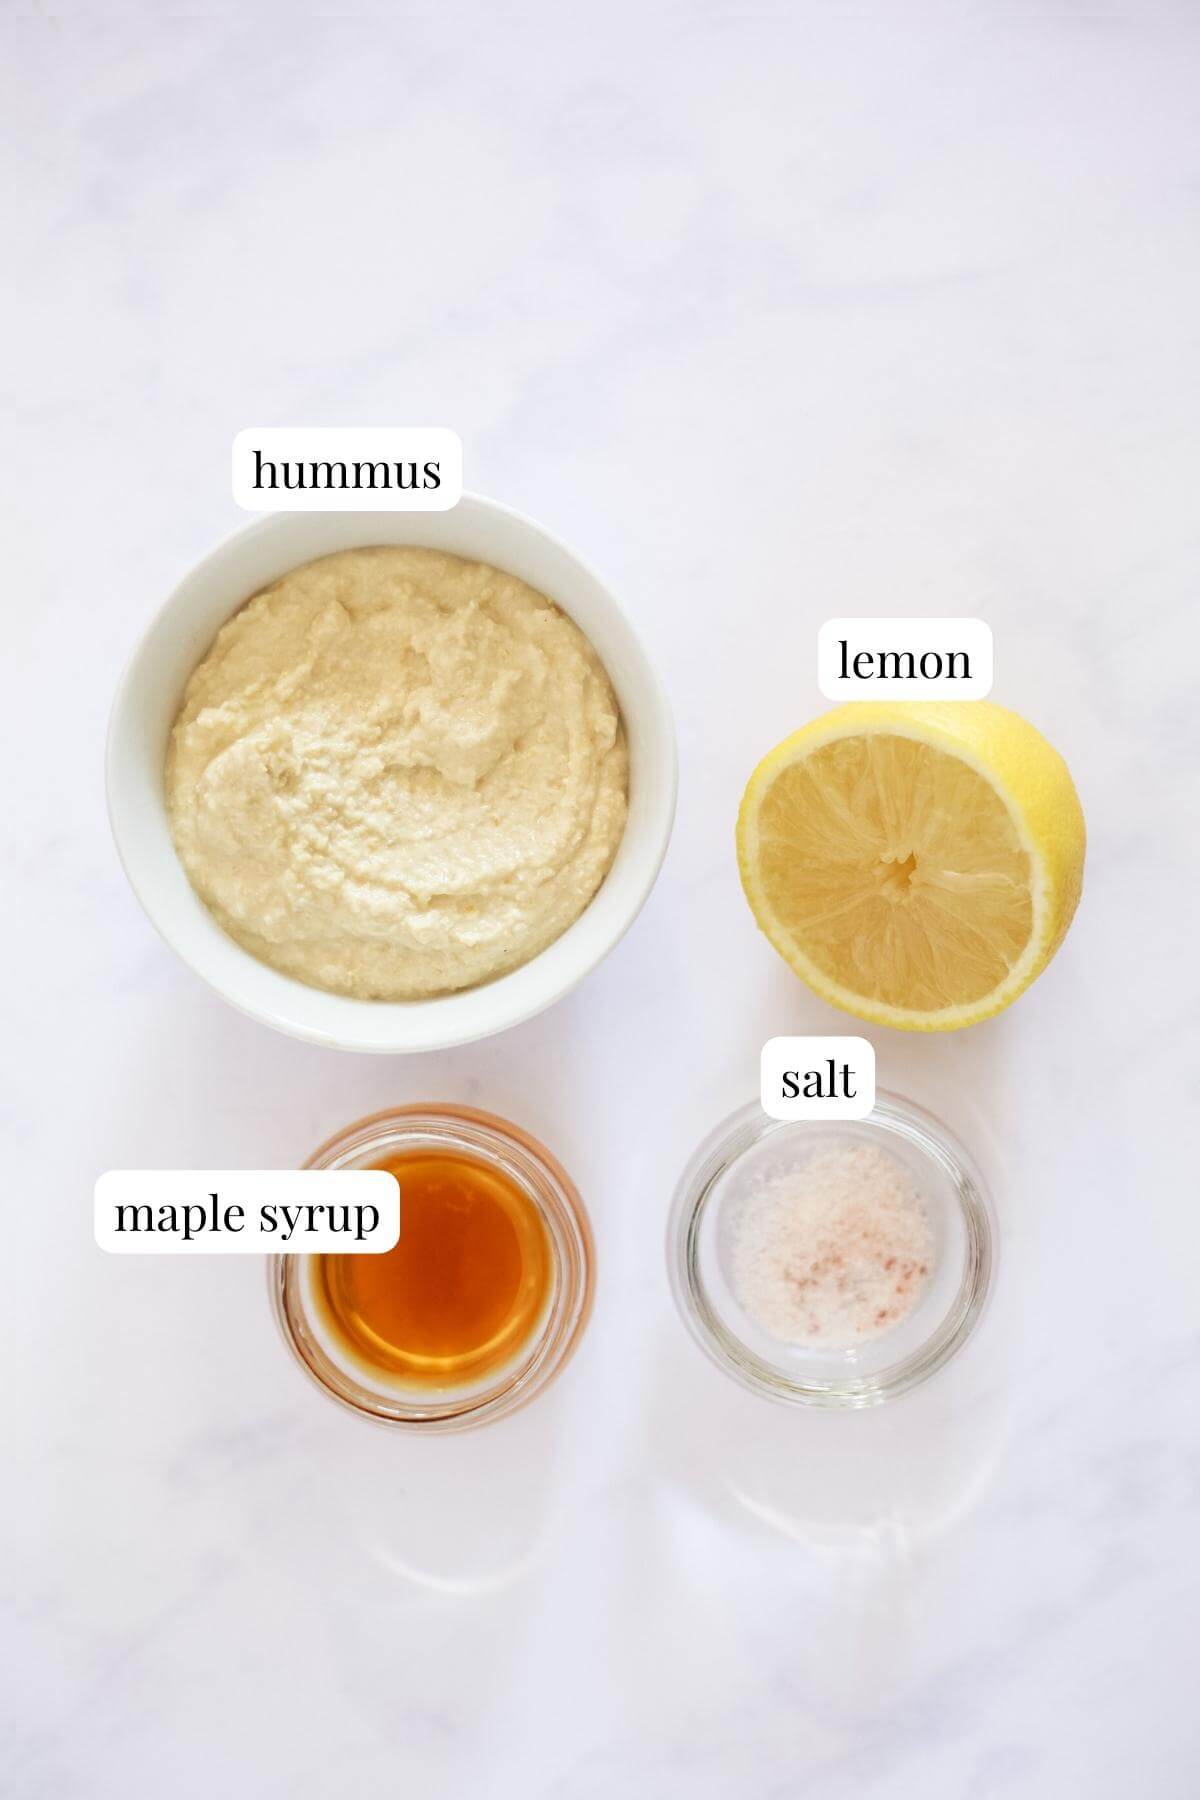
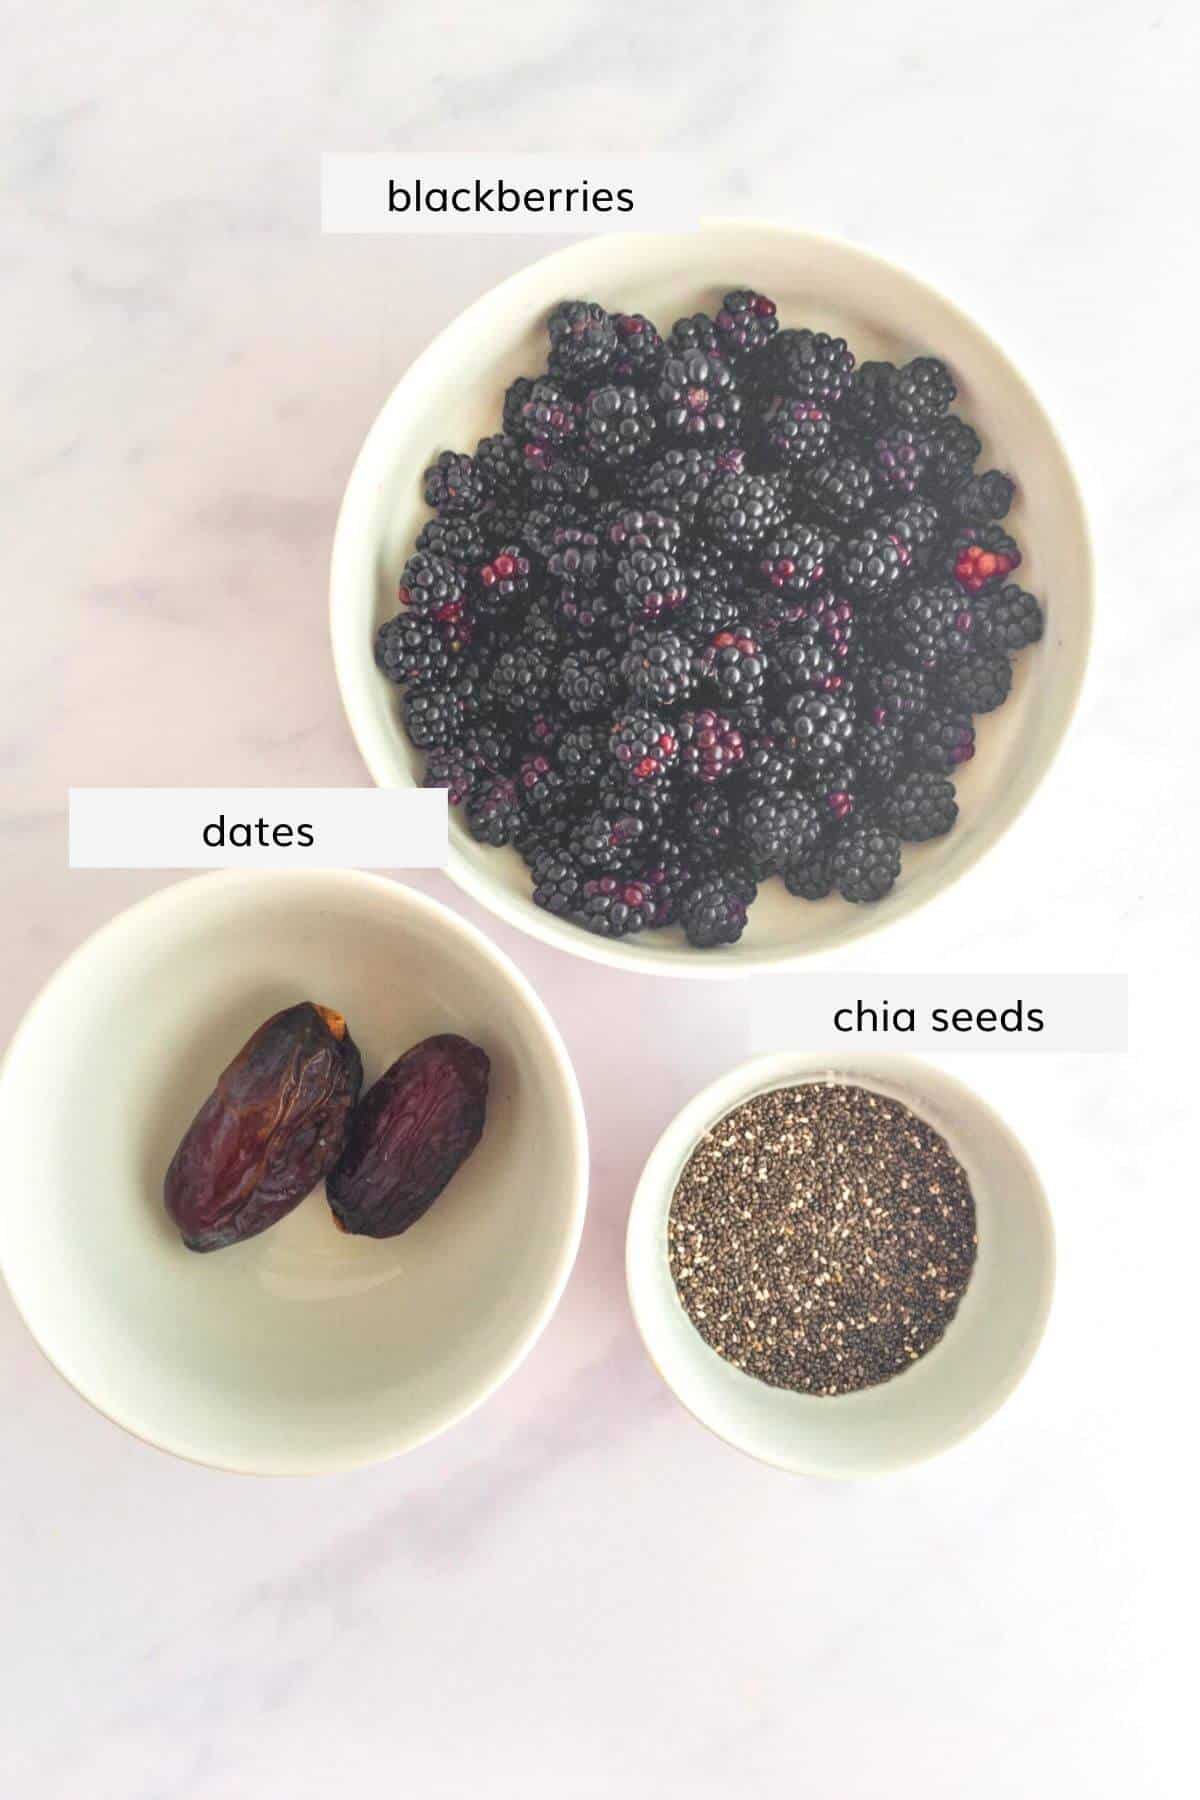
Ingredients
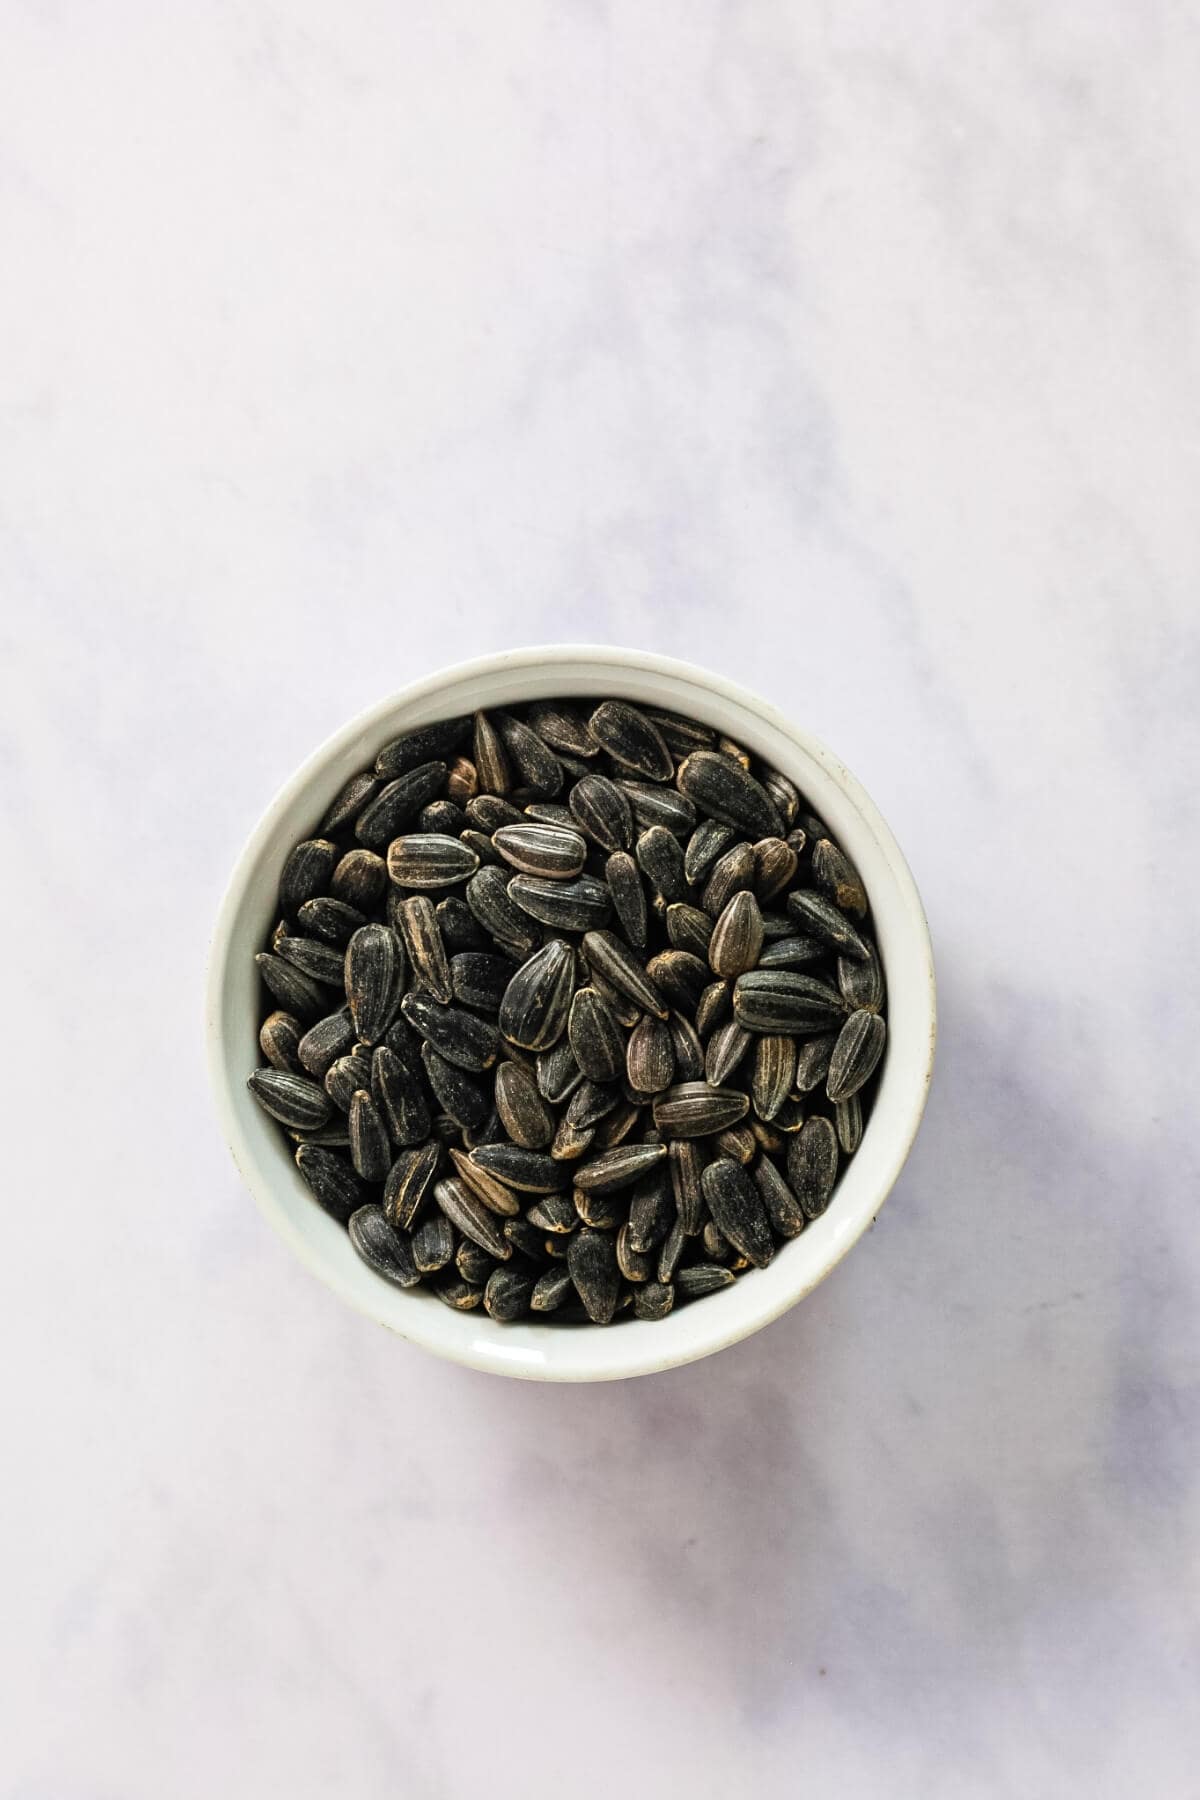
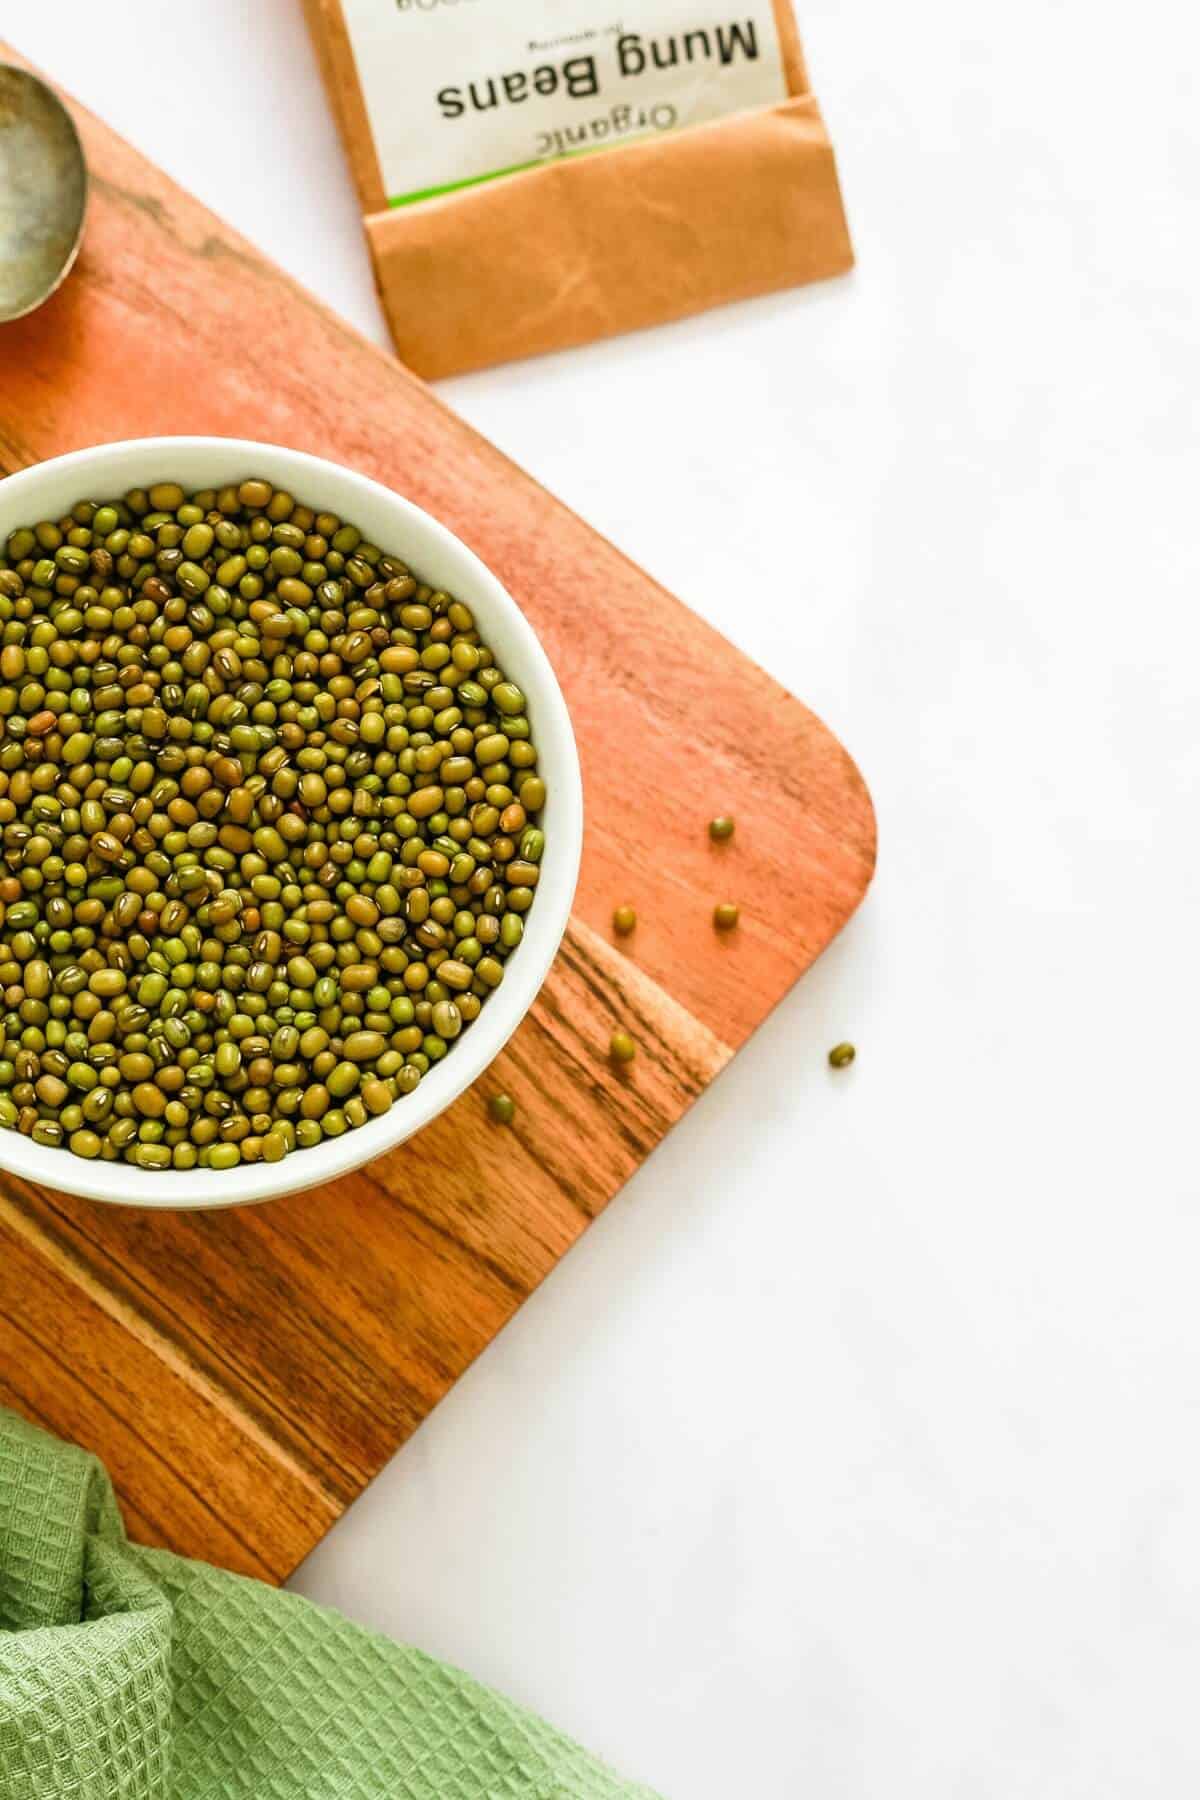
- 1 cup (35g) Raw dried sea moss
- 51 fl oz (1 ½ litres) Spring or alkaline water , for washing and soaking
- 1 cup (240ml) Spring or alkaline water, for blending
Instructions
- Clean & rinse. Add raw dried sea moss to a large bowl with a couple cups of spring water and clean by massaging with your fingers for a few minutes. This helps to remove any dirt or debris and the water will become cloudy. Rinse and drain the sea moss.
- Soak. Add the sea moss back into the bowl and top with plenty of spring water. Leave it to soak for 12-24 hours. Soaking allows it to soften and fully hydrate before blending. It'll also become much lighter in colour at this point.
- Blend. Remove the sea moss from the bowl and add to a blender with 240ml (1 cup) spring water. Blend until smooth. For a looser gel slowly add more water, a tablespoon at a time, until it reaches your desired consistency.
Notes
Which sea moss to buy
- I like the wildcrafted sea moss from the Caribbean. Look for organic, naturally grown and wild harvested from clean, unpolluted waters, and is sustainably sourced.
- Do your research and find a reputable supplier known for their high-quality seaweed products or a reliable wholefoods supplier you know and trust.
- You want to avoid the mass produced ones grown in pools because it will have lower quality and nutrition.
- Avoid packs sold with any added chemicals, additives or preservatives. It should be naturally dried and 100% organic, nothing else.
- Read customer reviews to check for positive feedback over time.
How to tell if it has gone bad
Healthy gel should be light in colour and have a fresh, mild fragrance. Discard it immediately if it starts to smell particularly strong or off.
Also, if the texture turns slimy, if the colour changes, or if you see any visible degradation or mould spots, throw it away.
Health benefits
Raw Irish moss is rich in vitamins and minerals including vitamin B2, folate, iron, magnesium, manganese and zinc. The amount per portion shown is no more than 2 tablespoons (10g).
This article from the National Library of Medicine details studies on its possible health benefits.
The article mentions potential antiviral, anti-inflammatory, gut health, and neuroprotection activity, among other things. Check it out for more information.
Side effects
To read more about its health benefits and side effects, trustworthy sources like Healthline and WebMd are good guides. A serving size is no more than 2 tablespoons.
Did you know that, like many other edible seaweeds, sea moss can contain high levels of iodine? And that eating too much may cause an upset tummy or thyroid issues.
I'm not a doctor, nutritionist or health pro of any kind. So, please do your research and listen to your body. And if you have any health concerns, especially any underlying health conditions, always seek advice from your doctor.
FAQ
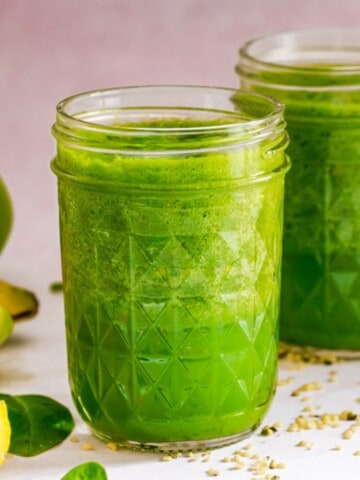
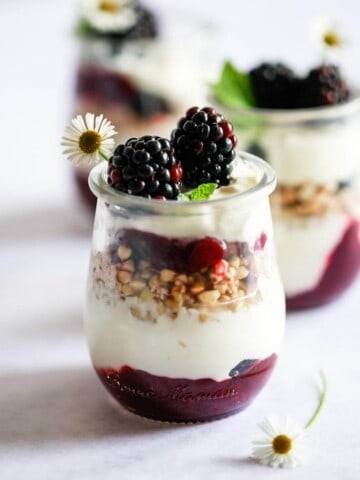
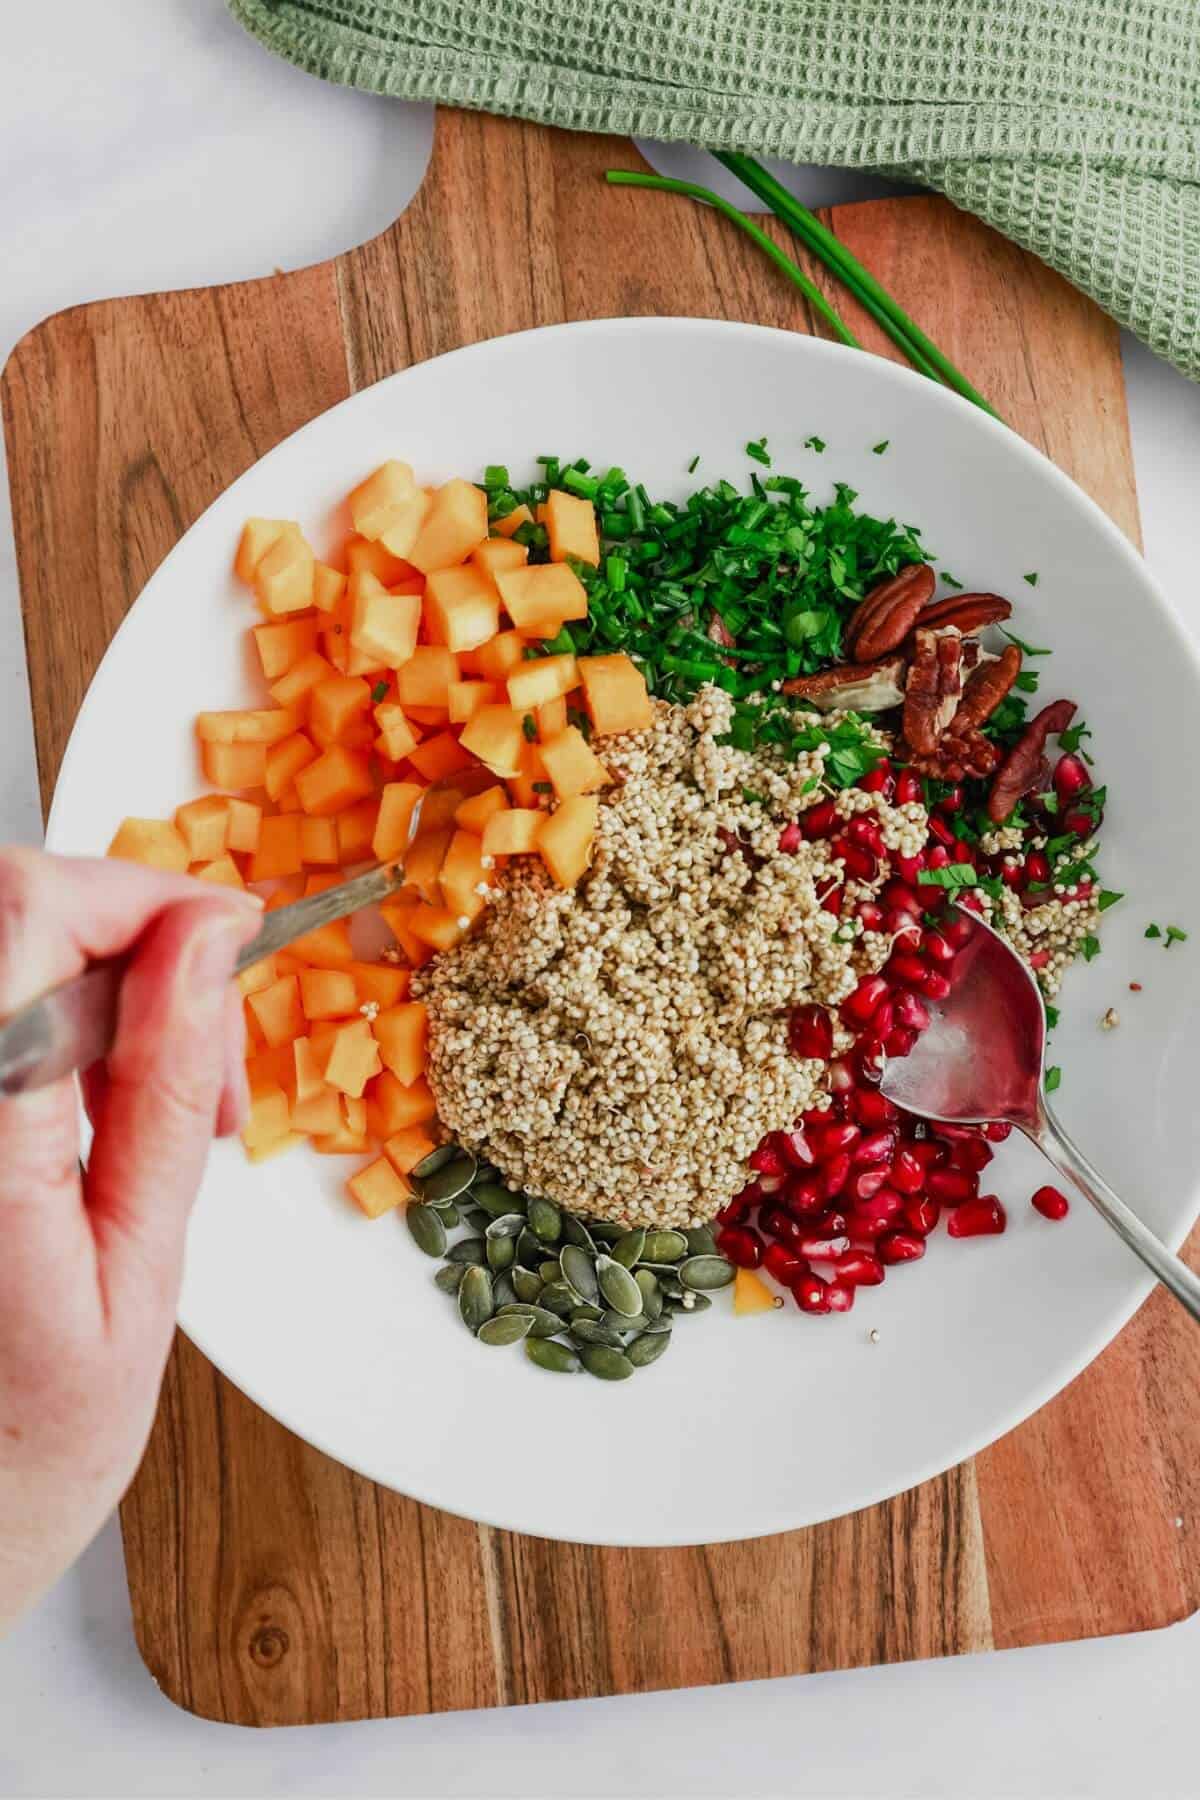
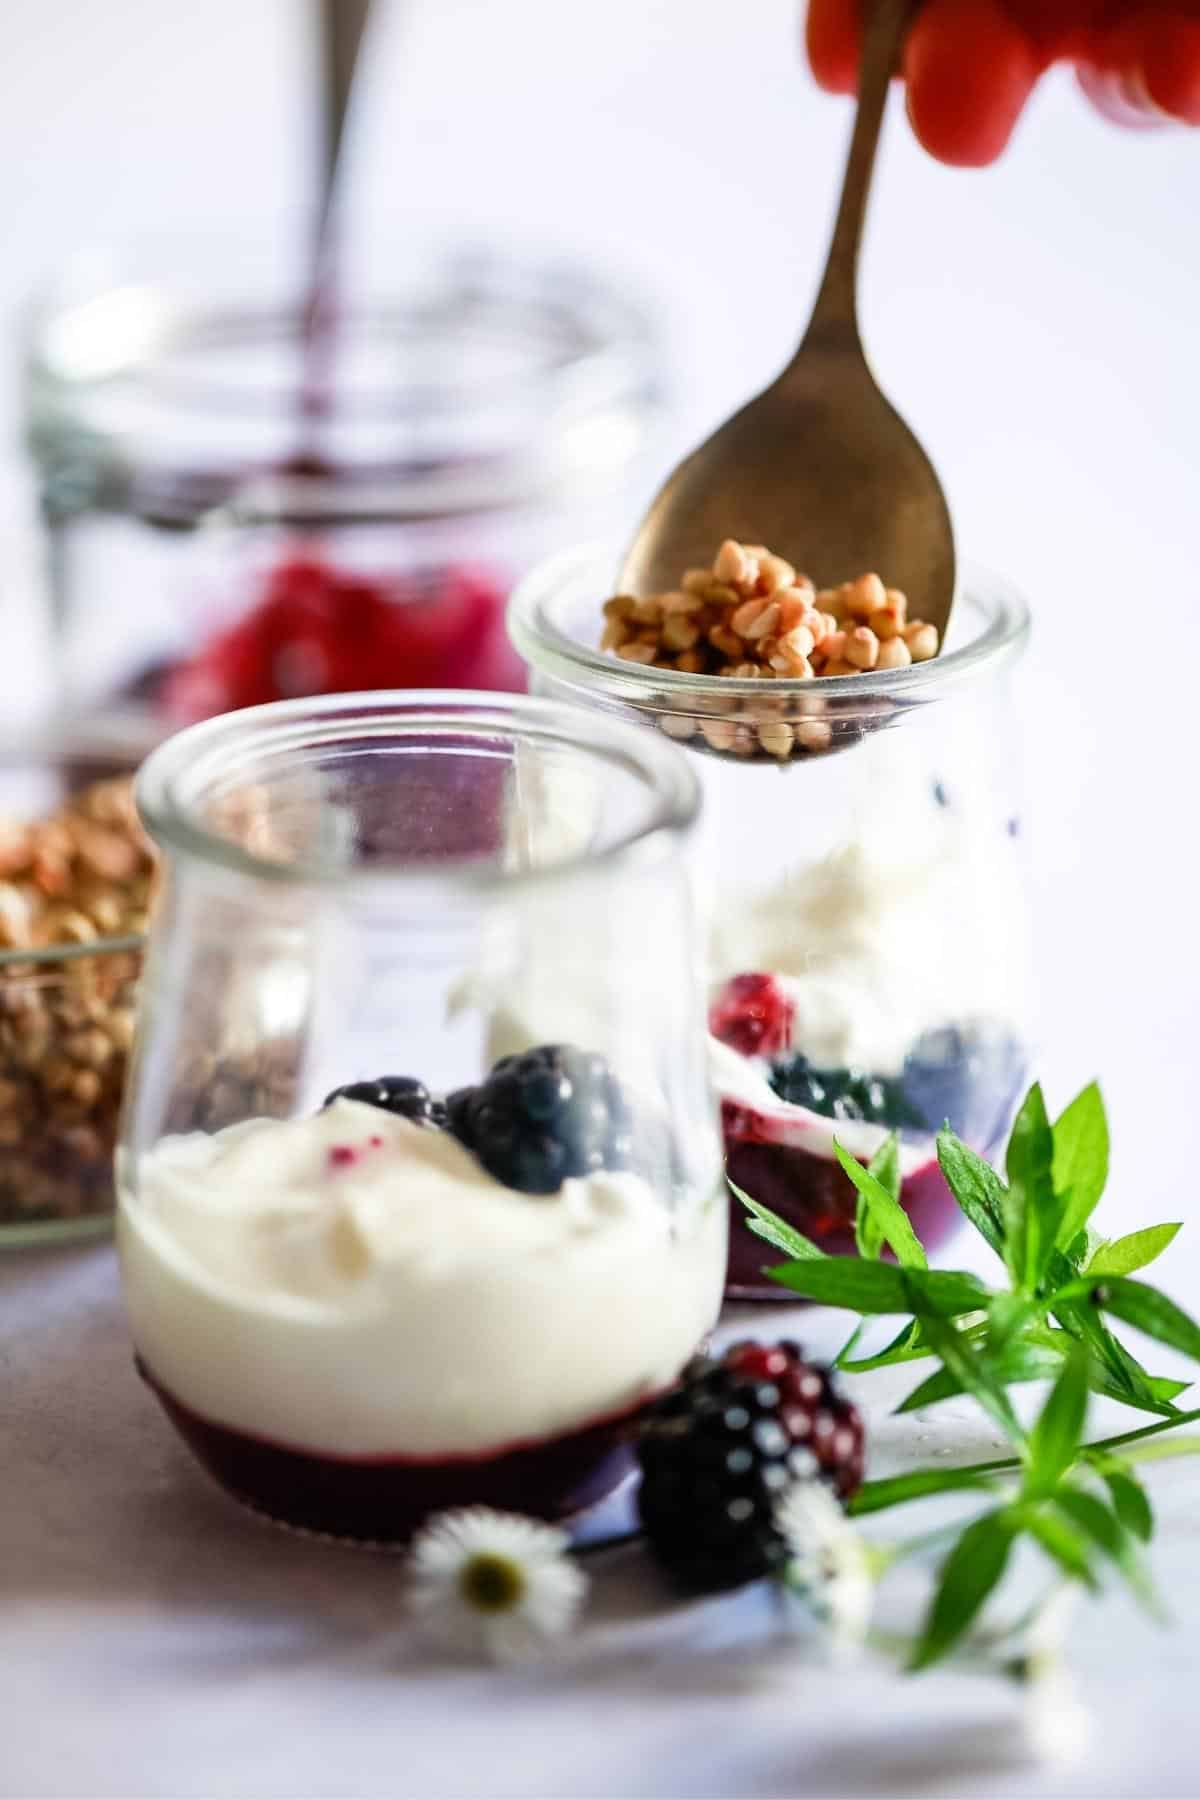
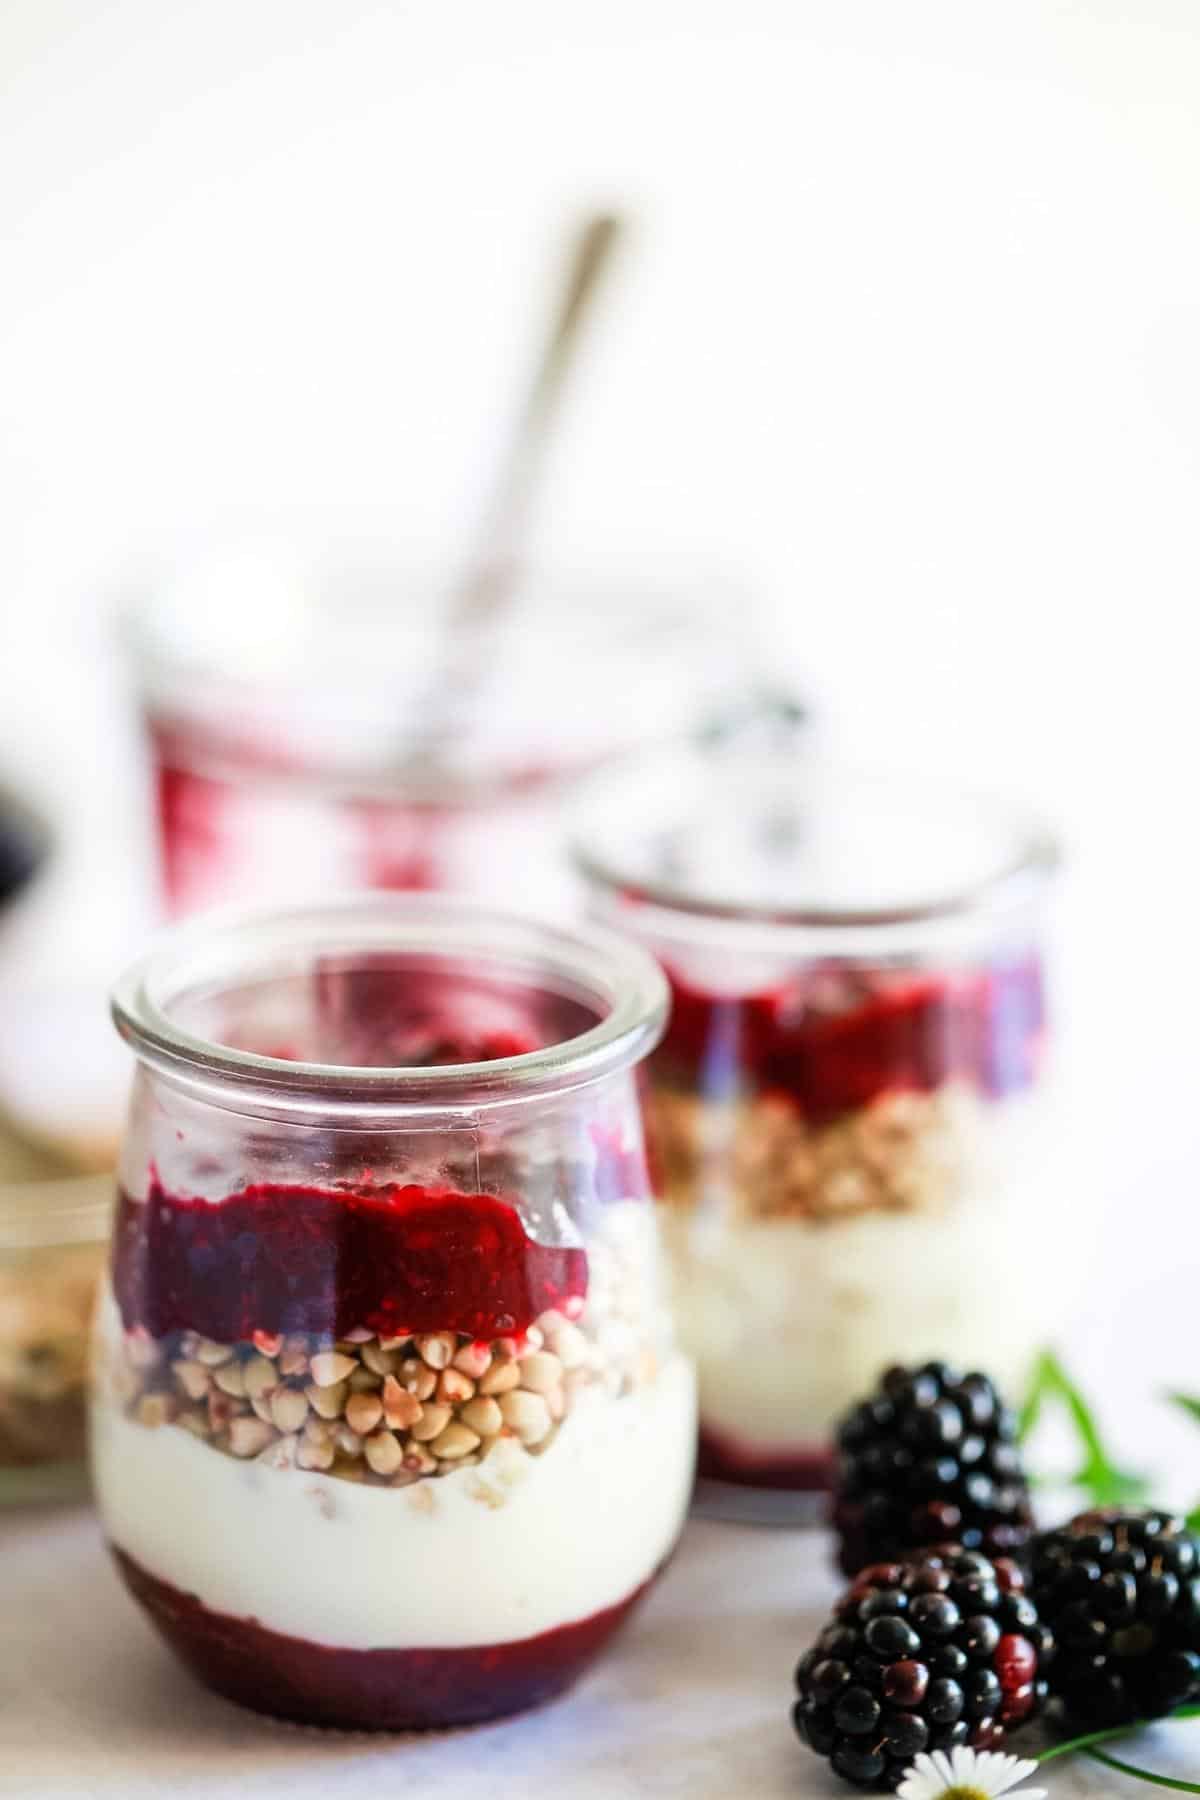
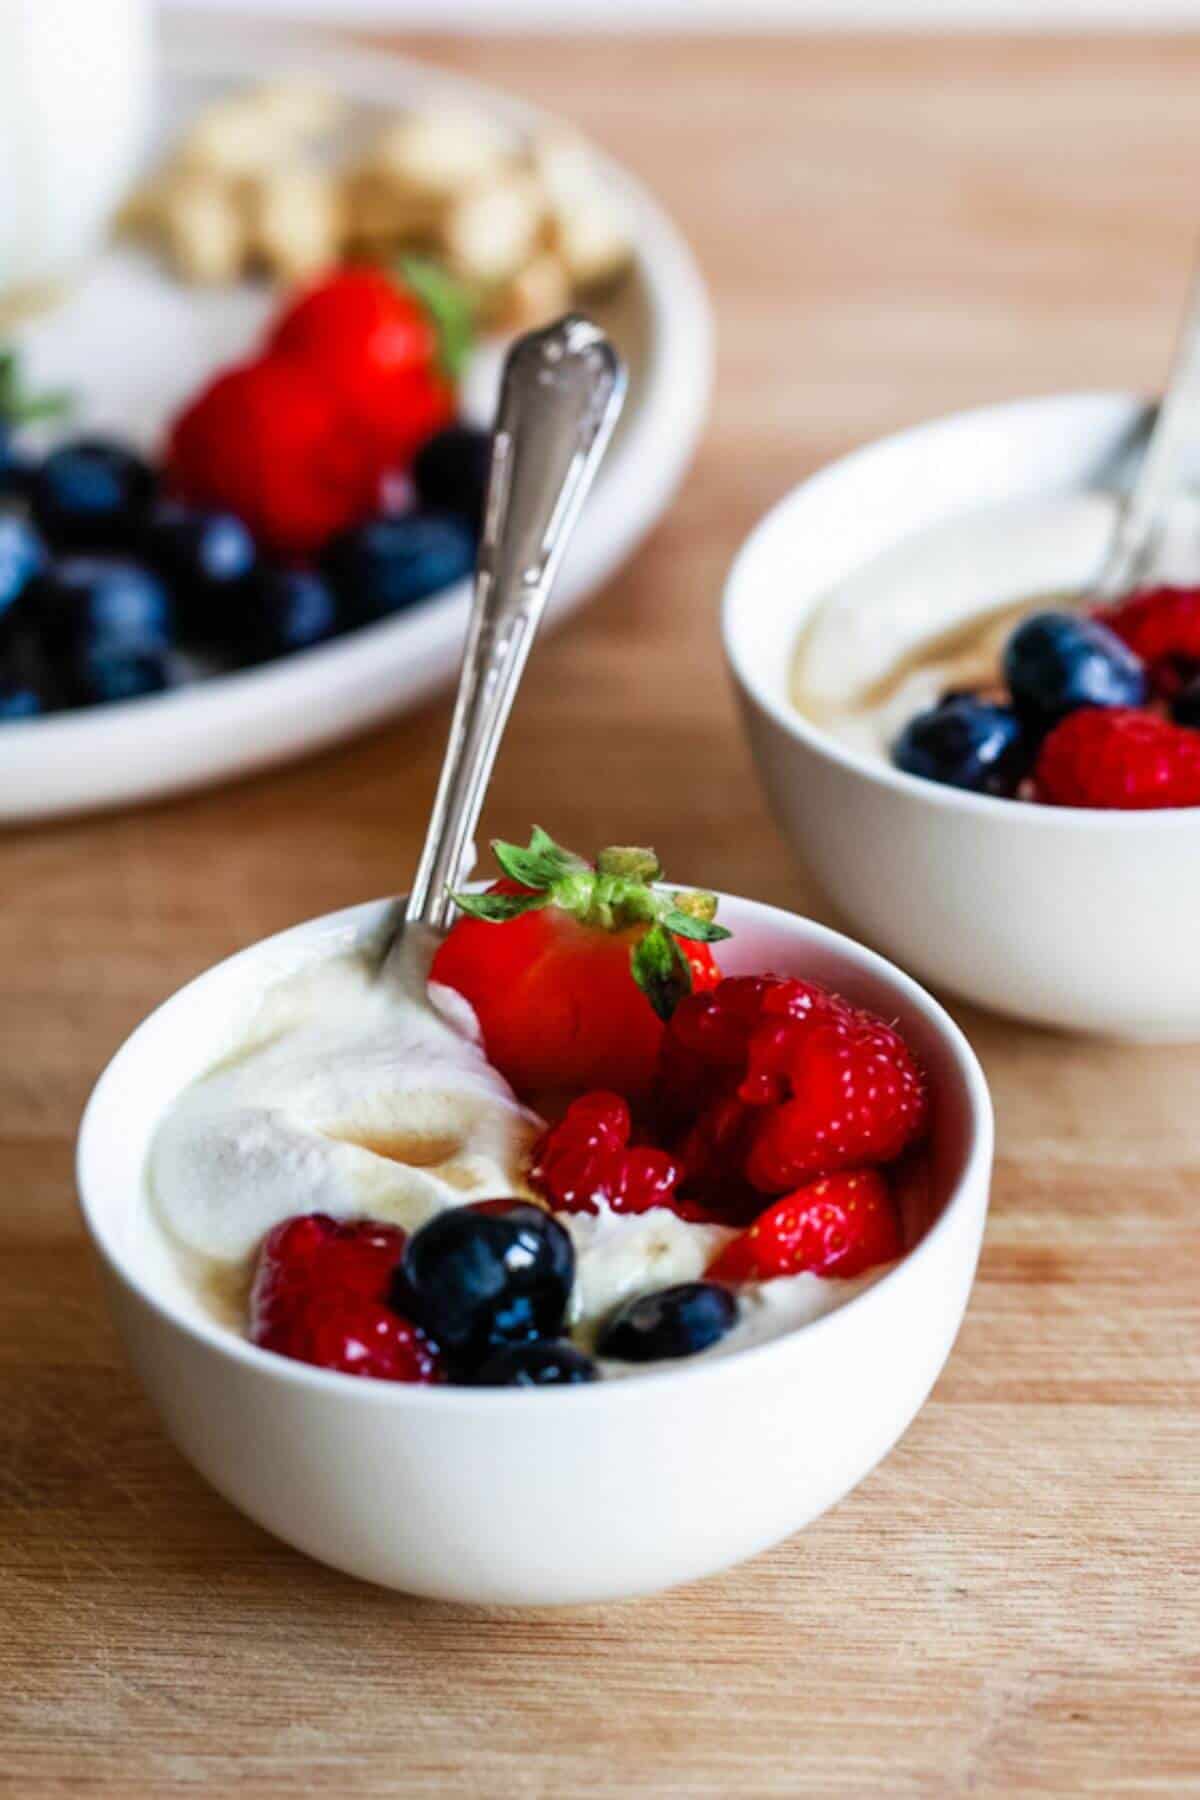
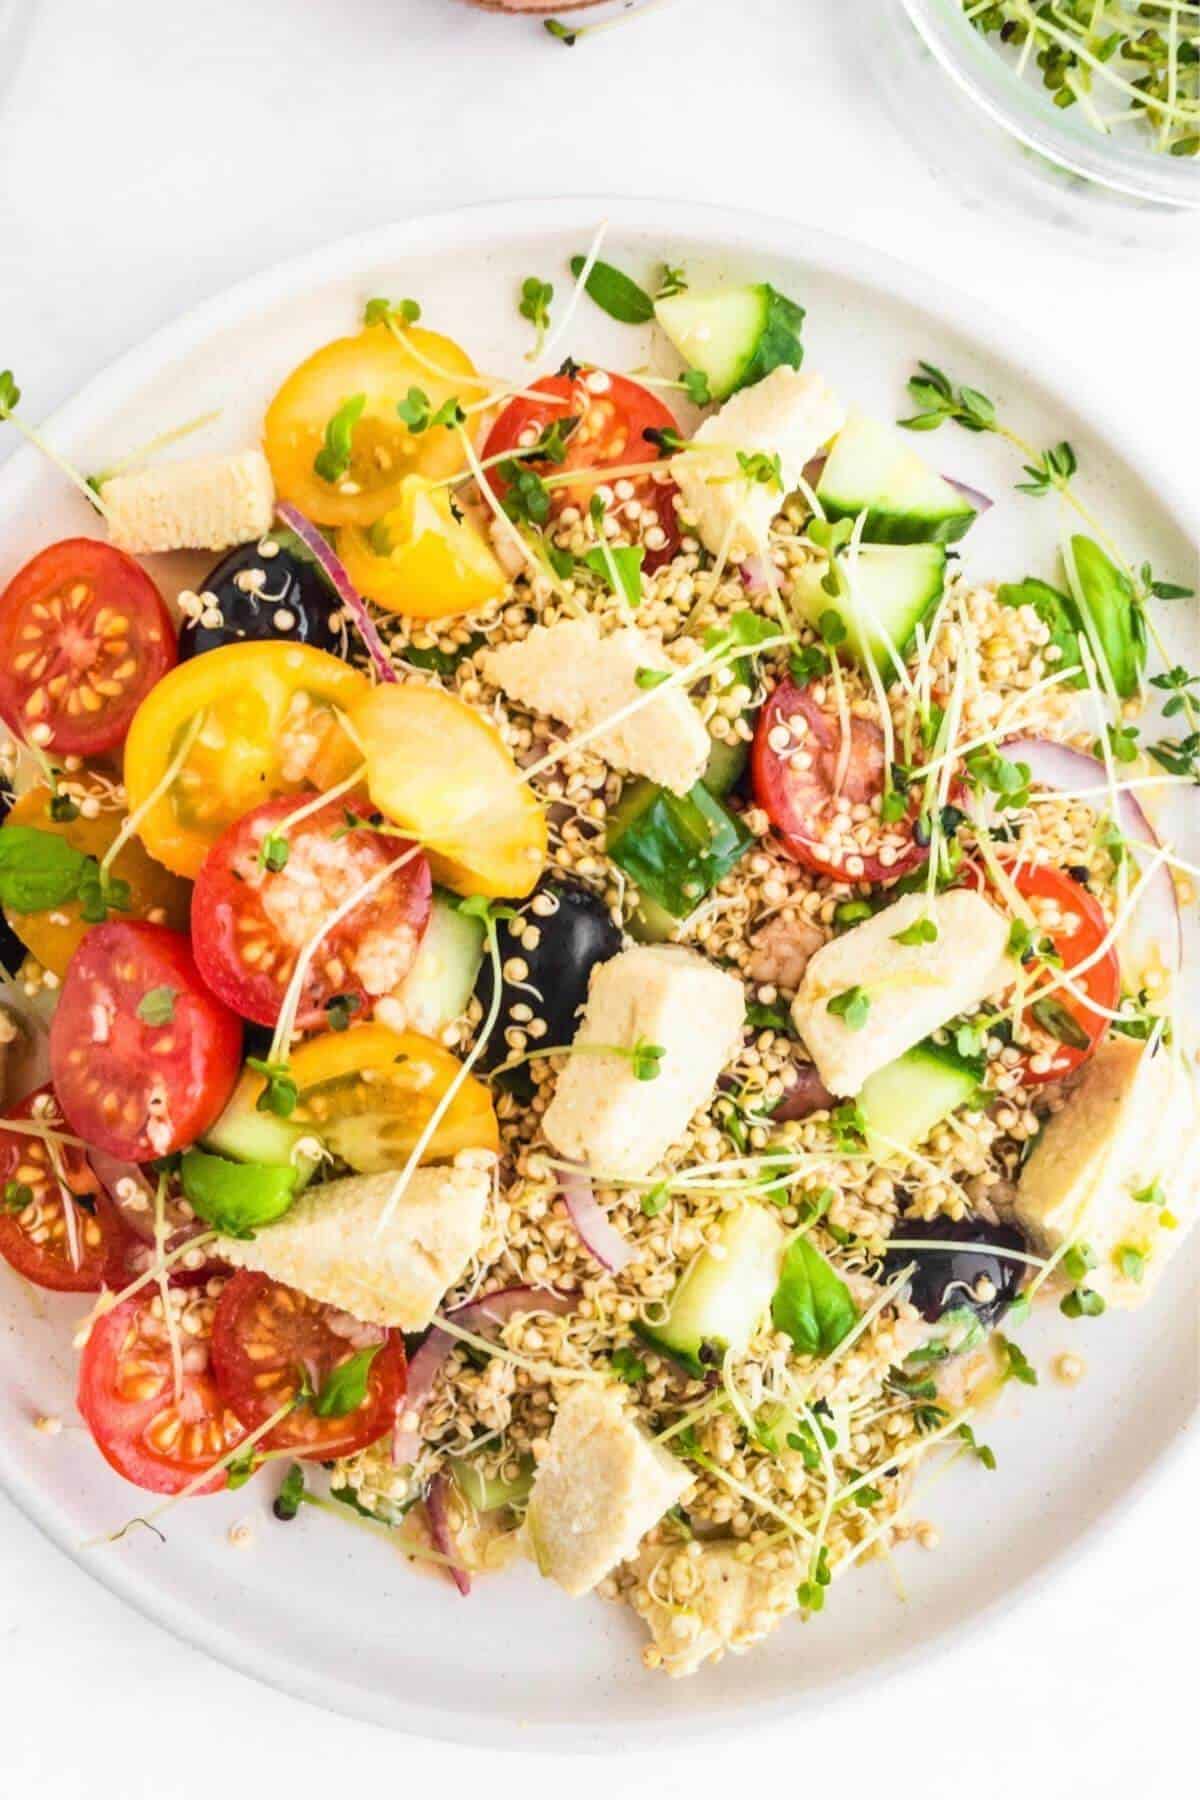
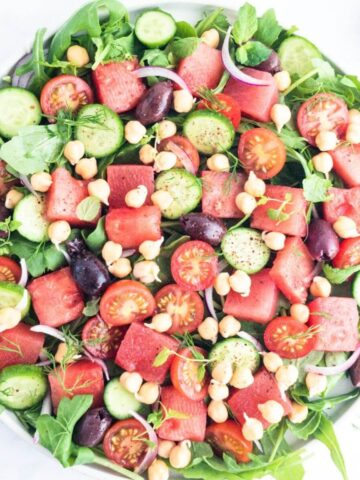
It may be eaten from a spoon, blended with water or juice, or added to smoothies for an extra nutrient boost.
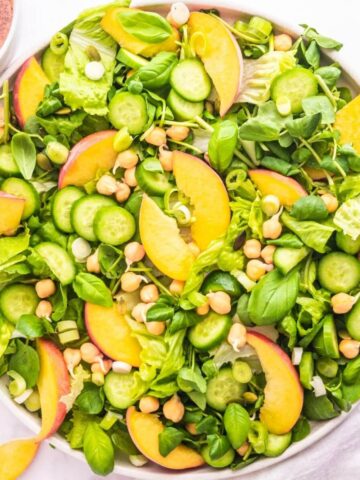
Its mild seaweed flavour makes it easy to use in foods with both sweet and savoury flavours.