Follow these 3 easy steps to learn how to grow broccoli sprouts in about five days. Add more goodness to your meals (without having to cook).
Growing sprouts is a fun way to grow living foods indoors all year round. I love how beautiful and nutritious broccoli sprouts are. You can add them to many dishes, from sandwiches to salads, smoothies, soups and more.
Sprouting Series
Are you curious about sprouting? If so, then do check out my sprouting series on the blog here to get more familiar with it all.
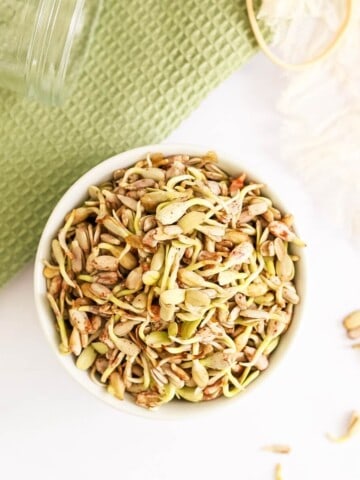
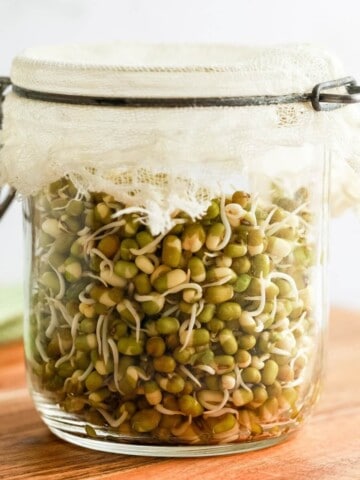
My other current sprouting recipes include: How to grow broccoli sprouts, how to sprout quinoa, sunflower sprouts, sunflower microgreens, sprouting buckwheat, how to sprout chickpeas, sprouting adzuki beans and how to sprout lentils.
Jump to:
Are broccoli sprouts really good for you?
As you may have noticed, broccoli sprouts are getting an increasing amount of attention right now, and that's for good reason. They contain many nutrients including protein, fibre, vitamins A and C, calcium, iron, and glucosinolates (see also Sulforaphane).
You can learn more about the health benefits of broccoli sprouts by visiting Nutritionfacts.org, the National Library of Medicine website at PubMed.gov and Science Direct.
Equipment
To start growing broccoli sprouts using the jar method, you'll need the following:
- a good-sized jar or a wide-mouthed mason jar
- a piece of cheesecloth plus a rubber band / or a suitable sprouting lid (available in stores online)
- a bowl to store the jar at an angle which allows excess water to escape
Step by Step Instructions
When you look to buy broccoli seeds for sprouting, be sure to purchase organic seeds from a reputable supplier specifically for sprouting purposes. Sprouting seeds are produced to much higher standards than regular garden seeds with less risk of harmful bacteria, which can cause illness.
For how to grow broccoli sprouts, follow these three easy steps:
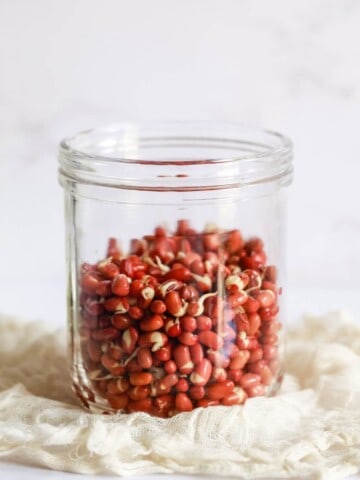
Step 1 - Add broccoli seeds to a clean jar, top with plenty of cool water and allow them to soak.
Step 2 - Drain the soak water from the jar. Rinse the seeds, then drain thoroughly. You should do this 2-3 times daily until they're fully sprouted.
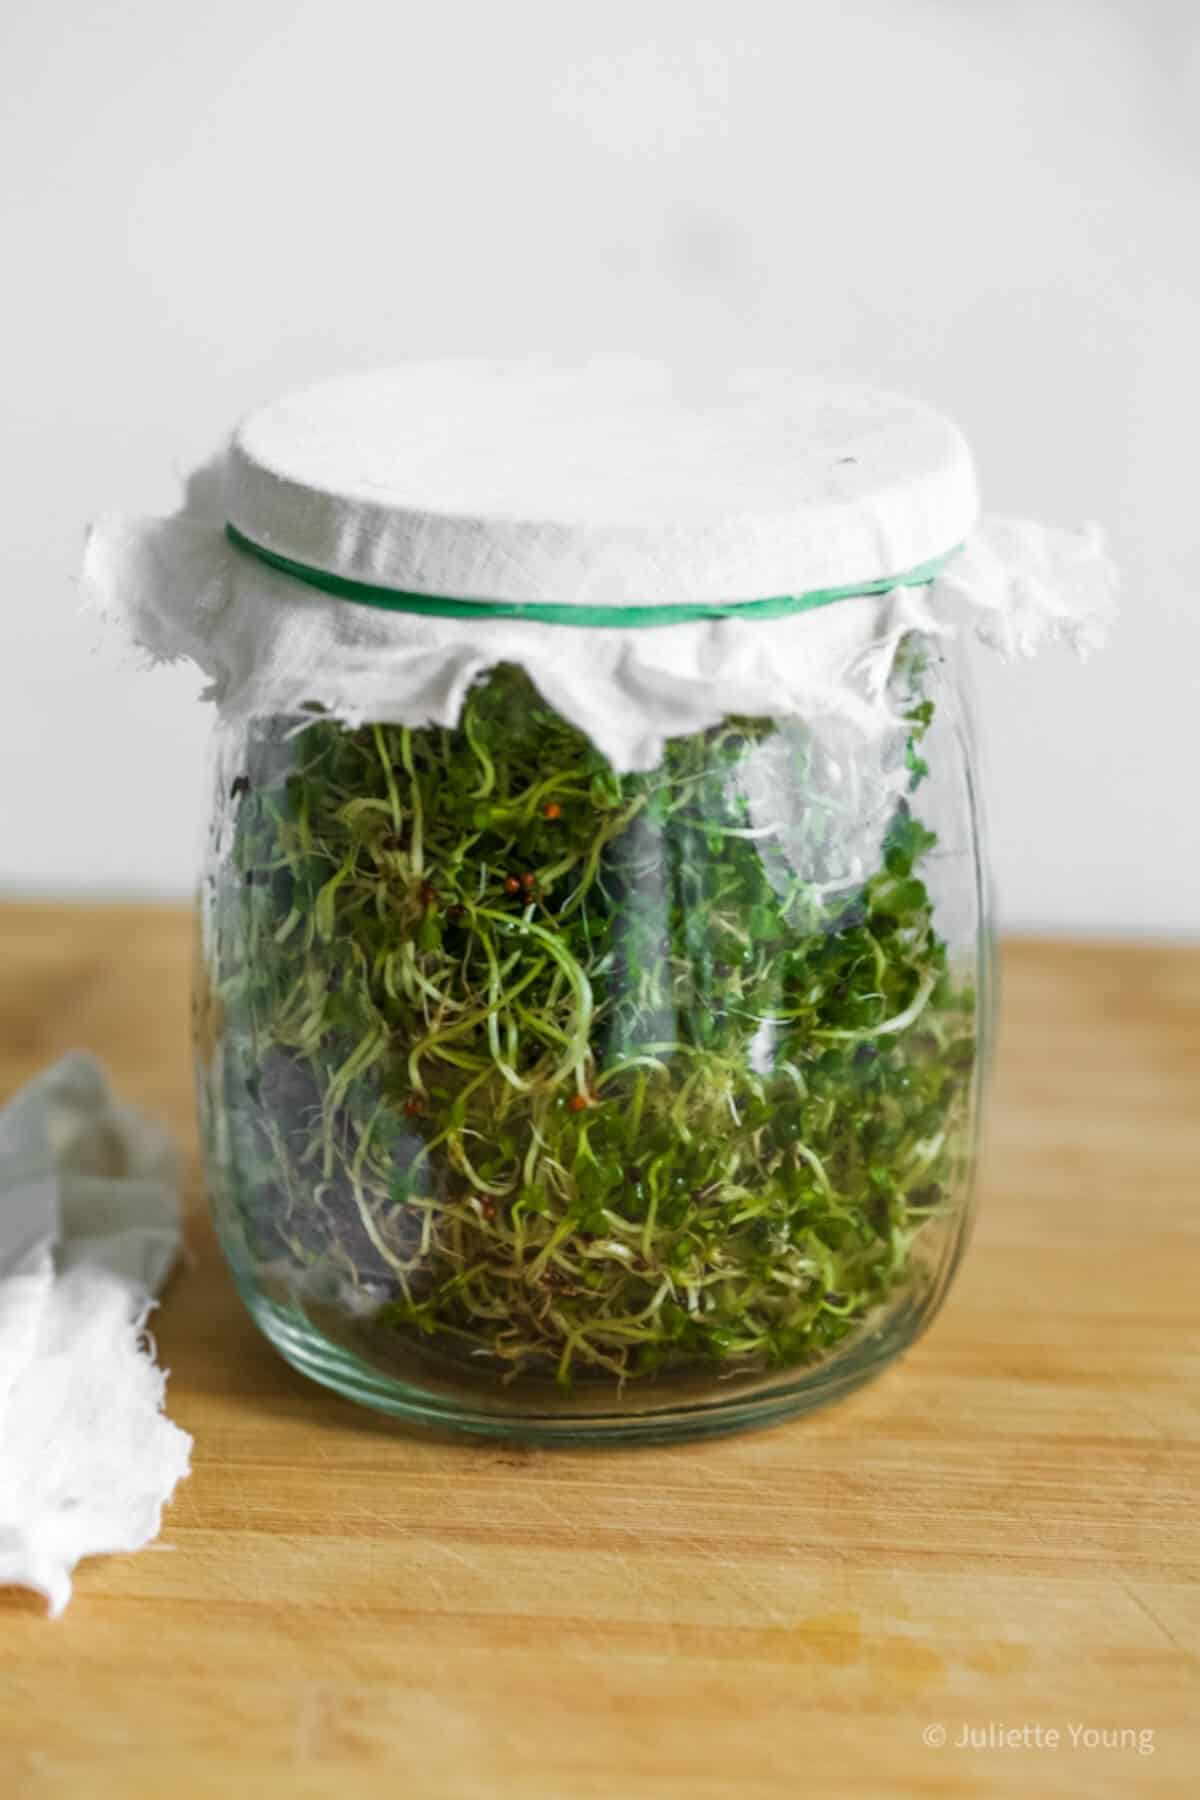
Step 3 - When ready, give them a final rinse and drain, then leave them out to dry on some kitchen paper before using or storing.
See the full recipe card below for full instructions on how to grow broccoli sprouts.
How grow broccoli sprouts:
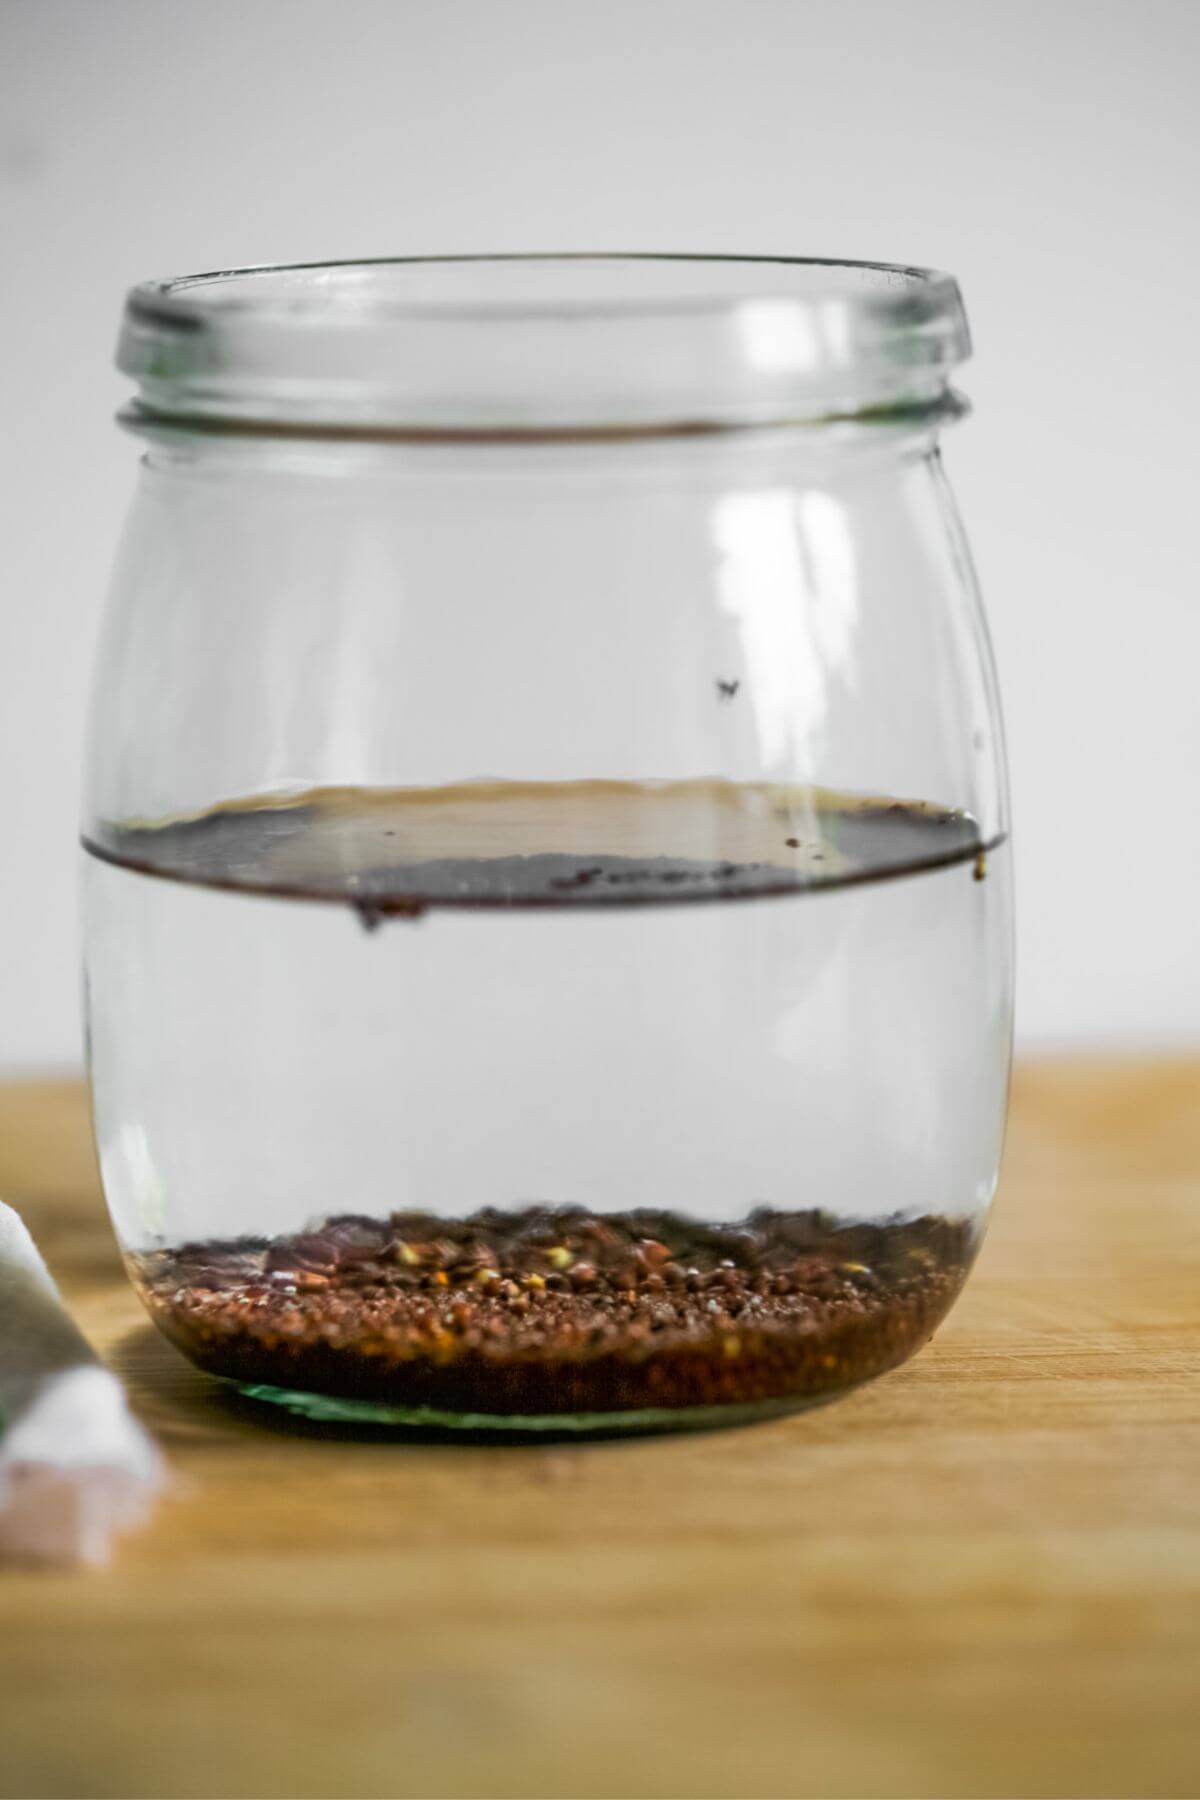
Step 1. Soak the broccoli seeds.

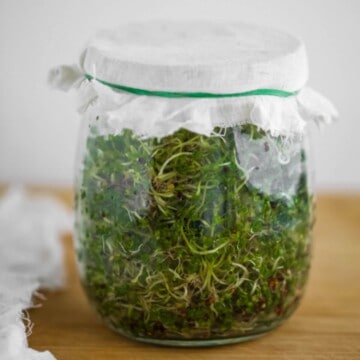
Step 2. Rinse, drain thoroughly and set aside, upturned in a bowl to sprout.
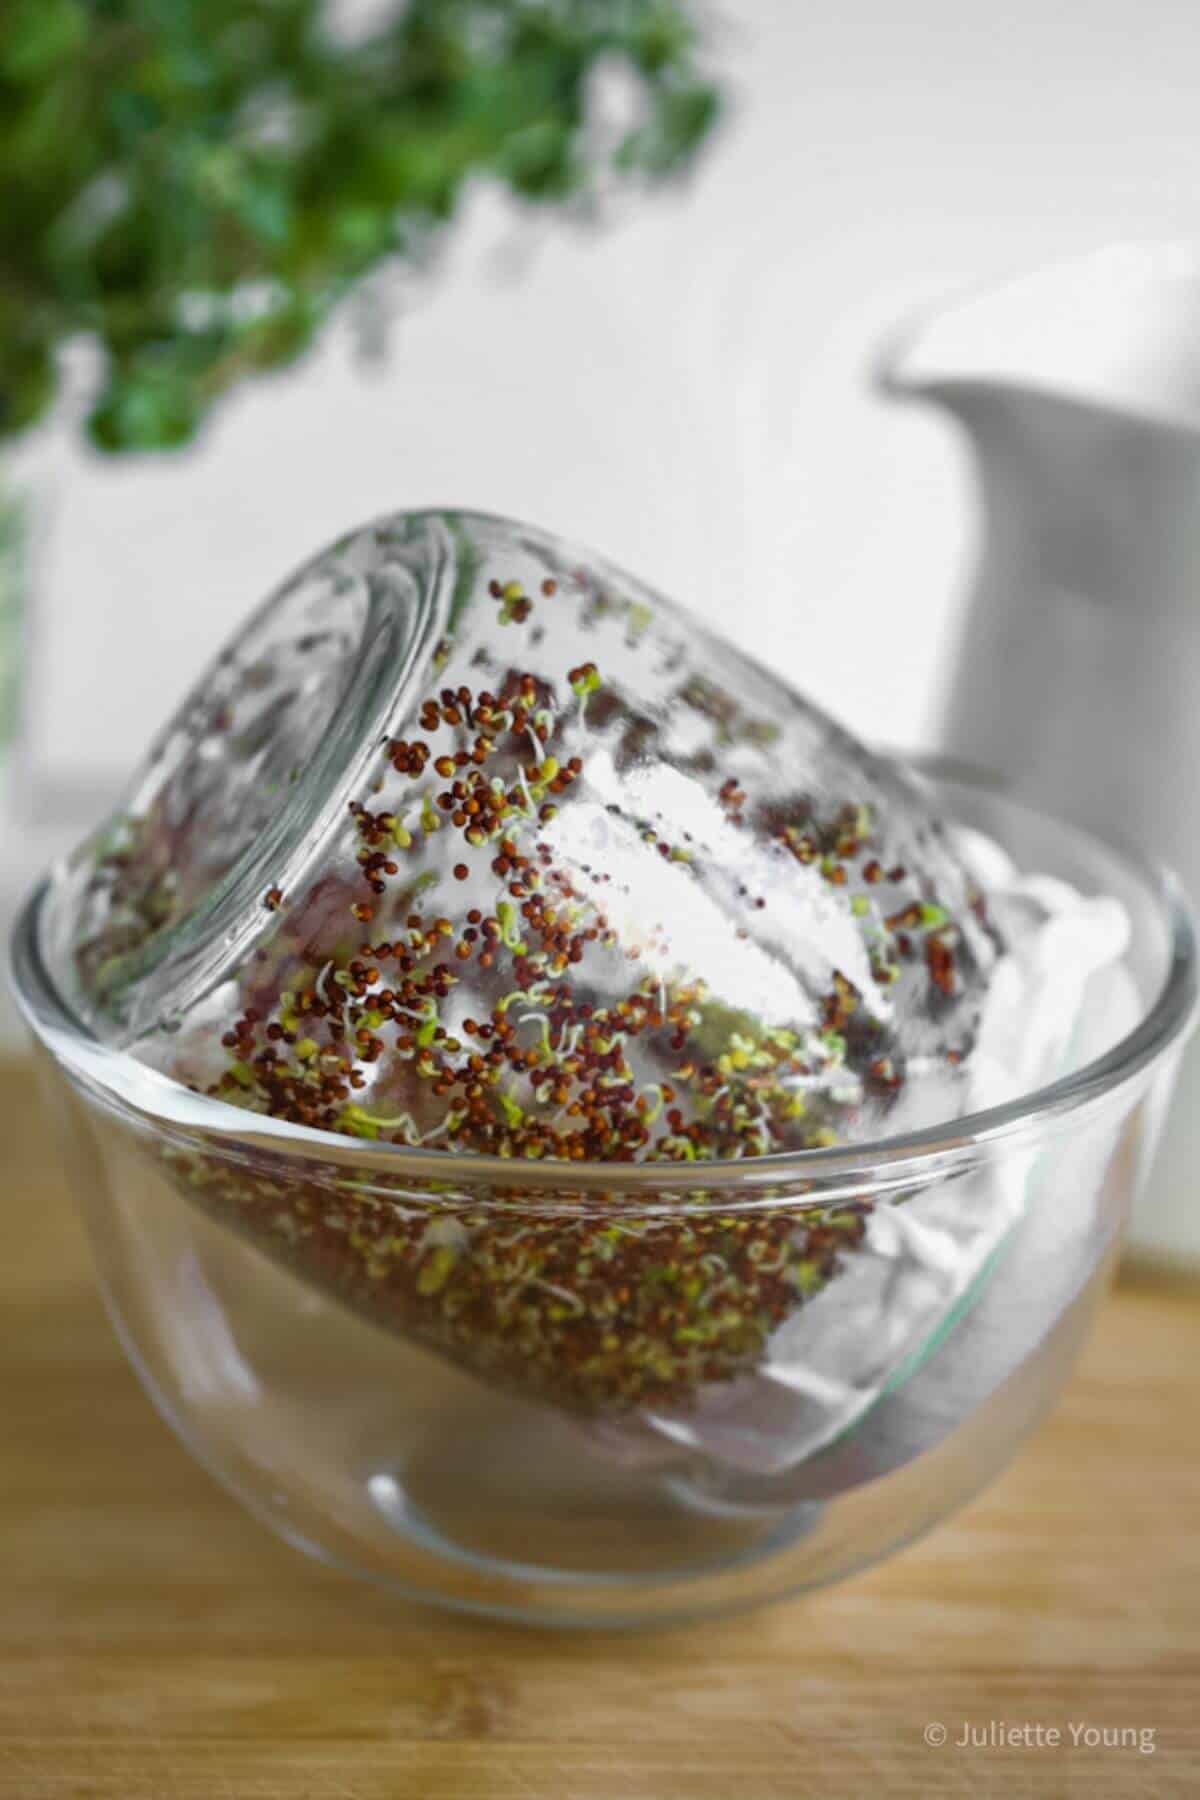
Sprouting process: Rinse and drain sprouts twice daily and notice their little tails start to grow.
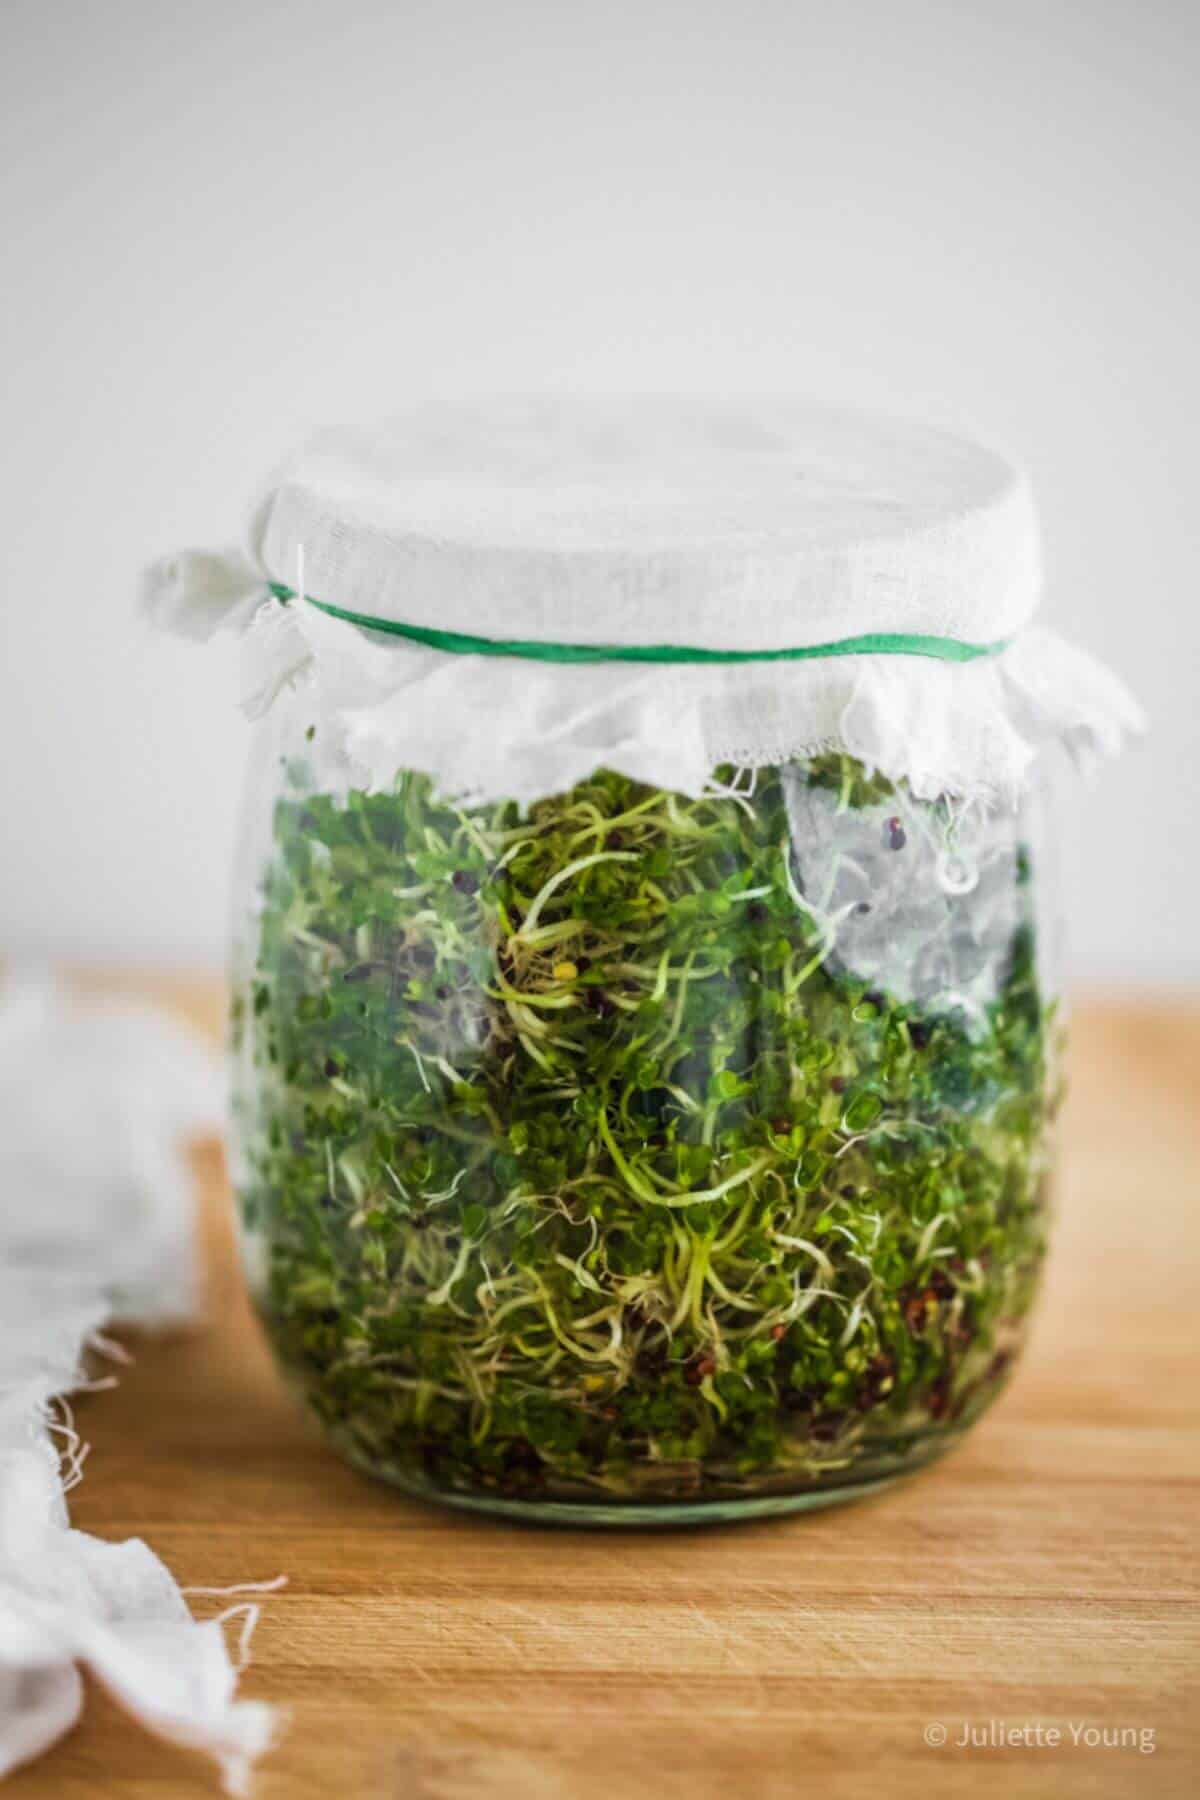
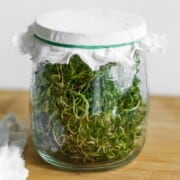
Step 3. Allow the sprouts to go green by placing somewhere bright until ready. I do this for a day or two.
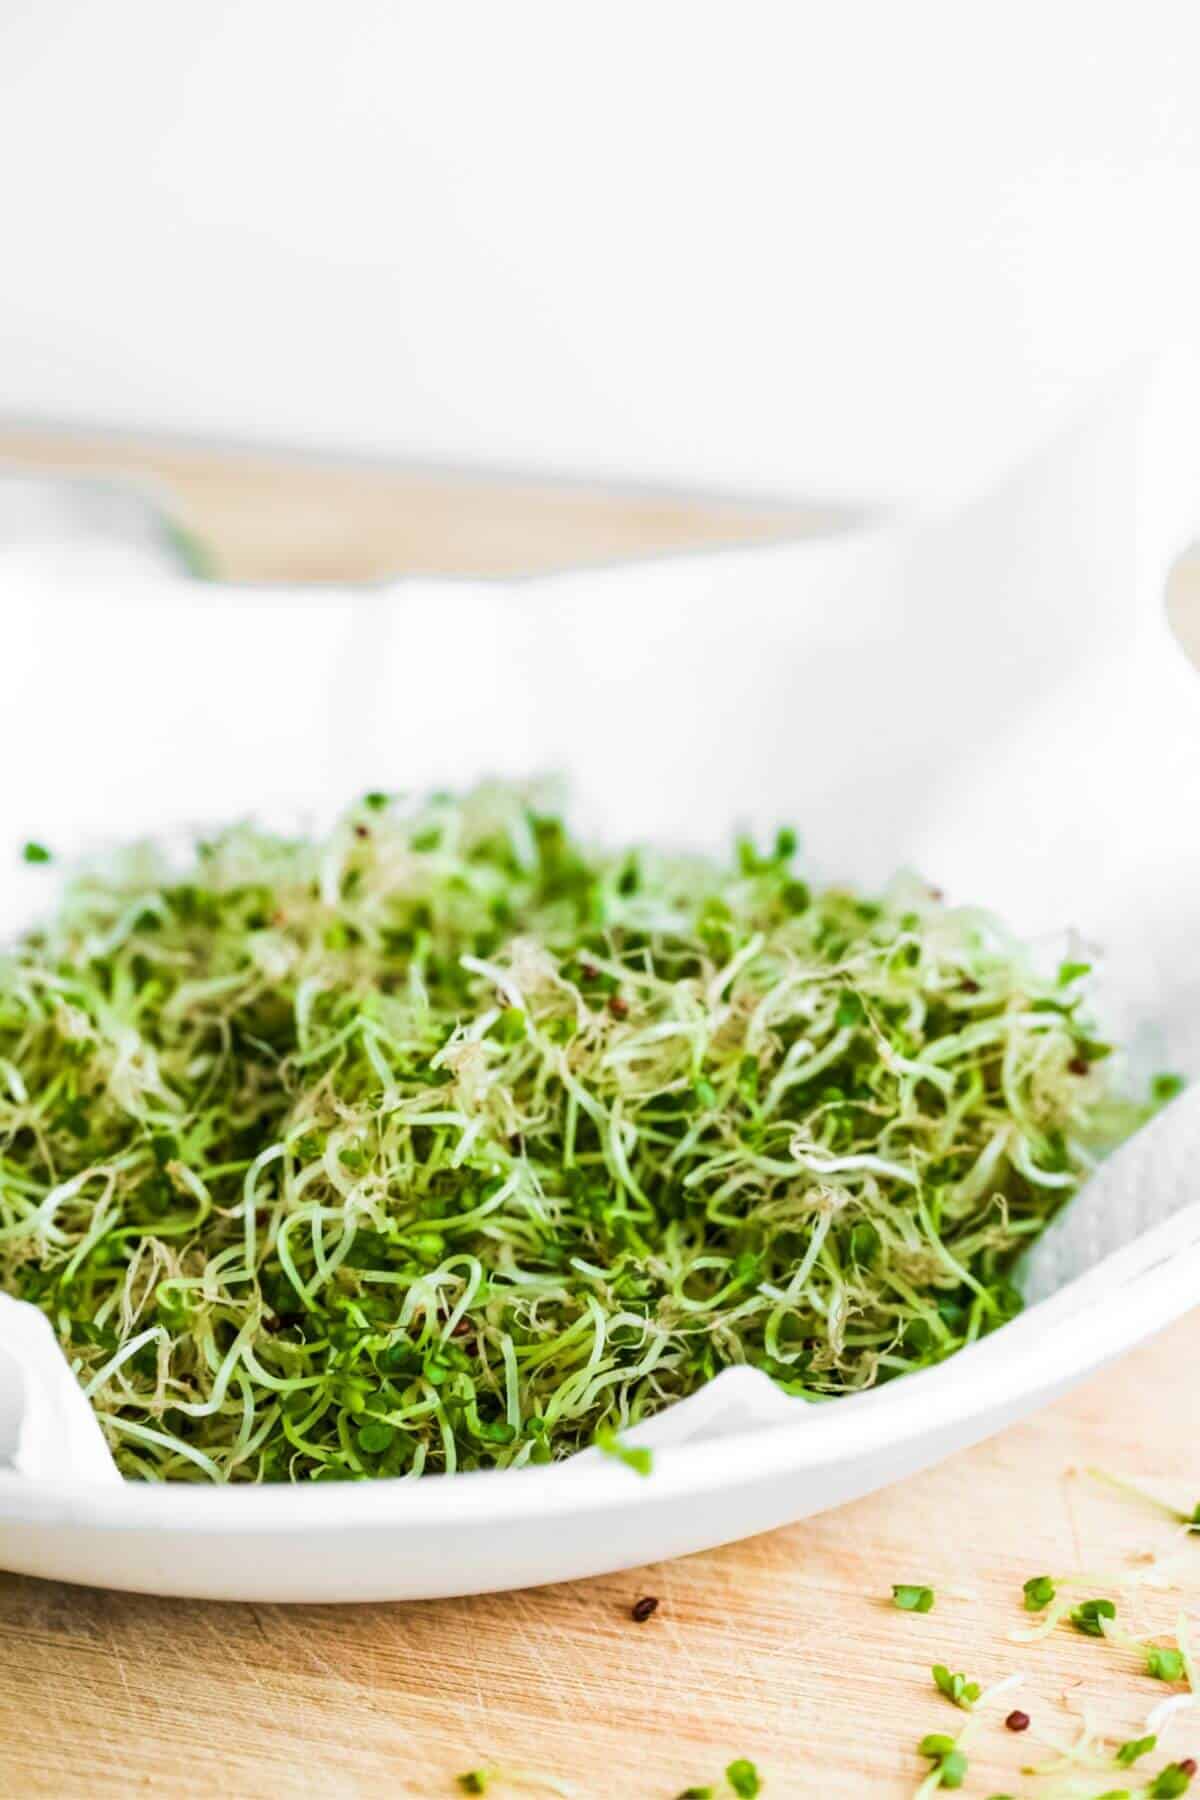
Finished Sprouts. Set sprouts aside on some paper towel to dry before using/storing.
Top tip
Turn the jar while sprouting to encourage the tiny seeds to spread around the glass. Doing this can help with airflow and reduce clumping.
How to remove the hulls
If you prefer not to eat the hulls, you can remove most of them as follows:
- Add the finished broccoli sprouts to a big bowl of fresh water and spread them out a little. Swish them around the water using your fingers and watch hulls rise to the top. Now the hulls are super easy to scoop up with a spoon.
- I like to do this using my salad spinner. Then once I've removed the hulls, I empty out the water and spin the sprouts to throw off as much excess water as possible.
Storage
Place onto some kitchen paper to drain and dry off then store in a lidded container in the fridge for up to five days. Sprouts are a fresh healthy living food and are meant to be consumed within a few short days.
They can be frozen, although I've not done this myself. I prefer to enjoy them fresh so grow them weekly in small batches.
How to tell if sprouts have gone bad
I find broccoli sprouts do wilt or spoil remarkably quickly. If this happens, toss them out and begin again.
One of the beautiful things about growing your own sprouts is that you're in control of their environment, which can positively reduce the risk of any unwanted bacterial growth.
Healthy sprouts will have a lovely mild fresh smell to them. So, please give them a good sniff each time you grow sprouts so that you become familiar with how healthy sprouts should smell.
However, suppose they have a powerful aroma. In that case, your sprouts may have spoiled, so you'll need to throw them out and start again. Another tell-tale sign of spoiling is if they appear wilted or slimy, so again discard them straight away.
Most of the time, problems are due to these three things:
- Sitting in water - Ensure you drain them thoroughly, as sitting in water will cause them to rot.
- Poor airflow - there must be enough airflow in and around the jar.
- Too much heat - sprouts, especially broccoli sprouts, do not like warmth or heat, which cause them to wilt and smell. If this happens, toss them out.
The rinsing and draining process helps keep them clean, fresh, and moist and reduces seeds clumping inside the jar.
📖 Recipe
How to Grow Broccoli Sprouts (jar method)
Equipment
- A medium size jar or wide mouthed mason jar
- A piece of cheesecloth and rubber band or a sprouting lid
- A bowl.
- Strainer or sieve.
Ingredients
- 1 tablespoon organic broccoli sprouting seeds, specifically produced for sprouting/microgreens
- fresh cool water as needed
Instructions
- Soak the seeds. Pour the broccoli seeds into a jar and fill halfway with fresh cool water. Place to one side out of direct sunlight to soak for 6-12 hours (according to the packet instructions). This is the only time the broccoli seeds should sit in water. Sitting in water is a common cause of spoiling. If they spoil, discard them and begin again.
- Rinse and drain regularly. Securing the lid with your fingers, empty the soak water from the jar, then fill halfway again with fresh cool water. Swirl the seeds around for a few moments before pouring the water away. Be sure to drain the soak water away thoroughly. Place the jar at an angle in a bowl to allow any excess water to escape. Rinse and drain twice daily until ready. I like to do this in the morning and the evening.
- When ready. The sprouts are ready to harvest in about five days. They'll have grown 2-5 centimetres long and developed their first tiny green leaves. Place them somewhere bright for a few hours so the leaves can photosynthesise and turn green. Rinse and drain one last time. Remove them from the jar and set them out to dry on some paper towel before storing.
Notes
Tips
It's a good idea to watch over your sprouts, to learn how they look and smell during this process, so that it becomes more familiar to you each time you do it. I find 1 tablespoon will procuce 1-2 cups of sprouting broccoli, depending on how well they sprout and how long you like them to grow before harvesting them.Storing
Store in a lidded container in the fridge for up to 5 days. I like to sit mine on a piece of paper towel to soak up any excess moisture. Give them a quick rinse and drain before using.How to tell if sprouts have gone bad
If your sprouts spoil, toss them out and start again. Give your sprouts a sniff. Healthy sprouts will smell fresh. It's a good idea to watch over your sprouts as you go and learn how they look and smell during this process, so it becomes familiar to you. If your sprouts smell funky, not fresh or they if appear slimy, or if you notice a white or off coloured fluffy bits amongst them please throw them out. They're probably spoiled. See the Food Safety information at the bottom of the blog post for full details.FAQ
Many people like to first soak their sprouting seeds in water with a little apple cider vinegar to clean them up and help remove any unwanted bacteria.
I've tried sprouting seeds both with and without doing this. I generally don't do this as a rule myself, as I haven't felt the need to but, please do whichever method you prefer.
Some people like to leave their sprouts in the dark to germinate by putting them in a cupboard. I tried this method when I first started sprouting but honestly, as they were out of sight I just kept forgetting about them so now I sprout mine on the counter top where I can see them each day 🙂
When sprouts start to grow their first tiny leaves place them somewhere light (out of direct sunlight) to help them photosynthesise and turn a beautiful green.
Sprouts like brassicas, including broccoli sprouts, put out tiny root hairs when they're thirsty and looking for water. You may notice this happen when you pick the sprouting jar up in the morning and see their tails look white and fuzzy.
Please give them a rinse so they can have a good drink, drain them well and you should notice the fuzz disappear. If the fuzz doesn't fade away, there's a good chance it's mould so throw them out and begin again.
Food safety
The UK Food Standards Agency recommends people in vulnerable groups always cook any sprouts until steaming hot all the way through before eating them.
This is because sprouts sometimes contain bacteria, which some people may be susceptible to. Vulnerable groups include the elderly, young children, those with a weakened immune system, and pregnant women.
Never eat sprouts or microgreens that look or smell bad or weird. If you're unsure, then throw them out and start again.
Not all seeds or beans are suitable for sprouting or eating raw. Please be sure to check first.
Check the FSA website for more details.

Justin Evans says
How are you supposed to get ventilation in a dark closed cabinet?
Juliette says
Hi Justin,
Yes, a great question. Ventilation is important and while some people may prefer to start their sprouts off in the dark this way, I recommend placing the sprouting jar in sight on the kitchen counter somewhere it can be easily observed. Thank you.
Debbye says
OMG, I found this recipe tonight and cannot wait to make these. The local stores where I'm from never have sprouts. I cannot believe I didn't know you could grow them at home. Thanks so much.
nancy says
i love these broccoli sprouts. i couldn't believe how easy it is to make at home. so healthy!
Nora says
Wow! Who would have thought that broccoli sprouts are so healthy! Thanks for the great article and your easy-to-follow instructions!