A simple & delicious dairy-free macadamia nut cheese recipe. Made with a few essential ingredients, lemon, garlic, nutritional yeast, and salt, then rolled in finely chopped fresh herbs.
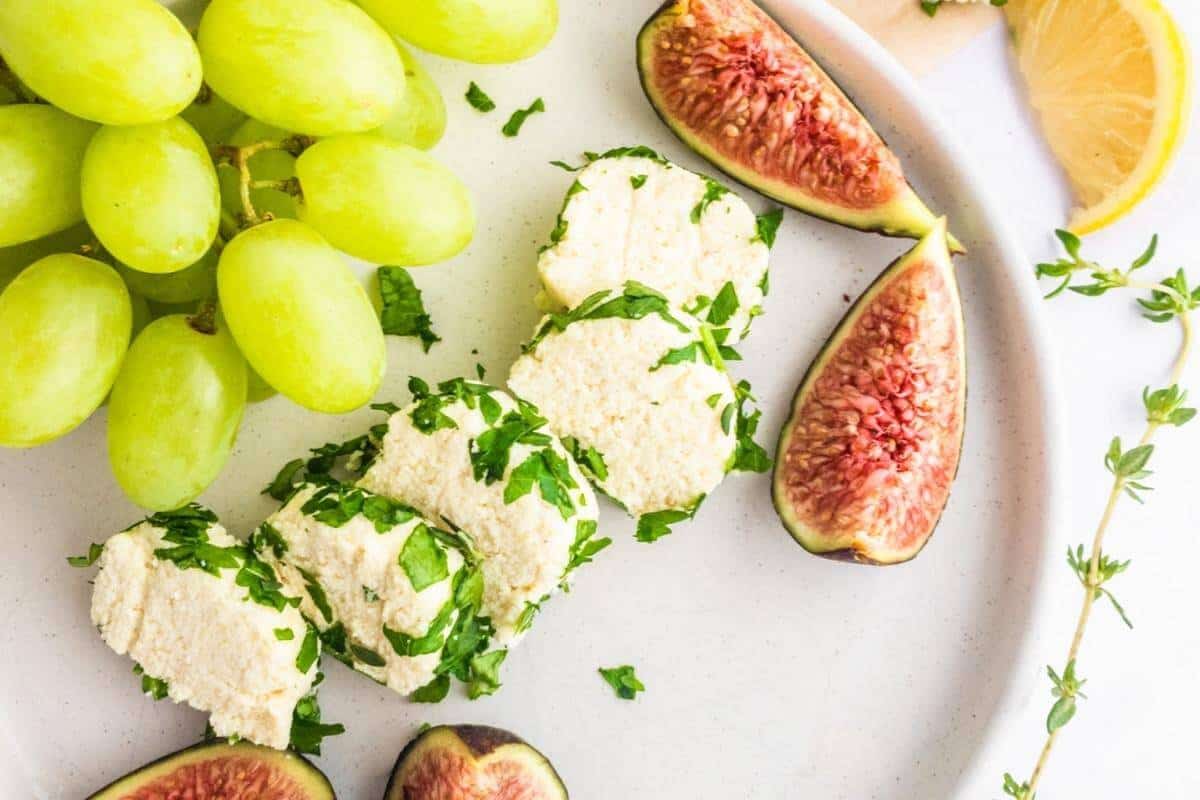
I'm hoping this recipe might persuade you (if you've ever wondered how) to have a go at making vegan cheese. It takes just a few minutes overall to put together. Plus, there's no cooking.
As a nut cheese, it's not going to taste like one made with dairy, but this is really good and worth doing. It may surprise you. This raw vegan cheese is fantastic in salads or served on a platter with fruit, olives and crackers.
I particularly love it in Summer time sitting outside with a nice glass of something cold.
Ingredients
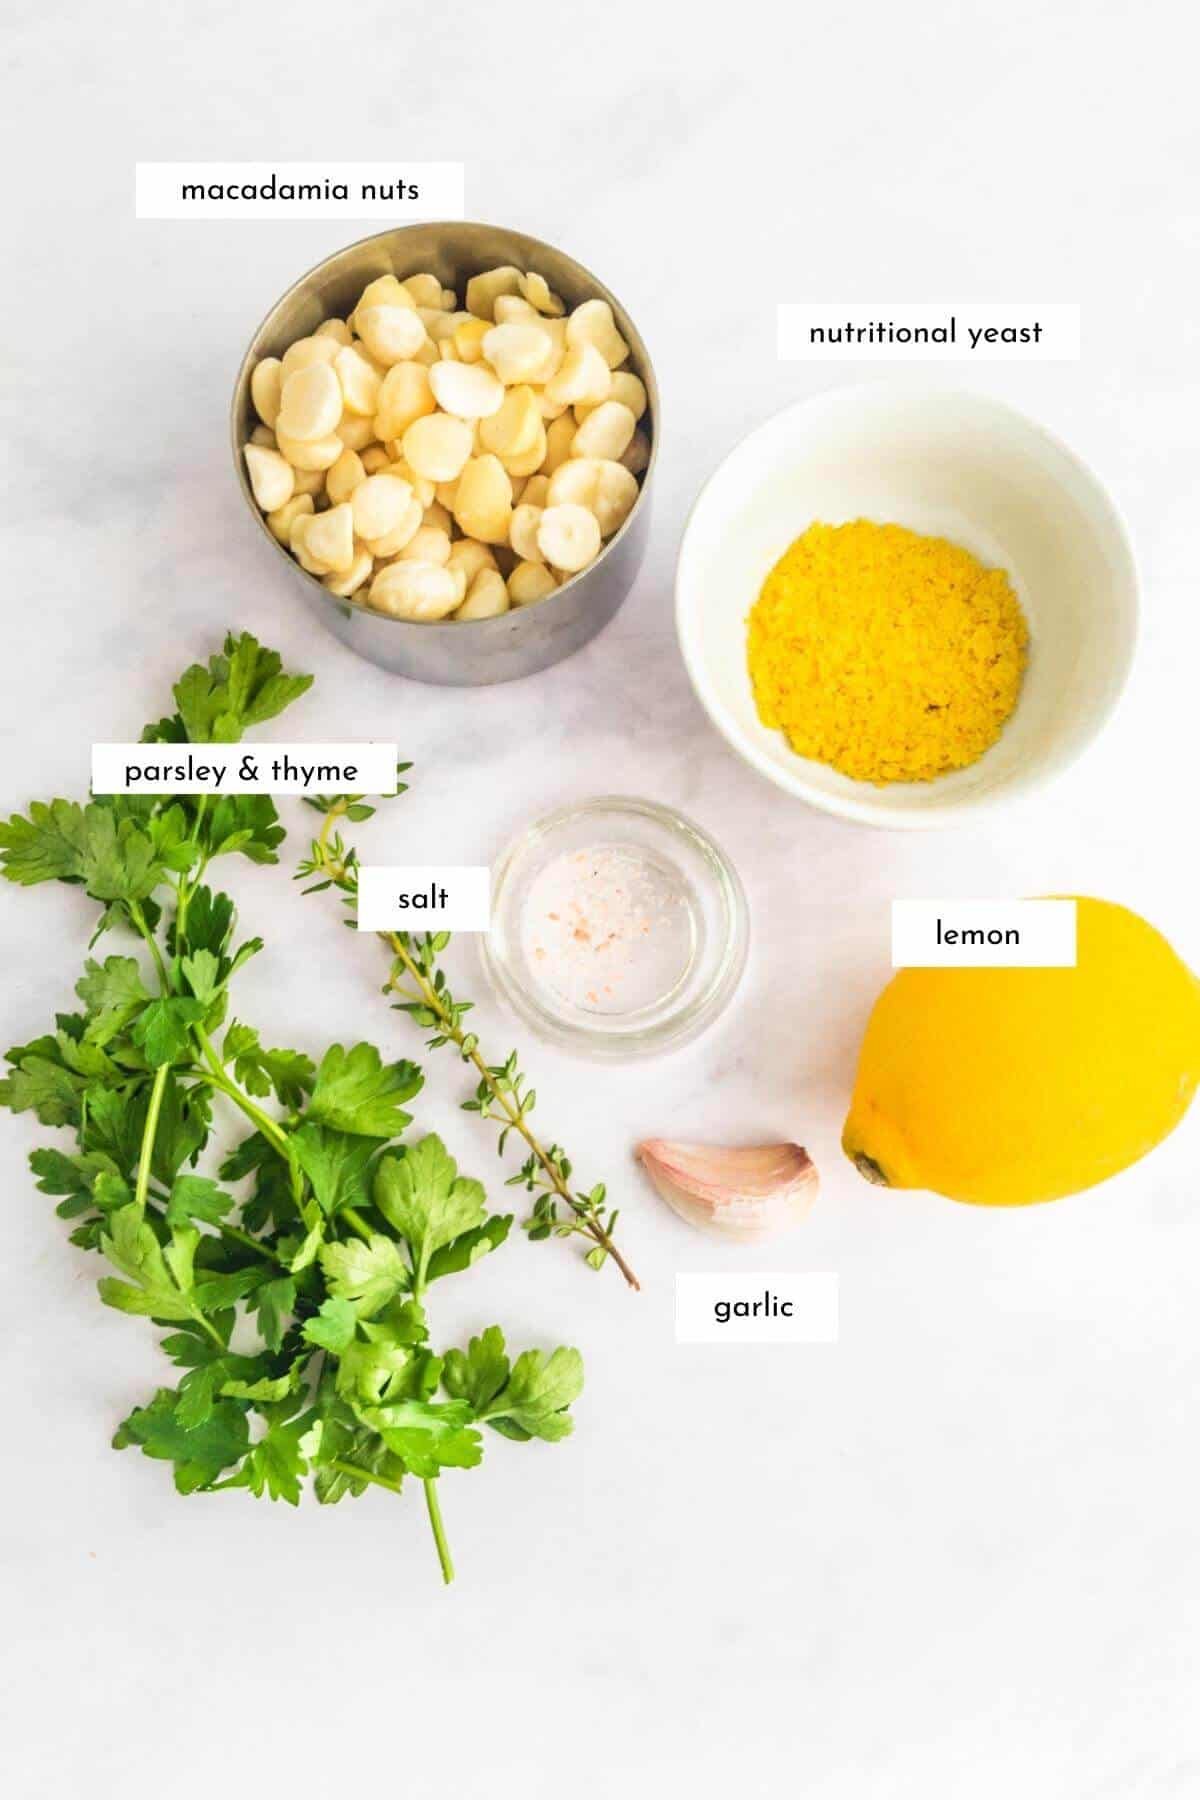
I use raw nuts for this macadamia nut cheese recipe. Soaking them overnight in water (for 5-8 hours) makes them easy to blend. In addition, the fat contained in the nuts gives this dairy-free cheese its creaminess.
- macadamia nuts
- lemon juice
- fresh garlic
- nutritional yeast - optional, but adds some cheesy flavour
- salt
- fresh herbs
See the recipe card for quantities.
Instructions
This recipe couldn't be more straightforward as it's so simple to make and fun to do!
You add the ingredients to a blender, blend it until it's completely smooth, and then use a piece of parchment to roll it into a log shape.
Freezing for about half an hour will firm up the texture and help it stay in a pretty log shape like a goat's cheese.
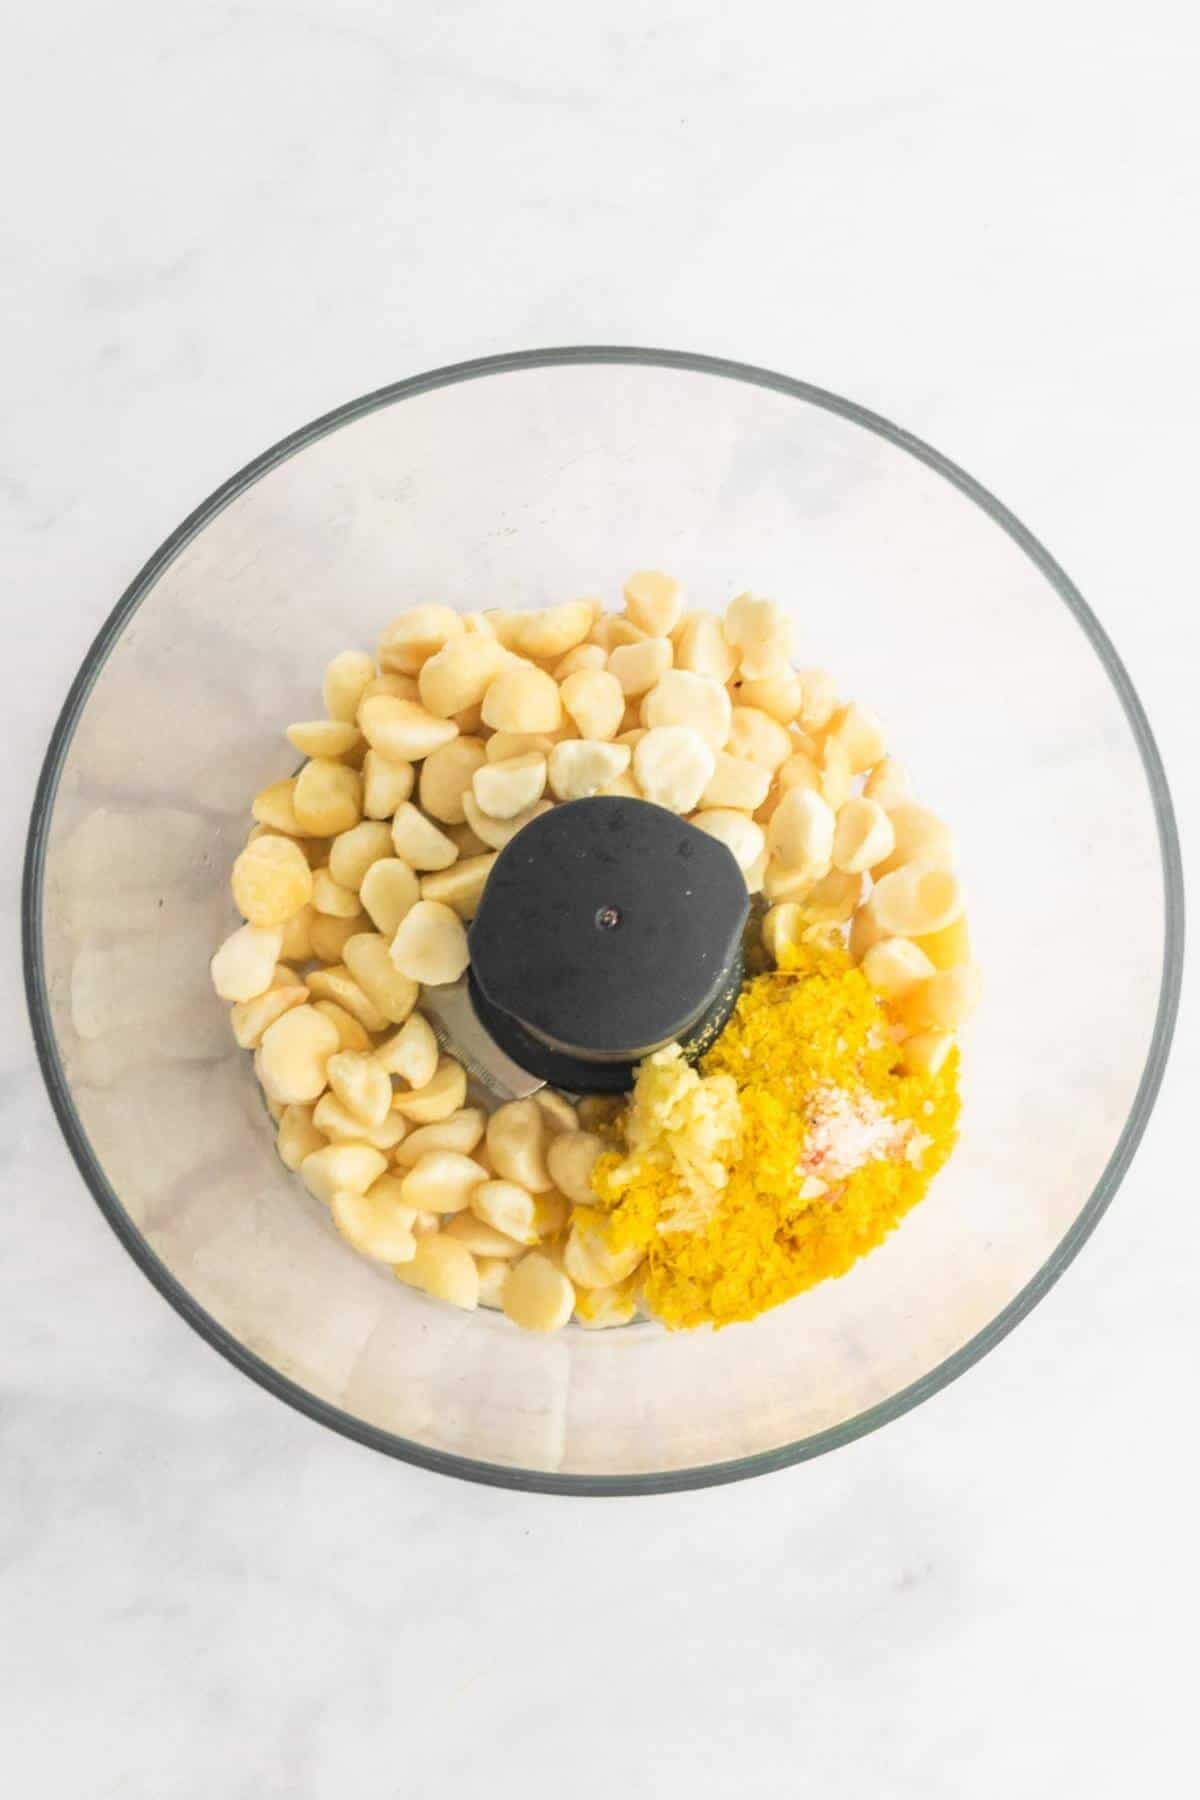
Add ingredients to a blender.
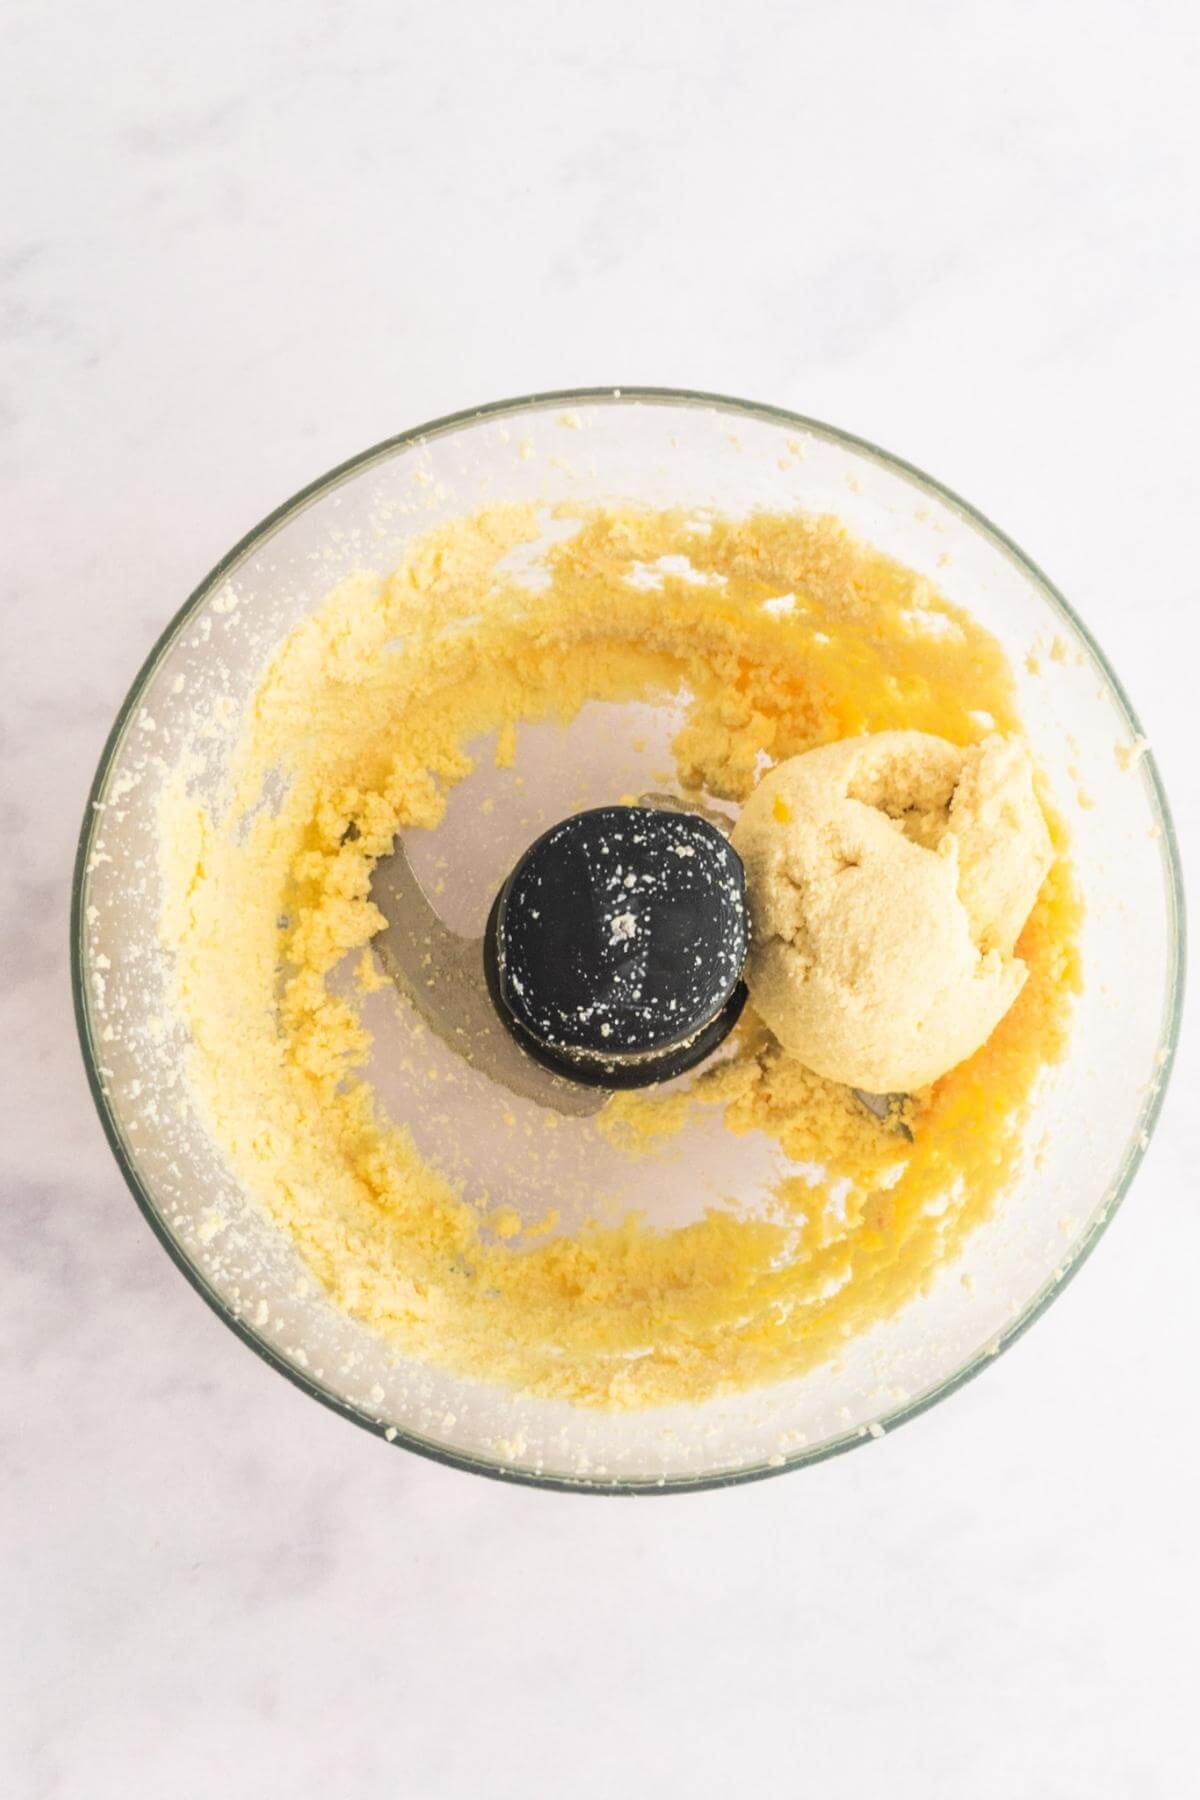
Blend until smooth & forms a ball.
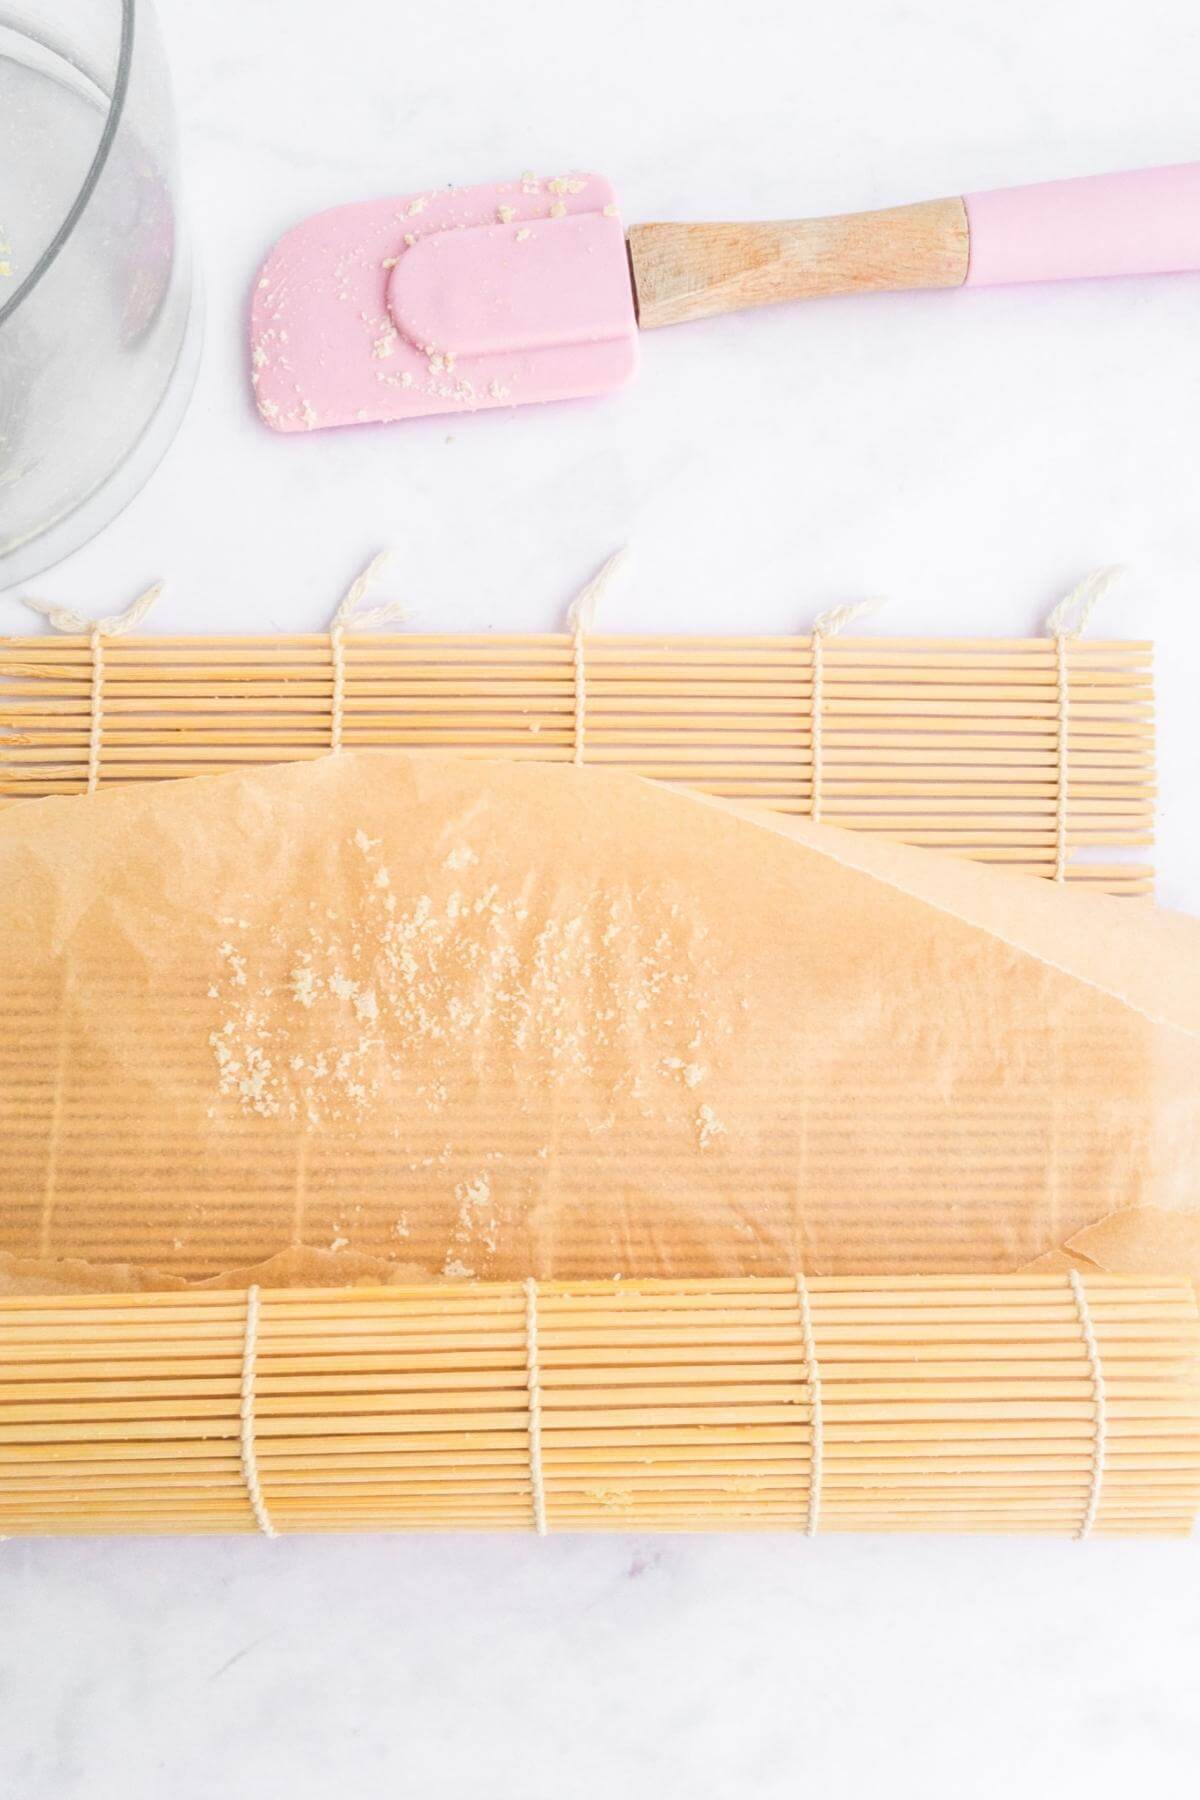
Turn out onto parchment & roll into a log shape.
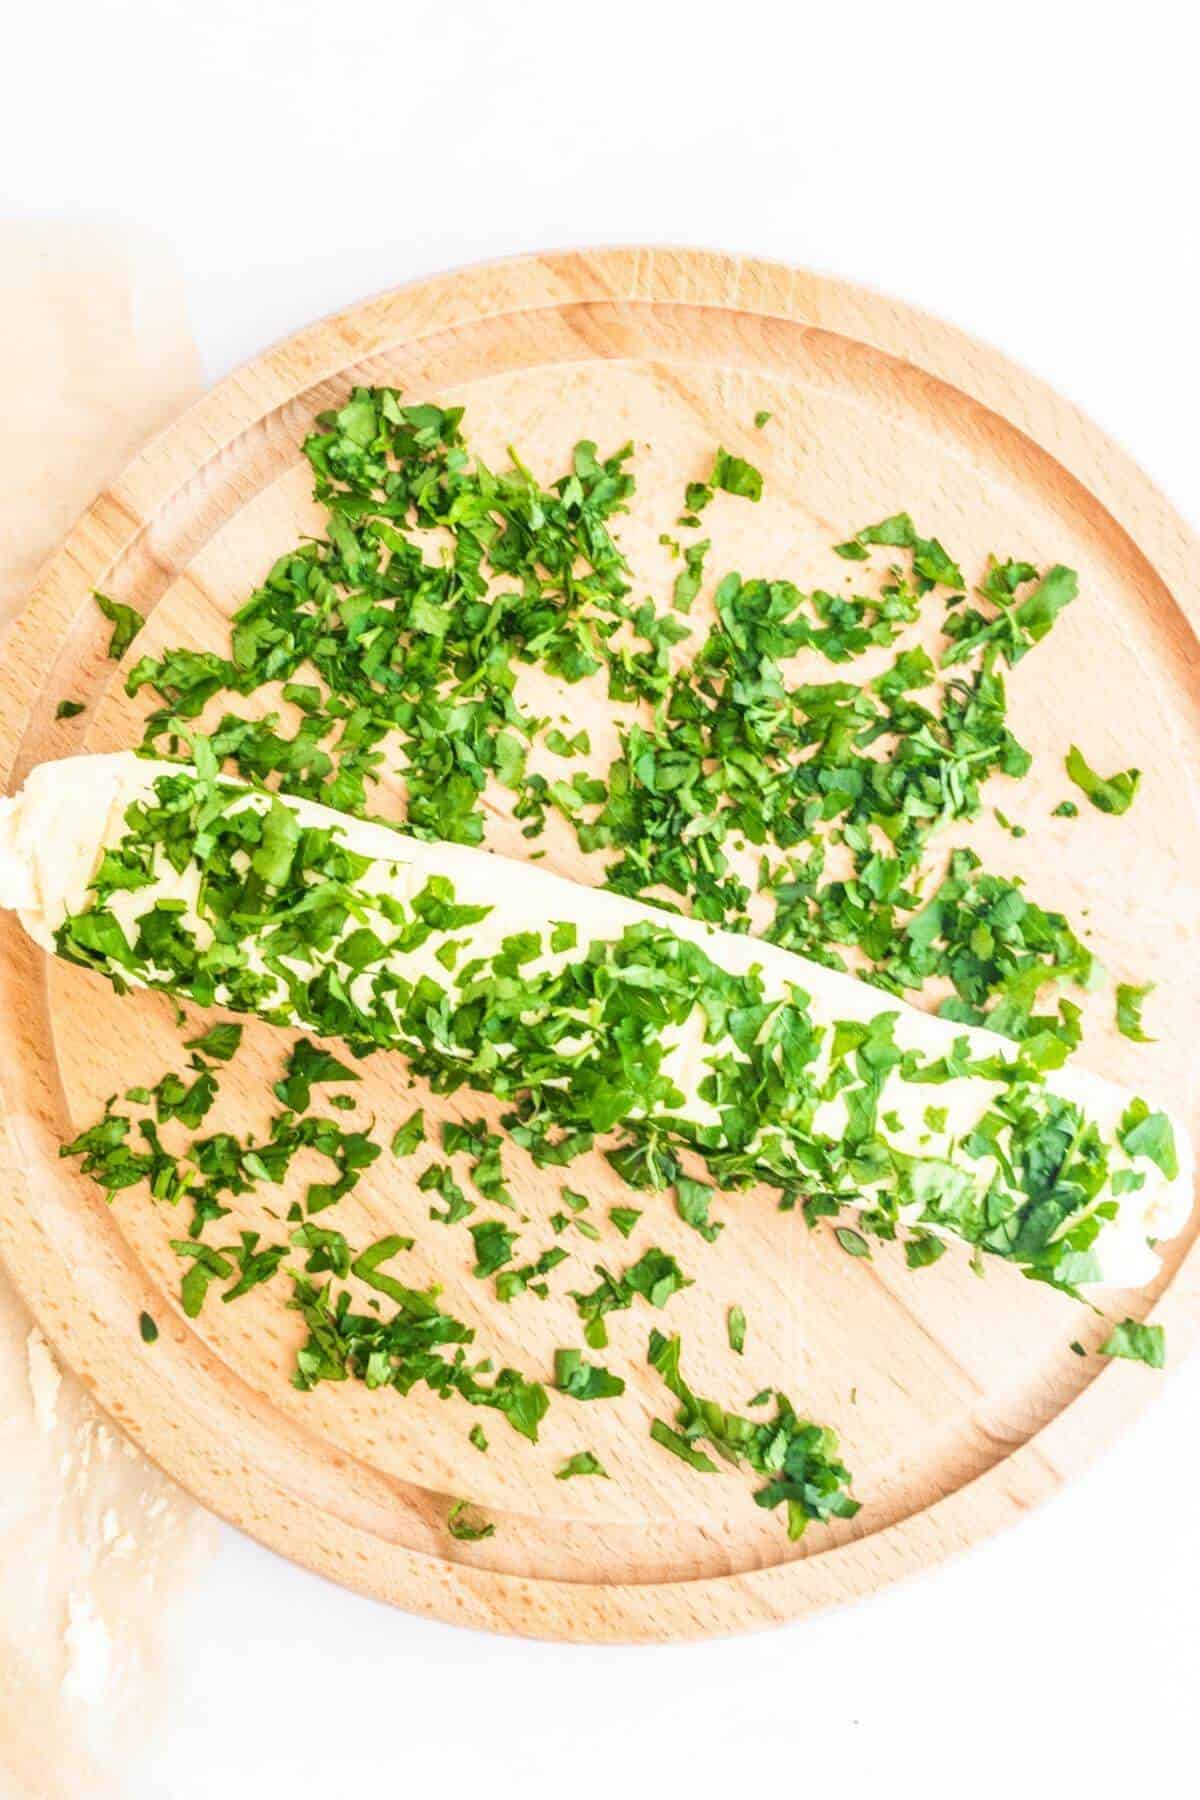
Roll in finely chopped herbs.
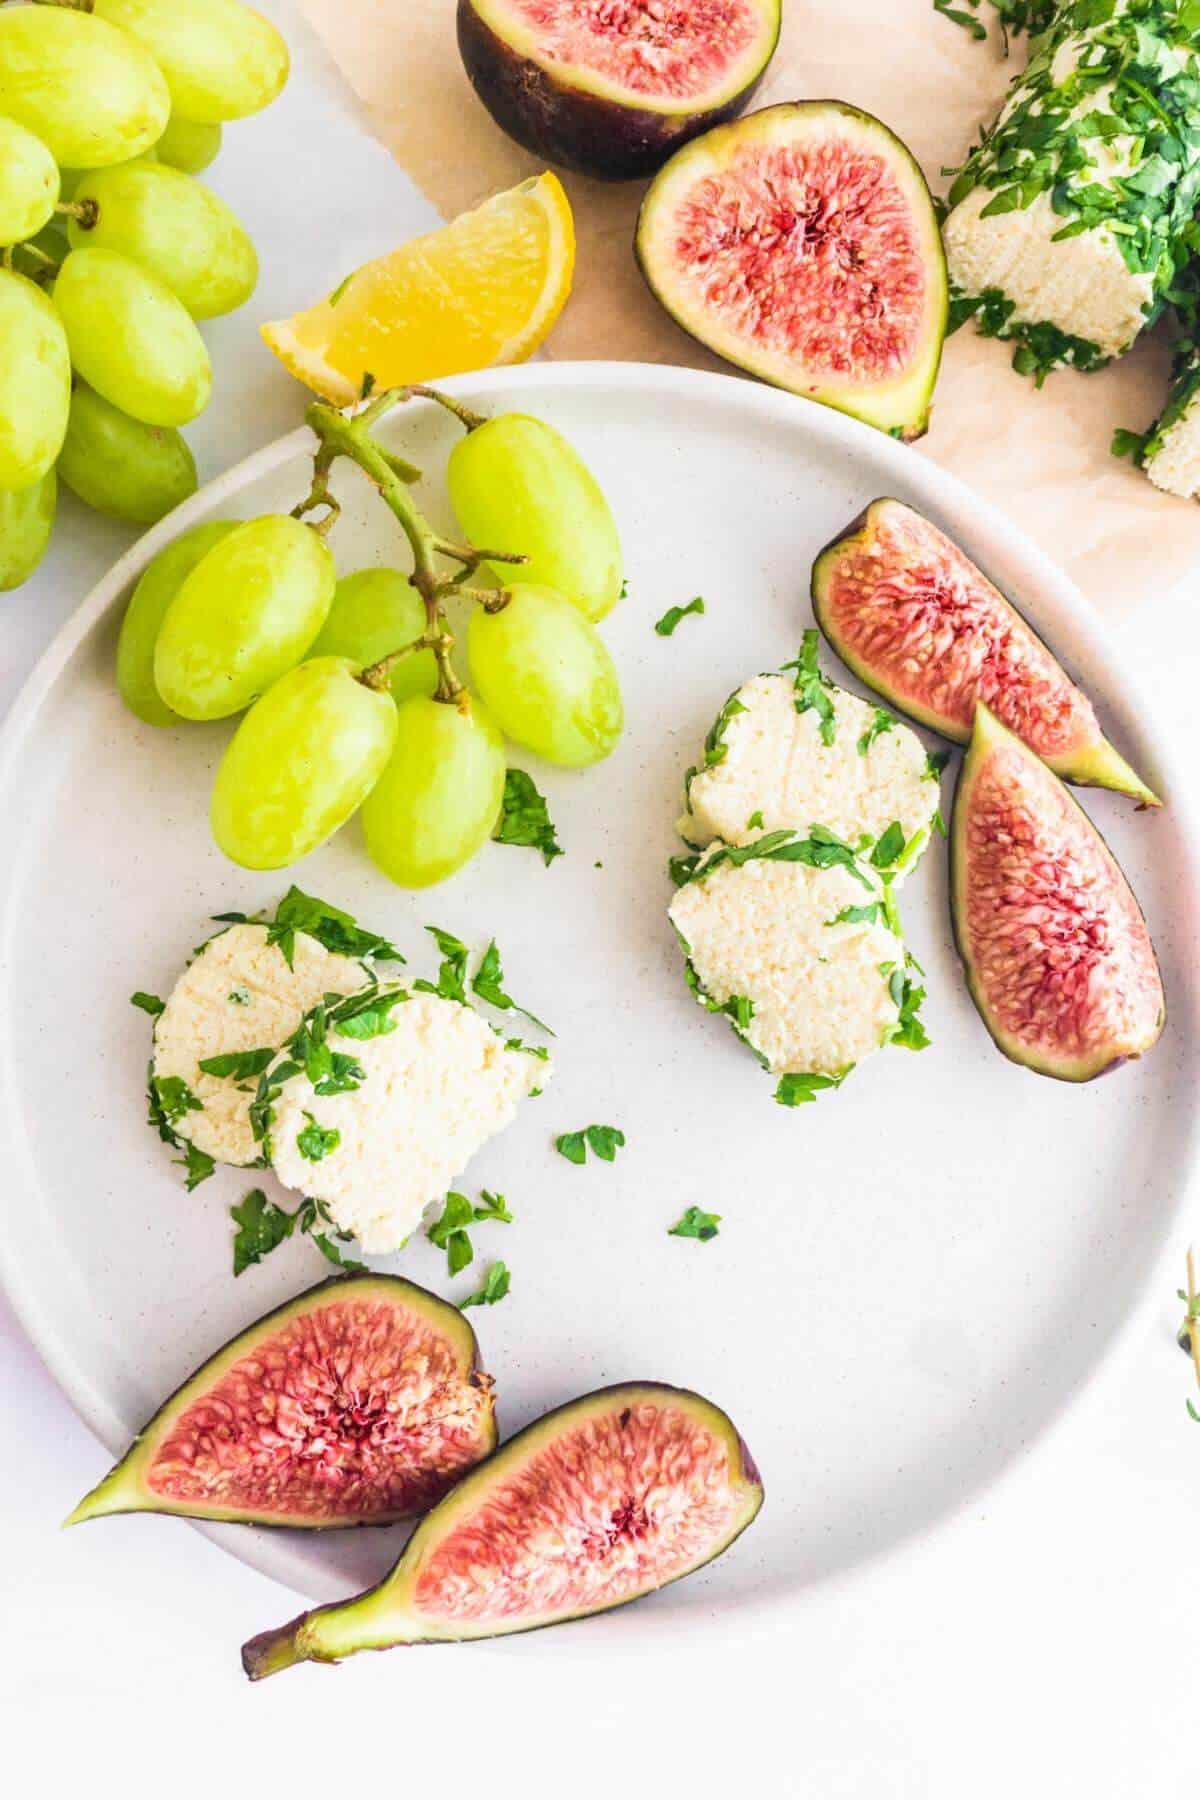
Variations
If macadamia nuts are an issue, you might try using soaked almonds, cashews or sunflower seeds instead.
Or change up the flavours a little more with some alternative ingredients. Here are some suggestions:
- Spicy - add a sprinkle of chilli pepper flakes to the mixer when blending.
- Herbs - change the herbs for some other flavours. I like to use whatever's in season. Finely chopped chives with a bit of rosemary works well.
- Miso - half a teaspoon of fresh miso paste for a slightly salty umami flavour. You might like to use miso instead of nutritional yeast or both even. I recommend doing a taste test while mixing before adding any salt, as you may find it doesn't need it.
Storage
Pop this cheese in an airtight container, and store it in the fridge for up to 5 days.
This macadamia nut recipe will freeze well. However, it's best to freeze it before rolling it into chopped herbs. Defrost in the fridge for a few hours or overnight before using it to allow it to soften. Once it's defrosted, roll in fresh chopped herbs until covered.
📖 Recipe

Macadamia Nut Cheese
Equipment
- 1 a blender or food processor with an s-blade.
- 1 Lemon squeezer.
- 1 Spatula.
- Parchment paper.
- 1 sushi matt optional
- 1 Chopping board.
- 1 Paring knife.
Ingredients
- 100 g macadamia nuts
- ½ lemon (juice of)
- 1 small garlic clove (crushed)
- 1 tablespoon nutritional yeast
- ¼ teaspoon salt (sea salt or himalayan pink salt)
- 4 tablespoon fresh parsley (a few large sprigs)
- 1 teaspoon fresh thyme leaves (approximately 1 sprig)
Instructions
- Add the ingredients (minus the herbs) to a food processor with an s-blade and blend until creamy and smooth. Stop every so often, remove the lid and use a spatula to scrape the mixture away from the edges back into the middle. It takes around 4 minutes to break down, until the mixture starts to form a soft ball shape, then I stop.
- Lay out a sushi matt onto your work surface and cover it with a layer of parchment. Now scrape the macadamia cheese out onto the middle of the parchment and, using your hands form it into a log shape. I like to use a sushi matt to roll the cheese quite tightly in the parchment, so that it makes a nice firm shape. Remove the matt. Fold down the edges of the parchment under the raw cheese and place it into the freezer for about 30 minutes to firm up.
- While you're waiting for it to firm up, take the herbs, remove their leaves from the stalks and chop finely using a paring knife. Mix the herbs together with your fingers then spread them out evenly across the chopping board.
- After 30 minutes is up, take the nut cheese from the freezer and remove the parchment. Roll the macadamia cheese over the finely chopped herbs until it's evenly covered. Serve in whatever way makes you happy 🙂





Luna says
Dear Juliette thank you for all the e mails,that you are sending them to me-as I became your new subscriber.You are such a lovely person,your skin and you as well are looking so beautiful.Your recipes are so simple,make sense and also delicious.I am very happy to find you.
Juliette says
I'm so glad you are enjoying my recipes and emails 🙂
Rachel says
Not sure what I did wrong, but my hummus never came out creamy, it’s very chunky. This is my first time using fresh garbanzo beans. It doesn’t seem to matter how much liquid I use, I’m still getting chunky hummus. It’s bot getting creamy at all
Juliette says
Hi Rachel,
Thanks for commenting! It's not you. I've had this happen too. There's a couple of things you can do to help. Firstly, though, please be sure to use only presoaked and sprouted chickpeas. That's a must. Please don't eat dried garbanzo beans without sprouting them or cooking them first.
-Have you tried blending for a while longer? You may need to do it in short bursts, depending on your food processor.
-You might try peeling the outer jackets from the garbanzo beans. A quick, easy way is to roll them around in a clean kitchen towel, pressing down lightly for a minute or two. It loostens their outer jackets. Just pick them off and use the inner sprouted beans instead.
- I've also had good results by freezing the beans and thoroughly defrosting them before blending. It's obviously not so quick. But most things when defrosted will soften.
I hope this helps.