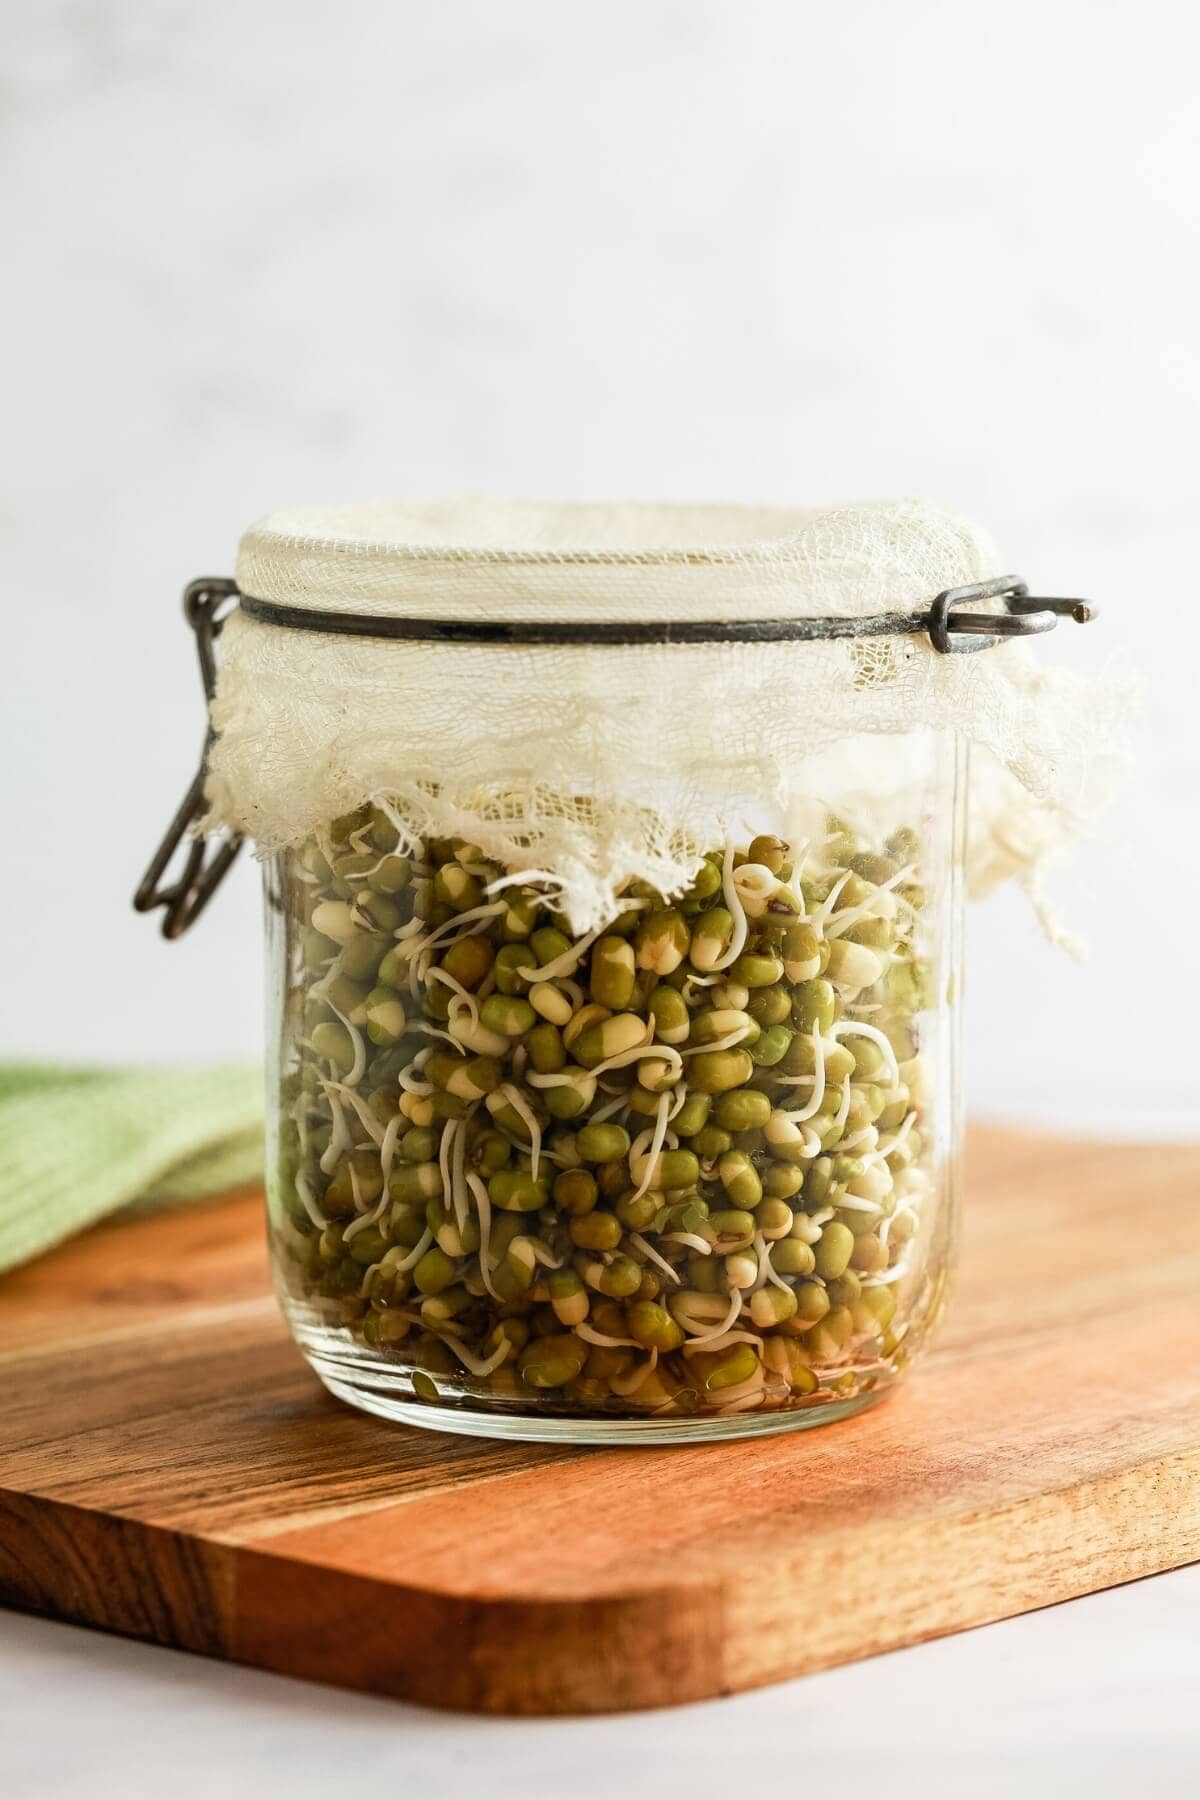
A quick tutorial for sprouting mung beans at home in three easy steps. Mung beans are a superfast legume to sprout. Fresh, crisp and slightly sweet in flavour, they’re also really versatile. Enjoy them as a tasty snack, or add them to almost anything from salads and stir-fries to soups, wraps, and more.
In this article, I guide you through a simple three-step process to grow mung bean sprouts from start to finish so you can enjoy their many health benefits right at home!
Sprouting Series
Are you curious about sprouting? If so, then do check out my sprouting series on the blog here to get more familiar with it all.
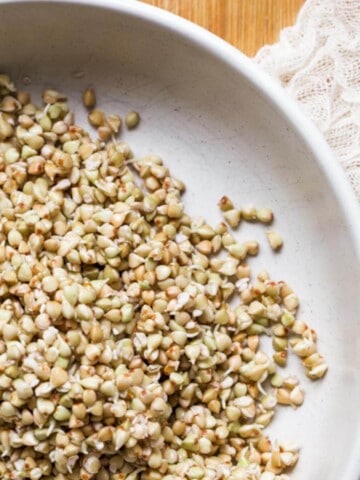
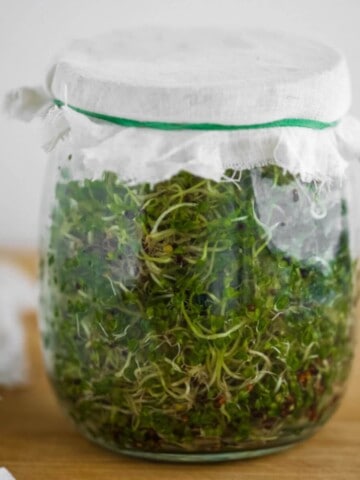
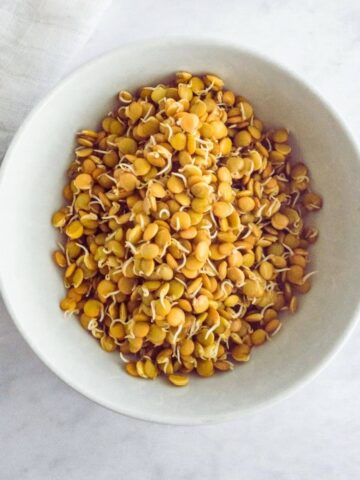
My other current sprouting recipes include: How to grow broccoli sprouts, how to sprout quinoa, sunflower sprouts, sunflower microgreens, sprouting buckwheat, how to sprout chickpeas, sprouting adzuki beans and how to sprout lentils.
Mung bean sprouts are a delicious and nutritious addition to many dishes.
These tiny sprouts pack a powerful punch of protein, fibre, and vitamins that can benefit your overall health.
Sprouting mung beans in a jar, a strainer, or wrapped in a muslin cloth is a very easy and inexpensive way to add this superfood to your diet.
With just a few simple steps, you can cultivate these crunchy little sprouts in your kitchen in just a few days!
Jump to:
What are mung beans?
Mung beans (Latin name Vigna radiata) are small, deep green legumes about 3-4mm long.
Originating from India, mung beans were originally cultivated by Indian farmers as long as 3500 years ago. They’re also cultivated in East and Southeast Asia and the Indian subcontinent.
Other names for mung beans are moong beans, bean sprouts, golden gram and green gram.
You can often find long sprouted mung beans (bean sprouts) in UK store vegetable isles alongside bags of mixed stir-fry vegetables, fresh noodles and Asian style sauces. They’re about 2-3 inches long and ivory/white, almost translucent in colour.
Which seeds to buy
Be sure to purchase packets of organic dried mung beans sold for eating. You can use dried beans from the supermarket or local Asian grocery store.
You can also purchase organic mung beans produced specifically for sprouting purposes. This is what I like to do.
Steer clear of packs of seeds for growing in the garden, or feeding the birds, as these don’t go through the same safety checks and may have been treated with a fungicide or other chemicals.
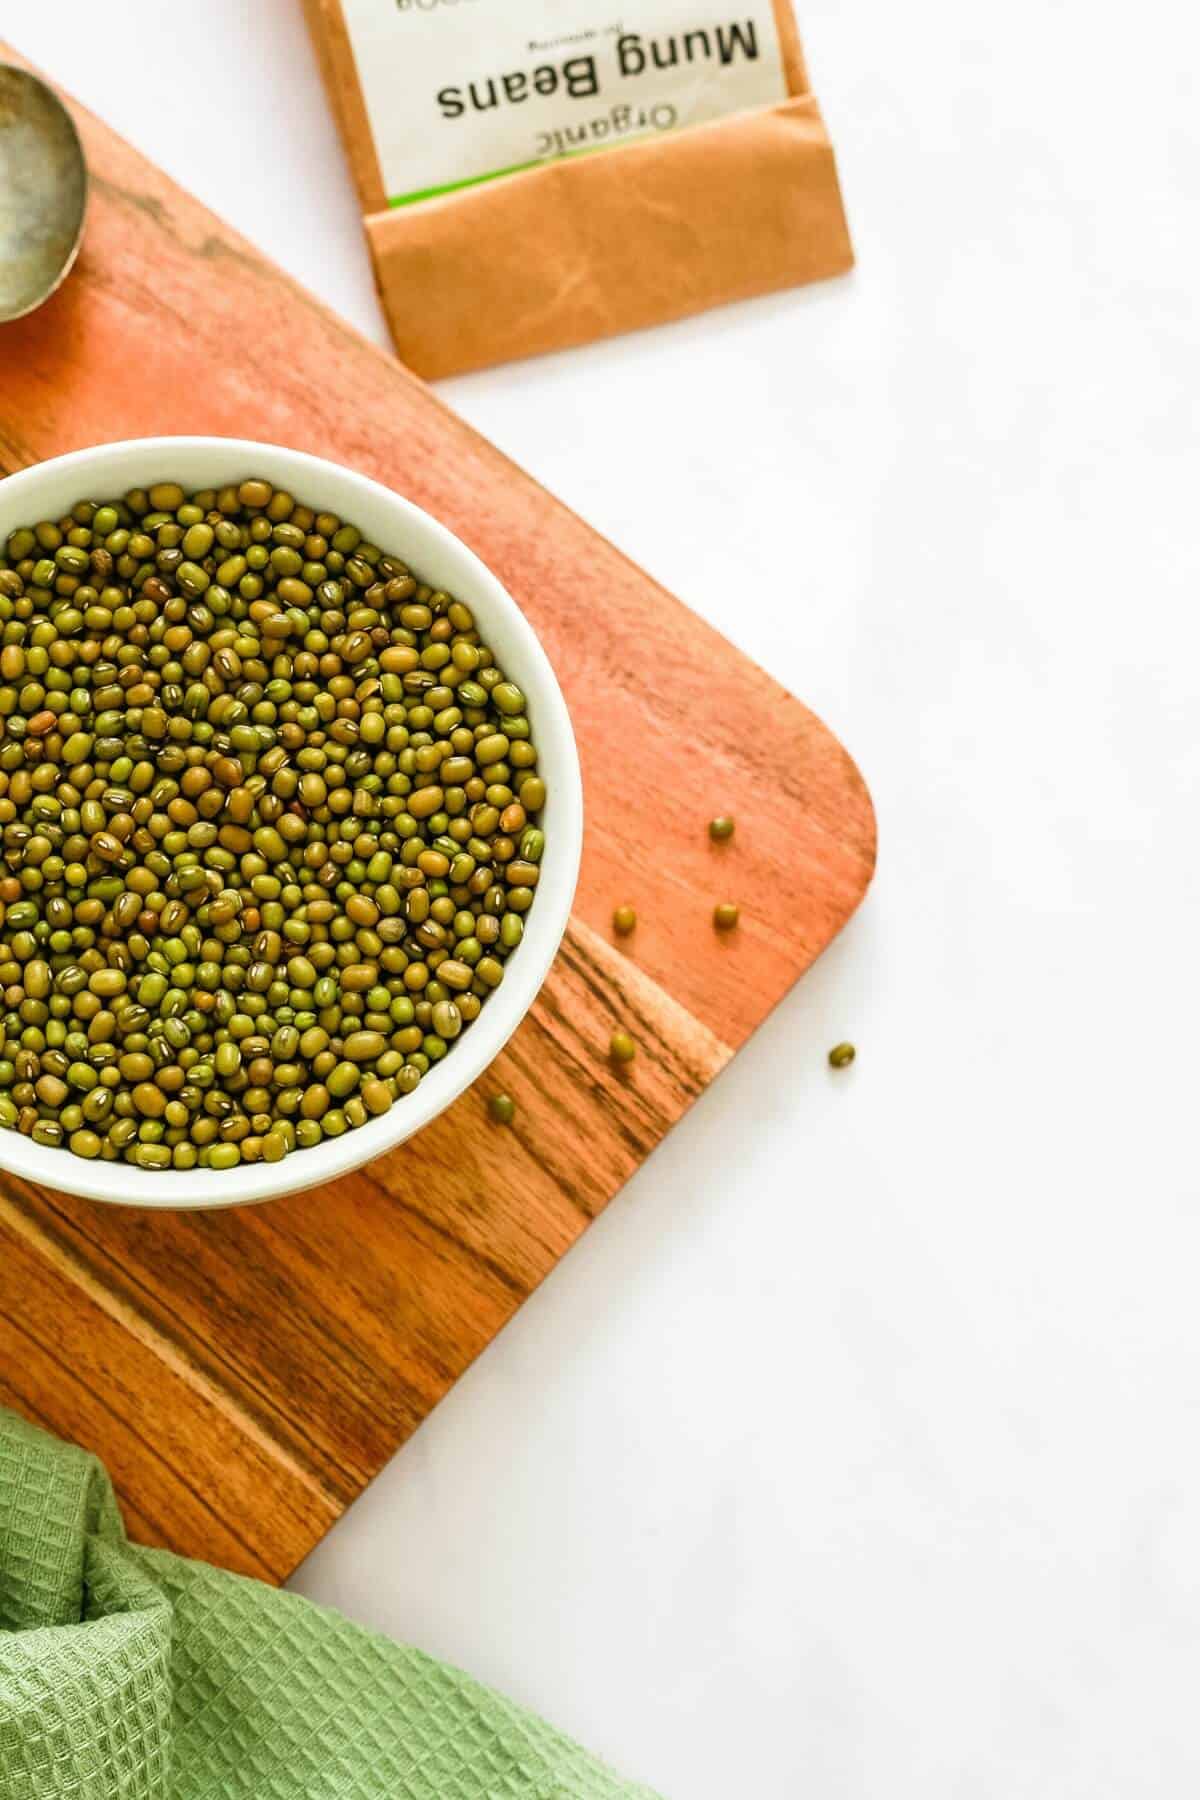
Organic dried mung beans for sprouting.
For full details and quantities see the recipe card below.
Step-by-step instructions
It's important when sprouting raw seeds and legumes to make sure your utensils and equipment are clean and dry.
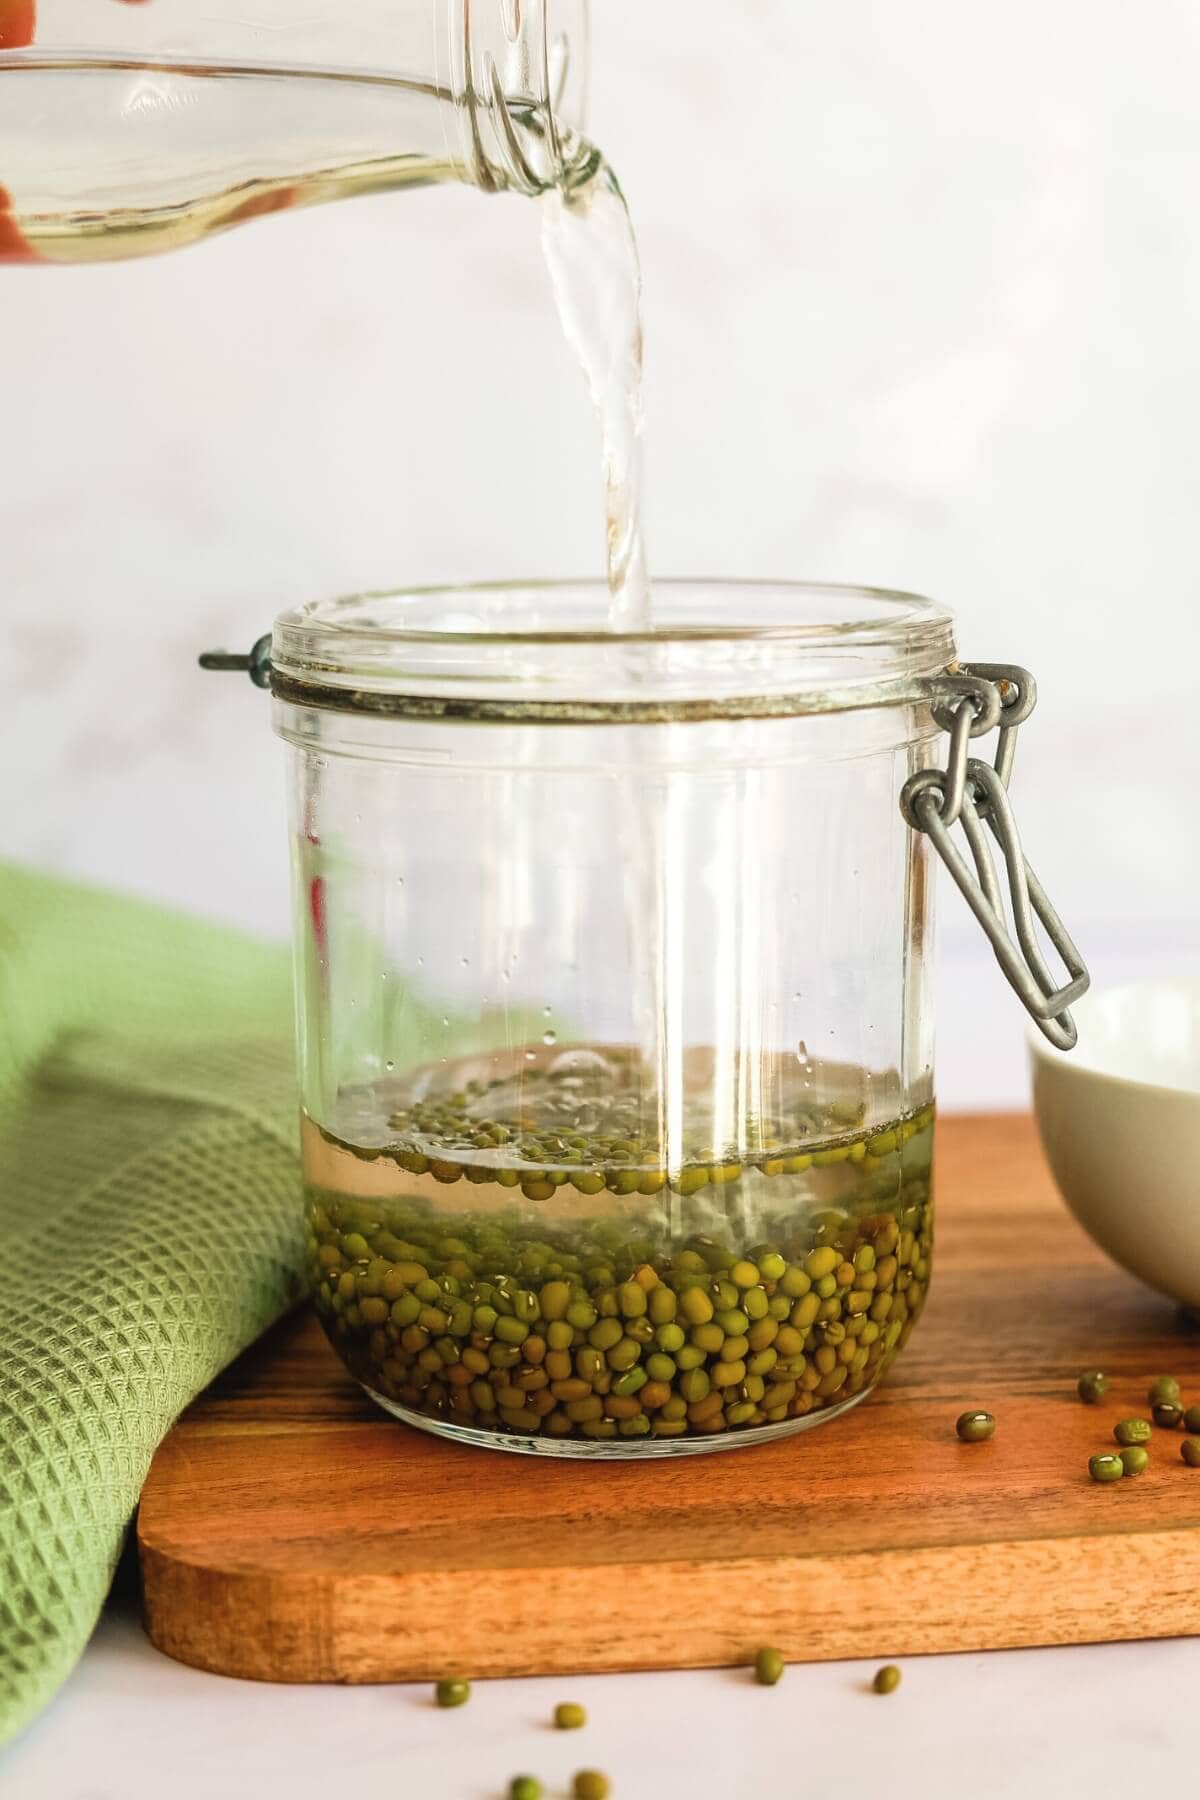
Step 1 - Rinse and soak mung beans. Rinse the beans first and discard any that are broken, and any bits of grit. Place into a bowl or jar of fresh water and soak for 8-12 hours or overnight.
They soak up quite a bit of water, so add at least three times the amount of water as you do beans.
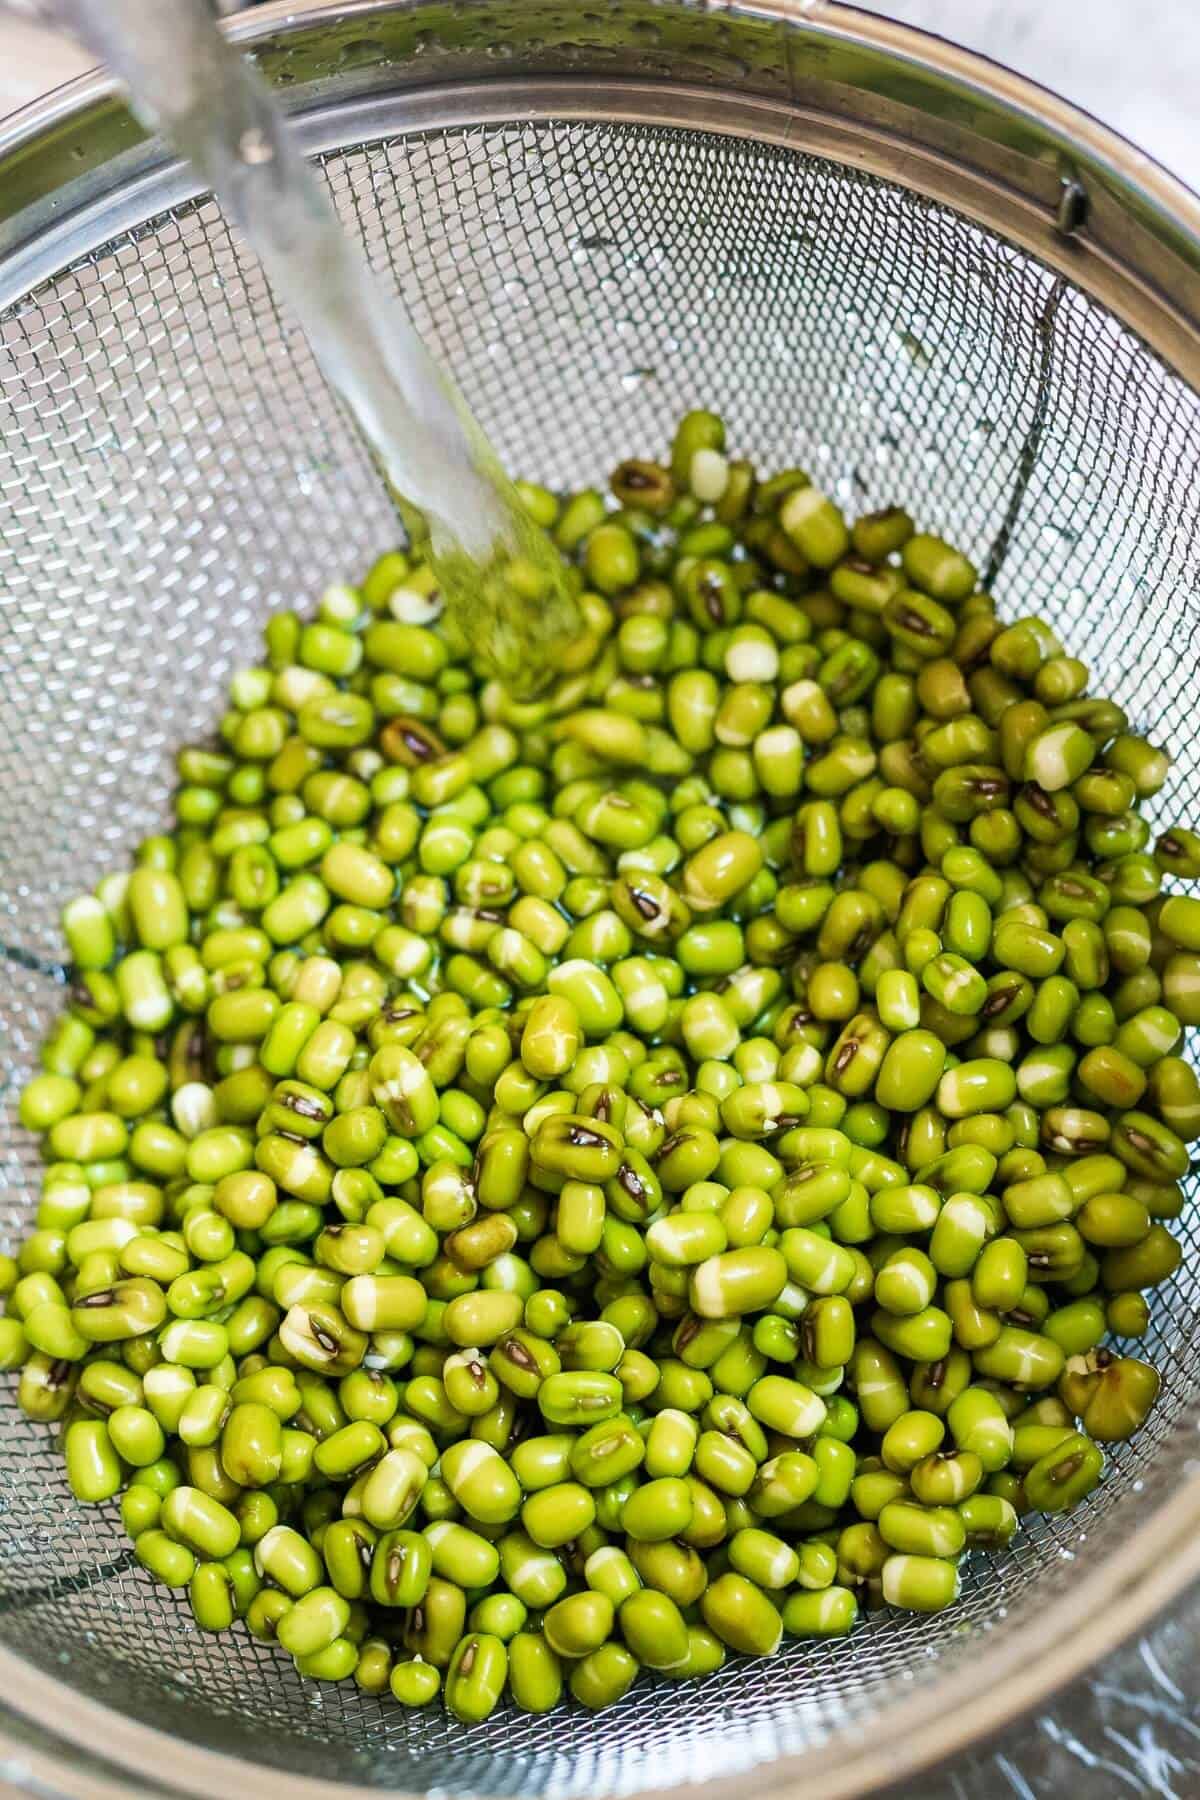
Step 2 - Rinse and drain. Using a strainer, pour away the soak water. Give the beans a really good rinse and drain them well.
This rinsing and draining is essential to the sprouting process to keep sprouts fresh and healthy. Be sure to do this twice each day, morning and evening, until they’re ready.
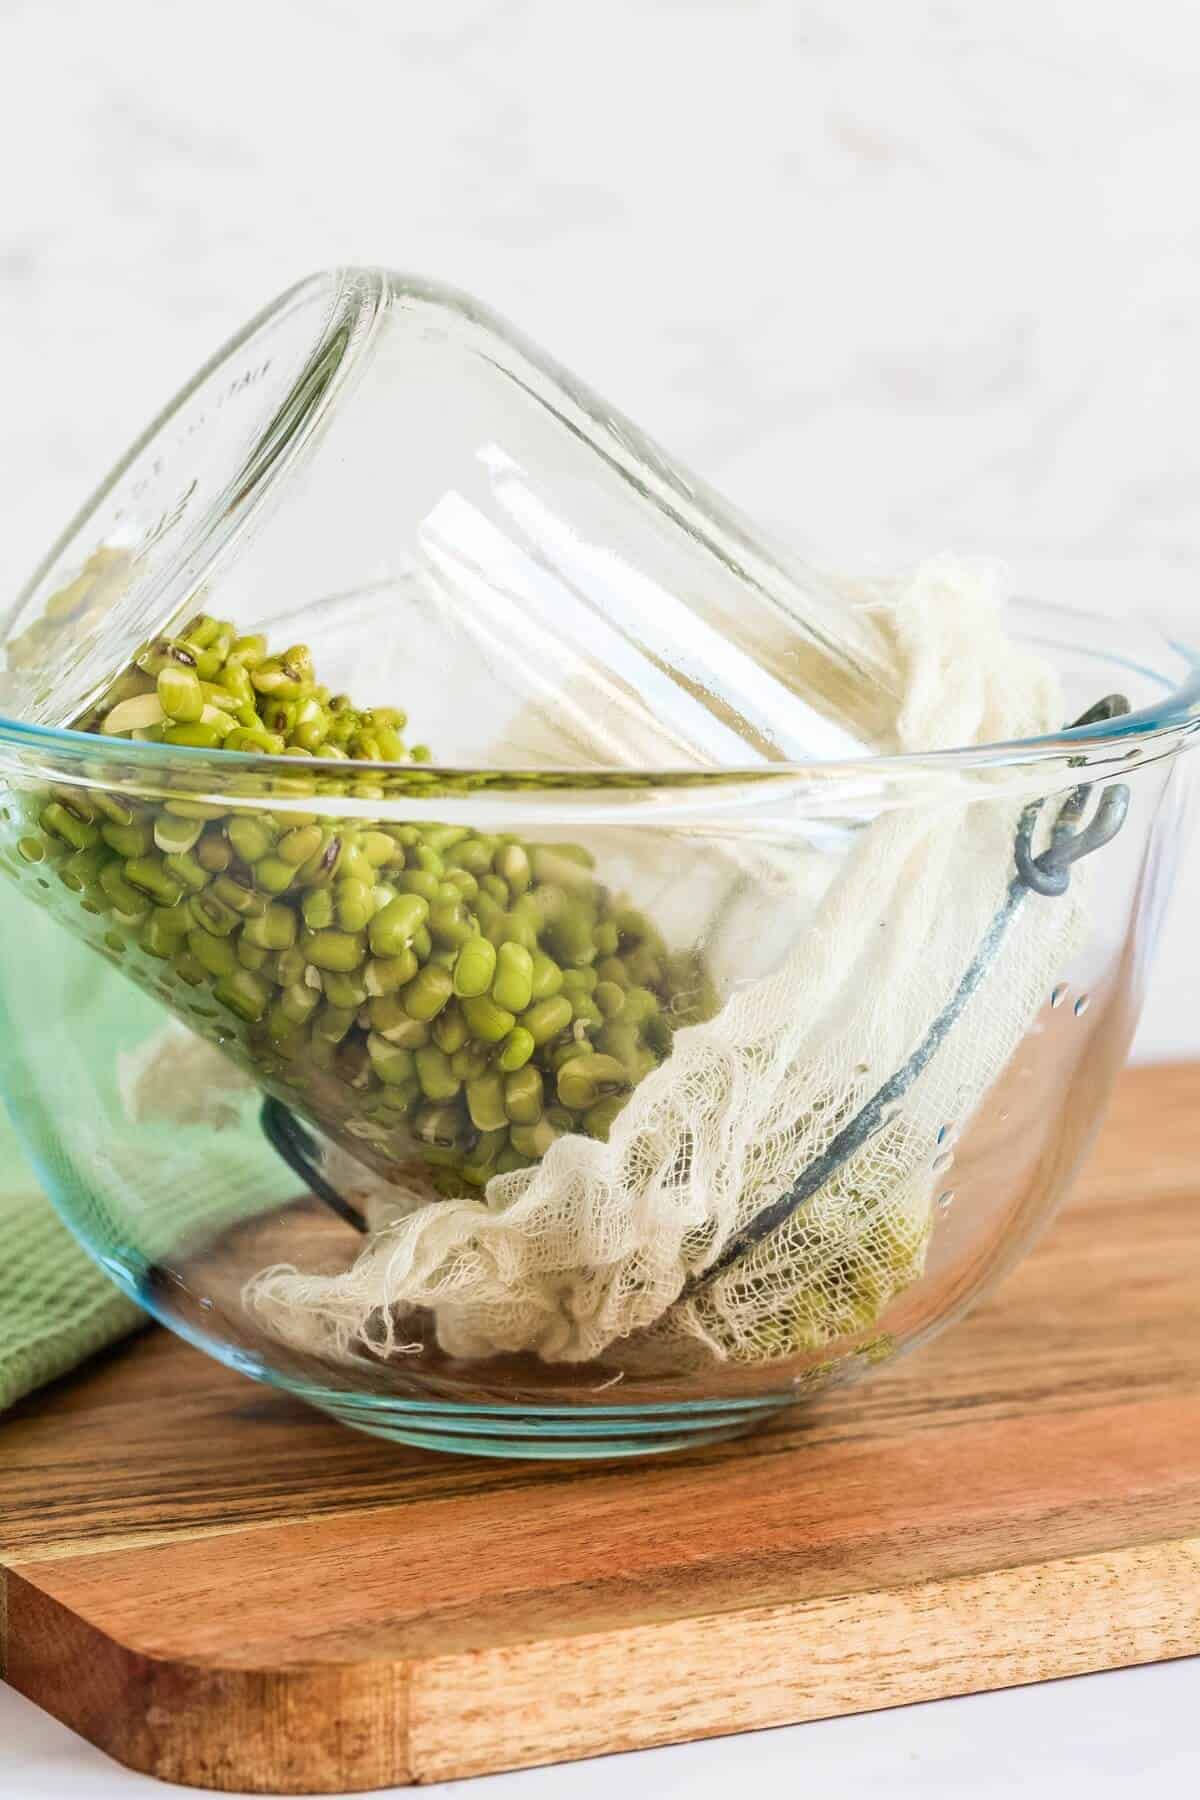
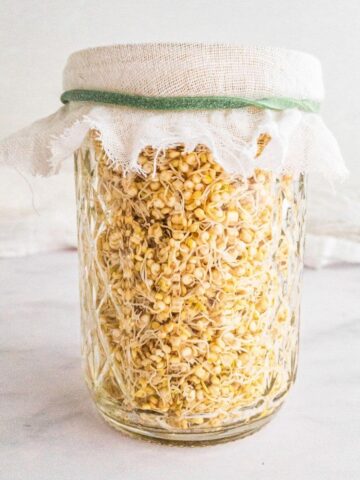
Step 3 - Sprouting mung beans in a jar. Place the beans into a wide-mouthed jar with a sprouting lid, or use a muslin cloth and an elastic band instead.
Pop the jar into a small bowl and leave it at a 45 degree angle for any surplus water to drain away.
Keep them sprouting out of direct sunlight on the countertop so you can access them easily. Rinse and drain each morning and evening until ready.
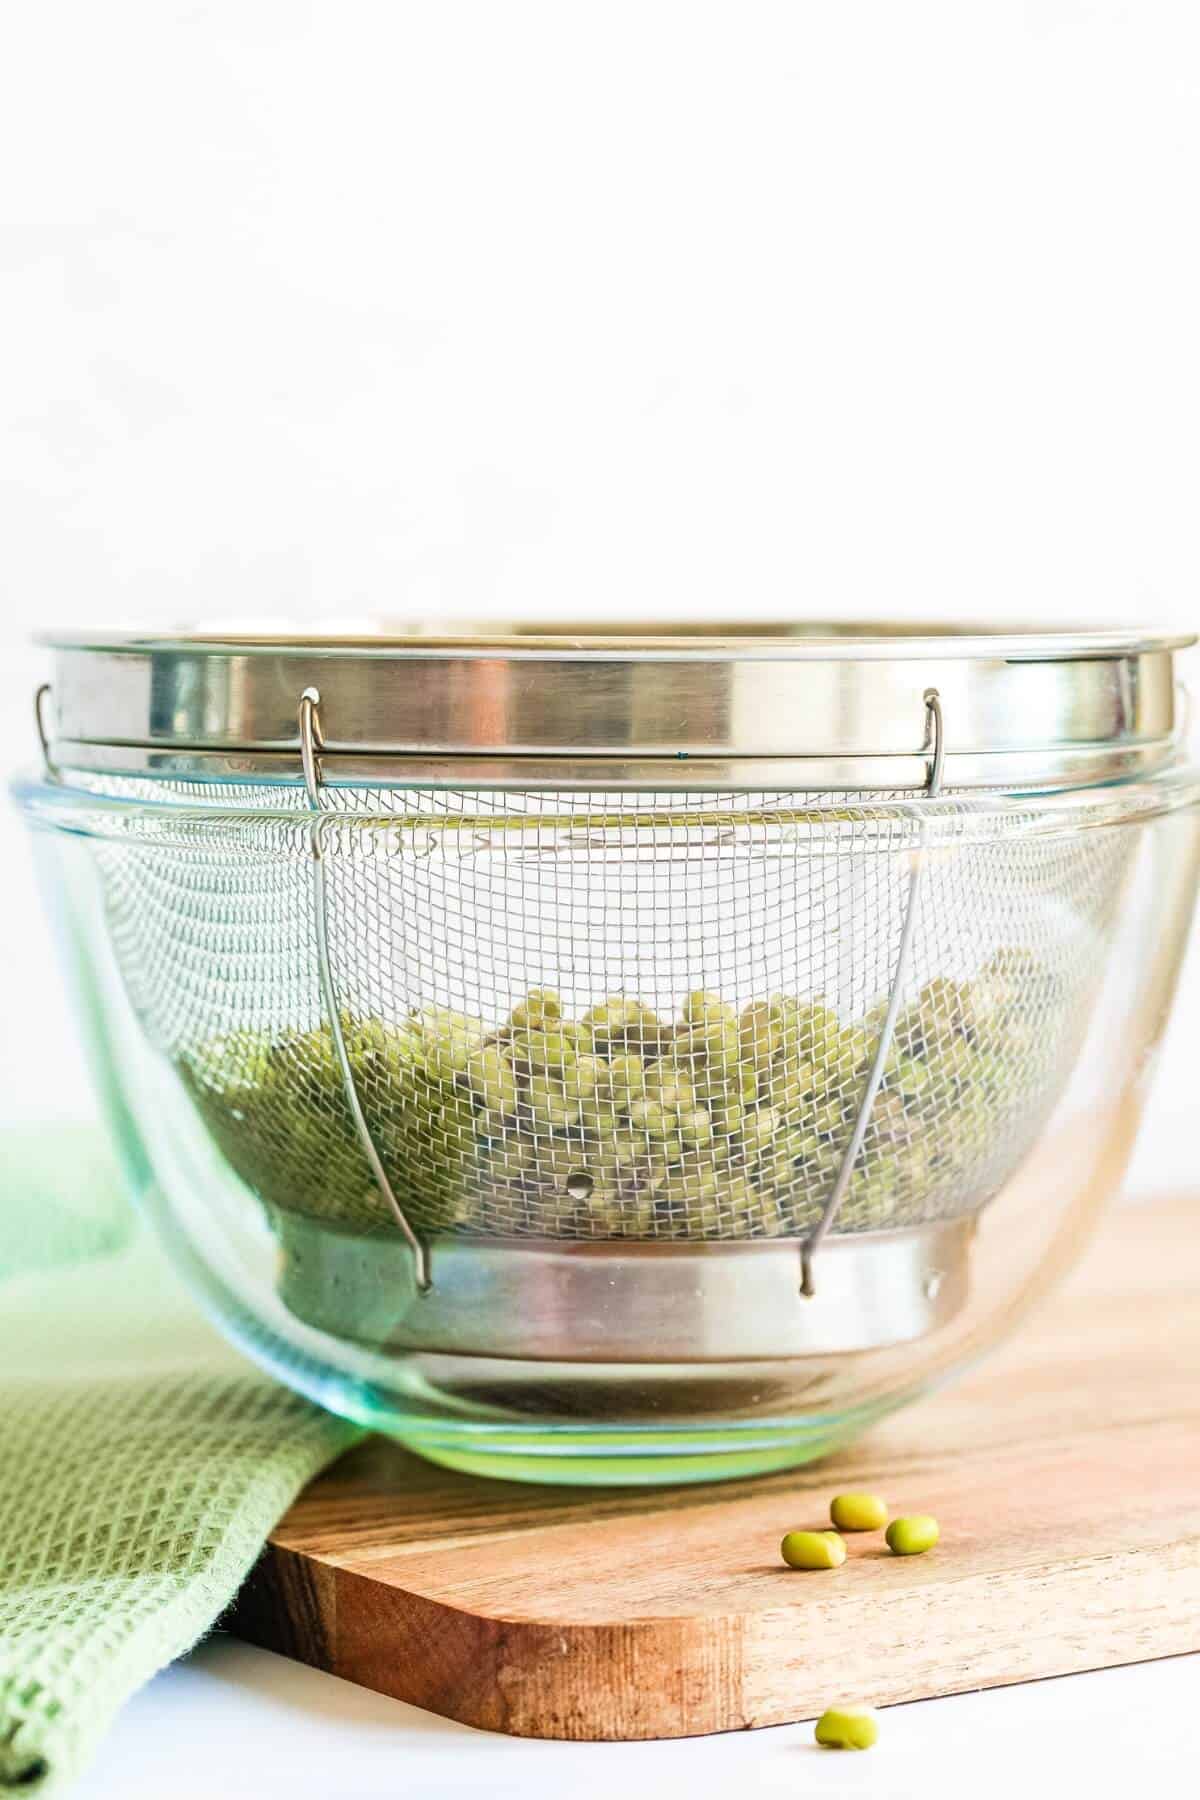
If you’re sprouting mung beans in a strainer instead - Pour the beans into a strainer (sieve) over a small bowl to catch any excess water.
Rinse, then drain each morning and evening until ready.
In warm weather, place a piece of kitchen paper loosely over the top to avoid any little flies.
Sprouting mung beans in a strainer is my preferred method because it’s easy to check them as you walk past and run them under the cold tap to refresh them. (I love things to be easy. 🙂)
When they’re ready to harvest, give them a final rinse and leave them to dry for a few minutes on a clean kitchen towel before using.
Top tips
If you are growing short mung bean sprouts like I do, then you don't need to grow them in the dark.
I love them most when they've just germinated, and have a shorter root. This is usually on day 2, when I feel they're at their freshest and sweetest.
If you want to grow them nice and long, so they look more like bean sprouts you find at the store, then you can cover them loosely with a kitchen towel to keep them in the dark.
Growing bean sprouts in the dark encourages them to produce lovely long pale white shoots. Longer shoots sometimes appear a little pinkish when they've been exposed to light.
How to tell when they’re ready to eat
Want to know how long mung beans take to sprout? It typically takes 1-3 days, depending on their environment. In warmer weather they can sprout in a day.
When their little shoot is about the length of the bean or more, they're ready to eat.
For longer bean sprouts that are 2-3 inches long, sprouting can take 4-6 days.
The little green outer shell splits and falls away during the sprouting process. Don't worry they havent completely fallen off the sprouts as they're edible.
I love their pretty green colour and always leave them on.
To remove the green outer layer, use your fingers to pinch them off the seed and into a bowl.
My favourite way to enjoy them right now is for breakfast when I toss a handful into a bowl with some juicy diced cucumber, peaches or mango. Sometimes, I’ll add some fresh herbs like mint leaves or parsley, that have been lightly chopped.
Equipment
No special equipment is necessary. You'll need:
- a strainer (sieve)
- a bowl
- a wide mouthed mason jar
- sprouting lid or muslin cloth and rubber band
How to store
Store your finished mung bean sprouts in the fridge for up to 5 days.
Pop them into a suitable container with a lid. Place a piece of paper towel at the bottom, to soak up moisture. Give them a quick rinse before using.
Are mung bean sprouts good for you?
Yes! Mung bean sprouts are full of goodness like fibre, protein, vitamins and minerals, including B vitamins, Copper, Magnesium, Iron, Folate, vitamin C, and vitamin K.
FAQ
Once soaked, they take as little as 1-3 days to sprout, depending on room temperature. Longer bean sprouts can take up to 6 days.
Yes. However, the UK Food Standards Agency recommends people in vulnerable groups always cook any sprouts until steaming hot all the way through. This includes the elderly, young children, those with a weakened immune system, and pregnant women.
Mung bean sprouts should be grown out of direct sunlight, in a darker part of the kitchen. Growing bean sprouts in the dark helps longer sprouts to stay pale as the light sometimes produces a slight pink tinge to them.
Healthy bean sprouts should be a bright white or cream in appearance and feel crisp when snapped. Spoilt mung beans appear wilted or slimy, darker in colour or slightly browned and have an unpleasant musty aroma.
Related
Looking for other recipes like this? Try these:
📖 Recipe
Sprouting Mung Beans
Equipment
- 1 Wide mouthed mason jar
- 1 sprouting lid or muslin cloth and rubber band
- 1 Strainer or sieve.
Ingredients
- 50 g (½ cup) raw dried mung beans
Instructions
- Step 1 - Soak Mung Beans. Rinse the beans first then pick out any bits of grit or broken beans and discard. Place the mung beans into a jar and cover with plenty of water (at least three times the amount of water). Allow them to soak for 8-12 hours or overnight.50 g (½ cup) raw dried mung beans
- Step 2 - Rinse and Drain. Pour the beans into a strainer, discarding the soak water then give them a good rinse. Be sure to drain beans well before sprouting. You’ll need to rinse and drain the beans twice daily, morning and evening, until they’re ready. A third rinse and drain would be great if the weather is hot.
- Step 3 - Leave to Sprout. Add the soaked mung beans to a jar with a sprouting lid, or use a muslin cloth and a rubber band instead. Place the jar at an angle with the lid facing downwards into a small bowl. This allows excess water to drain out quickly and is also great for airflow. If you prefer not to use a jar, pop your soaked beans into a strainer over a small bowl instead. Rinse and drain the beans every day as recommended (step 2). The sprouts are ready when you can see a little shoot coming out of each bean, typically the bean’s length or more.
Notes
Food safety
The UK Food Standards Agency recommends people in vulnerable groups always cook any sprouts until steaming hot all the way through before eating them.
This is because sprouts sometimes contain bacteria, which some people may be susceptible to. Vulnerable groups include the elderly, young children, those with a weakened immune system, and pregnant women.
Never eat sprouts or microgreens that look or smell bad or weird. If you're unsure, then throw them out and start again.
Not all seeds or beans are suitable for sprouting or eating raw. Please be sure to check first.
Check the FSA website for more details.






Comments
No Comments