Preparing raw food is simple when you know how. Instead of always thinking about what to cook, you could take advantage of some simple raw food techniques to create gorgeous alternatives.
Enjoy making delicious raw juices, smoothies, tacos, zoodles, nice-cream and more with the right kitchen know-how.
Let's take a look at what you can do to make the most of all the natural, nourishing goodness that comes from raw foods. And get excited about eating the rainbow, like never before!

Jump to:
Juicing
Juicing is the process of extracting fresh and nutrient-rich juices from whole foods.
It's an easy way to add heaps of pure, unadulterated nutrition to your diet quickly and easily.
Because the process of juicing separates the fibre from the whole food, your digestive system doesn't need to do as much work.
This makes enjoying freshly prepared juices a gentle way for your body to absorb nutrients.
It's best to drink freshly made juices straight away to get the most out of them because their nutrients start to degrade over time very quickly.
I love juicing and think it's a joyful, delicious way to supplement your diet.
If you’re new to raw foods you'll love my blog posts My Top Raw Food Kitchen Tools, 10 Ways to get started with raw food and 6 Healthy Foods Raw Foodies Love.
Blending
Blending is the process of mixing together one or more substances into a puree to become smooth and evenly combined.
I have a blast using a blender to create some wonderful raw foods; things like:
- Dips - like this easy cashew mayo or hummus.
- Dressings - try my peanut salad dressing or this lemon herb vinaigrette.
- Desserts
- Sauces
- Soups
- Nut milk
- Nice cream
- Milkshakes and yes, of course
- Smoothies.
Yes, it's safe to say that I love to use my blender every day. You could also try using a food processor with an s-blade.
If you're stepping into raw food, then getting a blender is definitely worth your time and money.
You don't need anything fancy to get started. I bought a cheap blender from the supermarket for about £20. It did me for over a year, and I loved it! I keep it as a spare, just in case.
The more expensive blenders do typically give you a smoother consistency. They work at incredibly high speeds to give you a truly quality product with some wonderful guarantees.
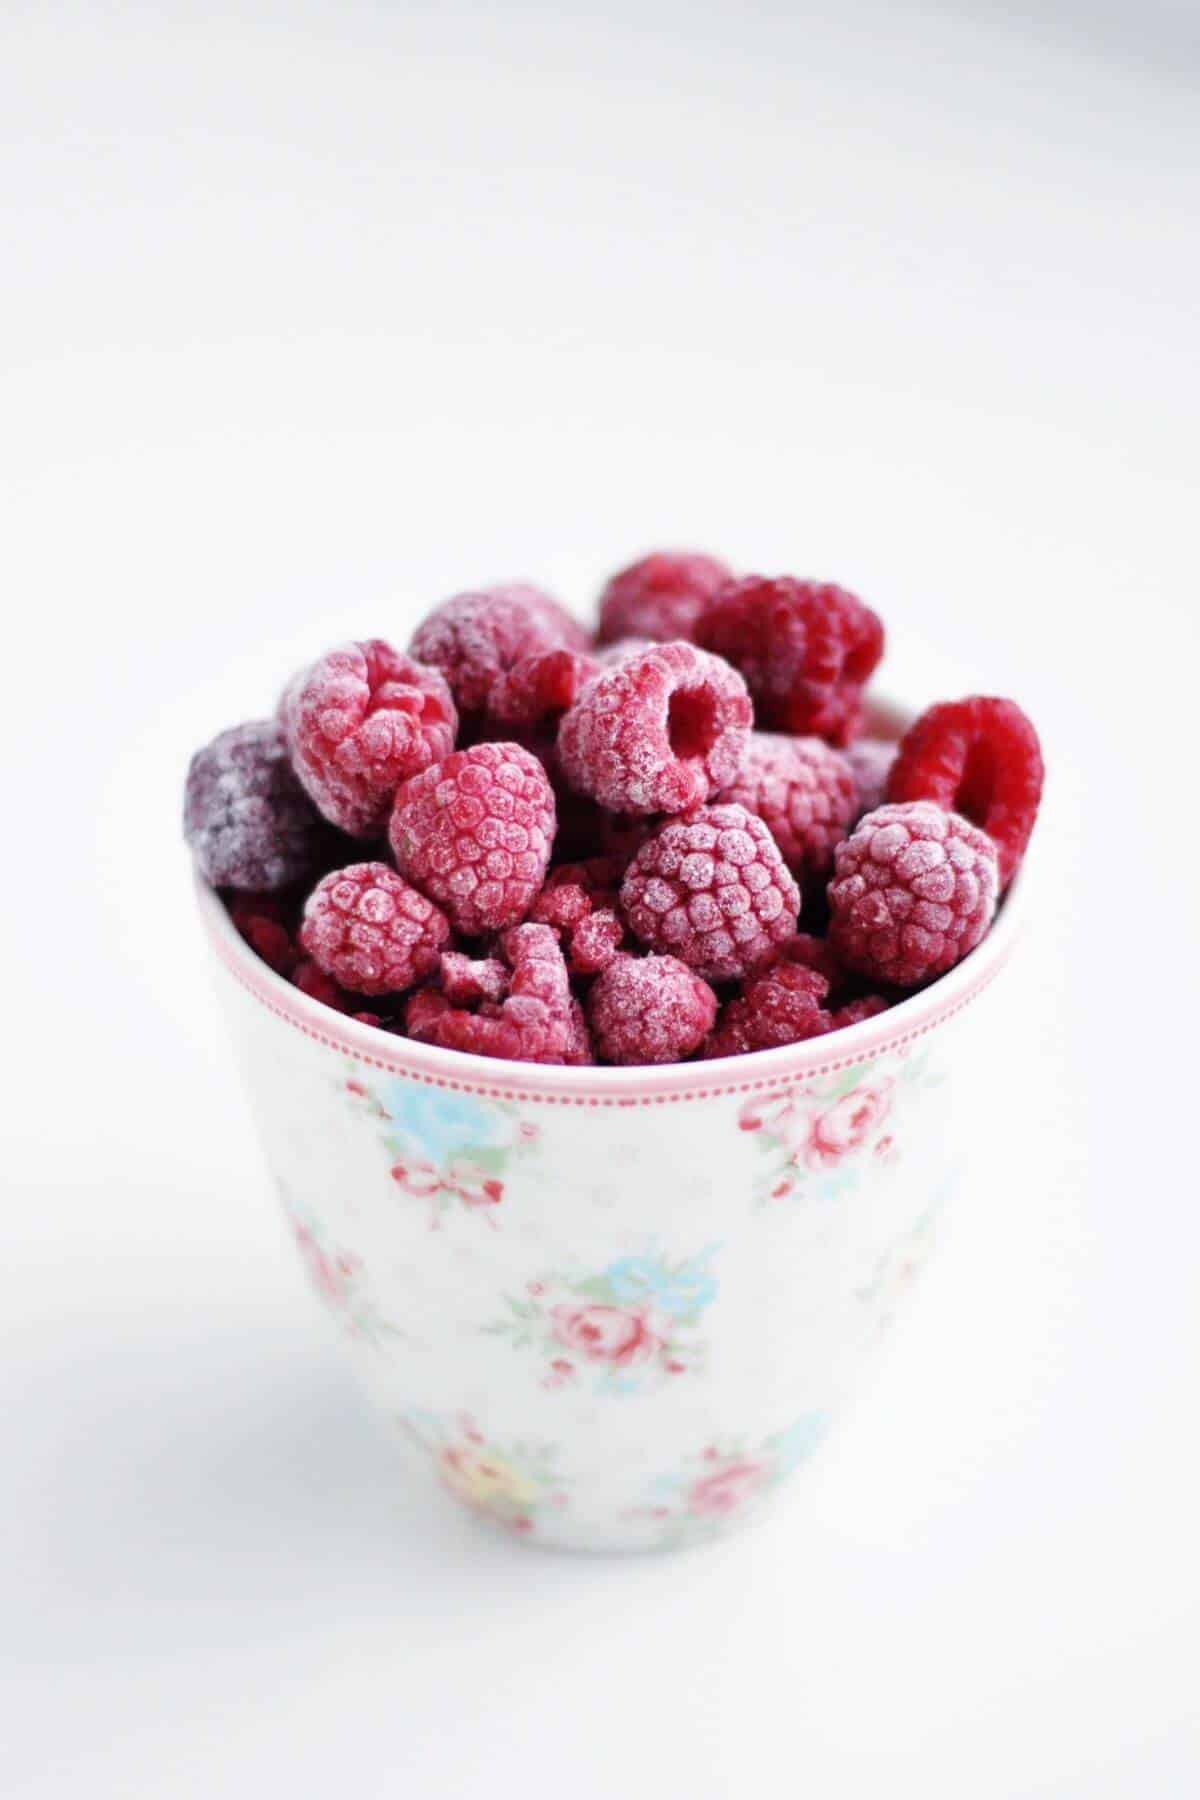
image by Ashley Winkler on Unsplash
Freezing
Freezing is a tool that most of us have and they can be really useful when it comes to raw foods.
When you want to make things like banana ice cream, smoothies, fruit sorbets, tart crusts, raw cheesecakes and much more, having a freezer is essential.
Freezing is a brilliant way to store raw food bought in bulk.
For example, I sometimes buy whole boxes of fresh fruits and vegetables at the local town market on a Saturday. Toward the end of the day, greengrocers can offer discounts on foods they need to shift.
I've been able to get big boxes of foods like avocados, mangos and bananas for £1-£2. I know, right! I'm not even kidding. This is a super cost-effective way to shop. When it happens, I'm dancing all the way home!
I wash, peel, chop or slice it all up. Pop onto a baking sheet in a single layer, so that the foods don’t stick together, and straight into the freezer.
Once the foods have frozen, transfer them into suitable container to keep for whenever you need them.
Freezing also works really well with the more expensive items, such as nuts and seeds.
I regularly freeze foods like smoothies, vegan pates, sauces, soups, desserts, fresh ginger and fruits —especially berries and bananas for making smoothies and nice-cream.
When you've prepared too much of something, or if you love to batch prep, freezing can be your best friend.
Spiralizing
Using a spiralizer is a really playful and creative way to make raw meals in the kitchen. With one, you can create noodles and ribbons out of courgette (zucchini), pumpkin, squash, carrot, beetroot, for example.
Using a big countertop spiralizer is best if you want to make big bowls full of noodles. There are smaller handheld versions that are great for occasional use or when you want to make smaller amounts.
You can pair your vegetable noodles and ribbons with sauces, dressings and salads to create gorgeous meals quickly and easily.
A vegetable peeler and julienne peeler are also good for making noodles, so a spiralizer is by no means an essential kitchen tool. They’re fun to use though. 😀
Marinating
Marinating is a simple way to tenderise and flavour foods by soaking them in homemade dressings for a while.
Typically a marinade will be made up of a liquid or oil base, then you’ll add an acid like lemon juice, lime or orange juice, you can add herbs and spices too.
Softer foods like fruit and tofu tend not to take very long to marinate as they will tenderise fastest. If you want to marinade a dish for more than a couple of hours, remember to keep it covered and transfer it to the fridge to keep it fresh.
Creating your own marinades allows you to take complete control over the ingredients instead of buying pre-made bottles from the store that might be full of nasty ingredients.
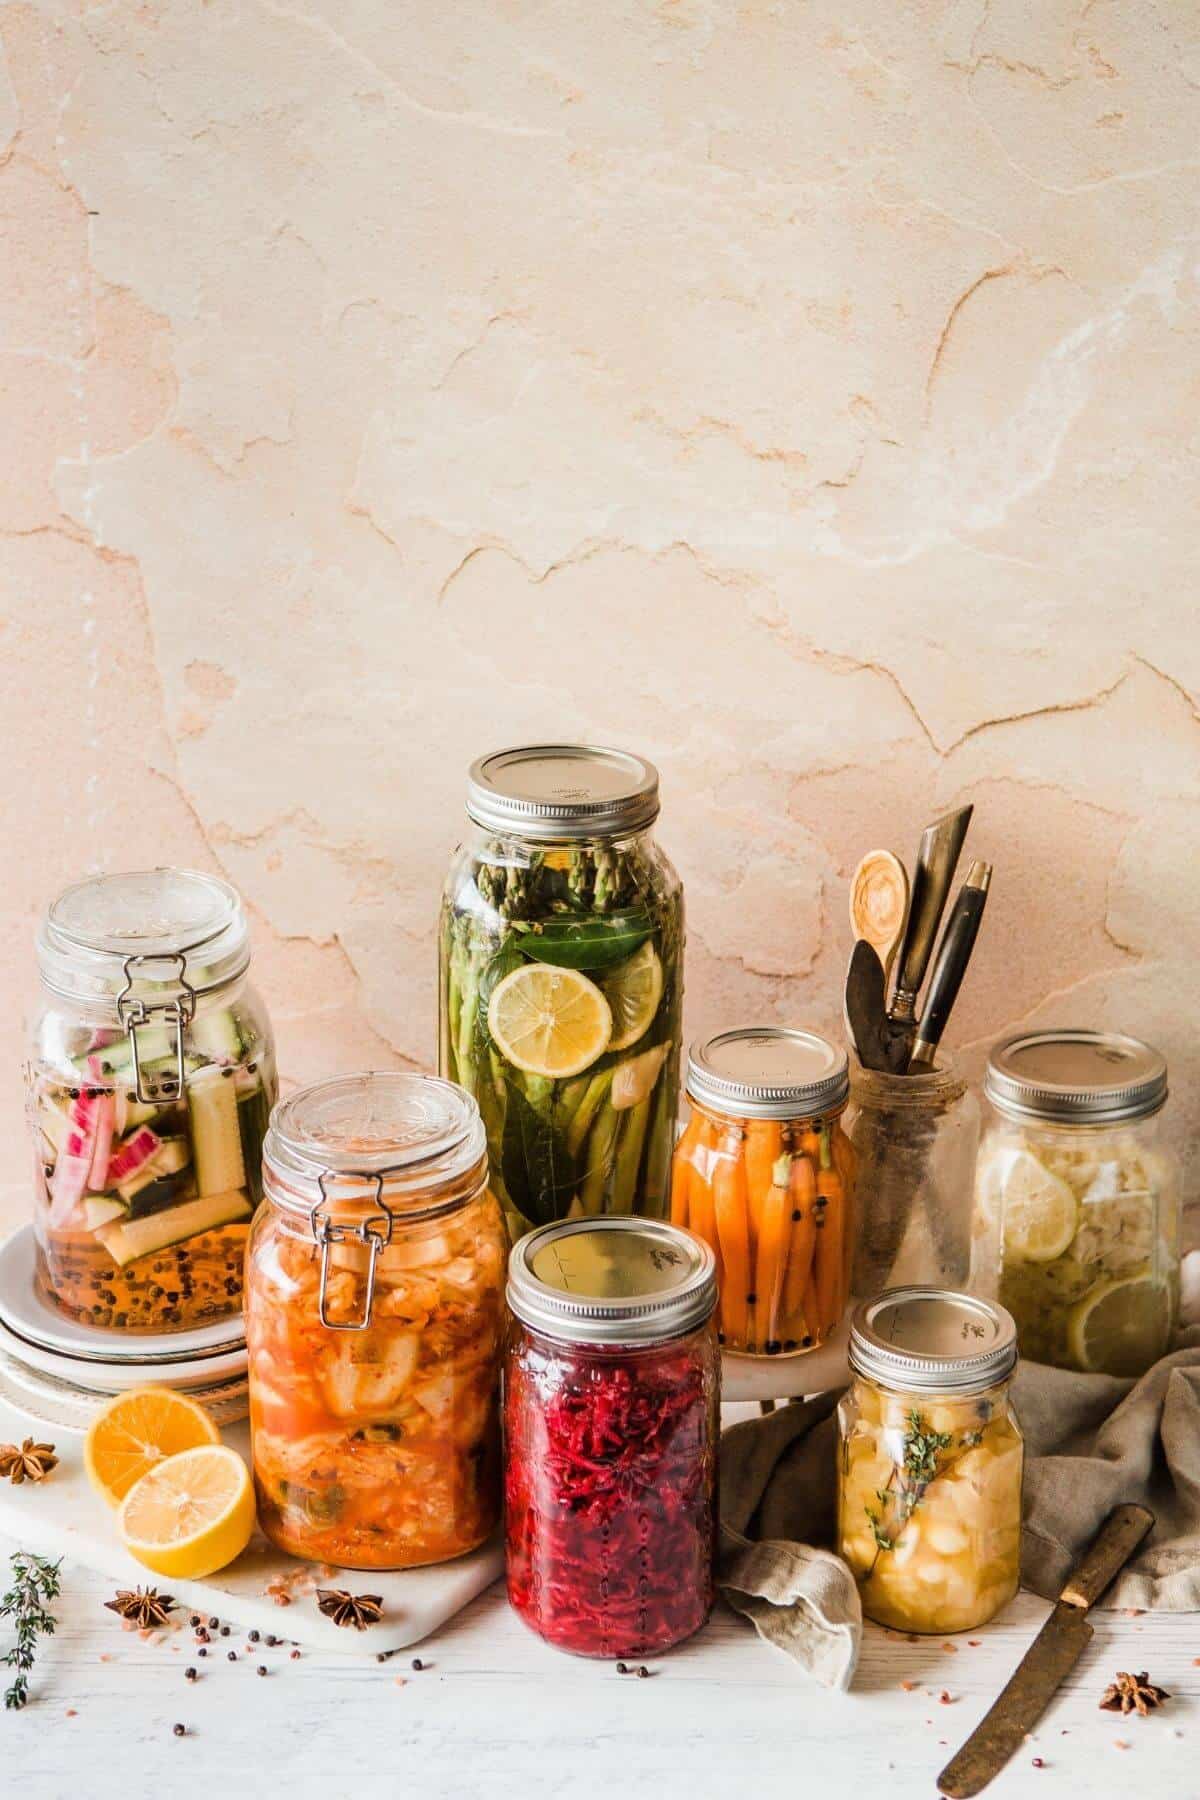
Image by Brooke Lark on Unsplash
Fermenting
Fermenting, of course, is one of the world's most traditional methods of preparing foods naturally, way before electricity, fridges and freezers came about. It’s a technique that has been handed down families for generations and I'm so grateful that it's becoming more popular now because it's a fantastic thing to do.
I've tasted some amazing foods and drinks that are fermented. When you’re making them, the longer you leave the foods to ferment, the tangier and more flavourful they become.
It has to be one of my most favourite things to do in the kitchen. It's exciting waiting for those bubbles to appear on your creations!
There are many different kinds of cultured foods you can make from home. You can even buy starter cultures and kits online to help get you started.
You often hear about the benefits of fermenting foods for gut health, which is well worth reading up on, by the way.
Honestly, it's so fun to do! Here are just some kinds of foods you can make by fermenting at home (not all of them are raw):
- Sauerkraut - try this basic sauerkraut recipe to get started.
- - Kimchi
- - Kefir
- - Kombucha
- - Ginger ale
- - Yoghurt
- - Cheese
- - Tempeh
- - Sourdough
- - Pickles and Lacto fermented vegetables
Oh, I do wish my kids didn't dislike the smell so much. Yes, it pongs, but I find it kinda funny.
Soaking nuts and seeds
I soak nuts and seeds often in the kitchen. The process of soaking softens them.
When blended and mixed with other ingredients, you can turn your soaked nuts and seeds into all kinds of things, such as:
- Pates
- Cheese
- Desserts
- Dips
- Dressings
- Nut Milk - like this chocolate hazelnut milkshake
- Sauces
- Taco 'Meat' and more.
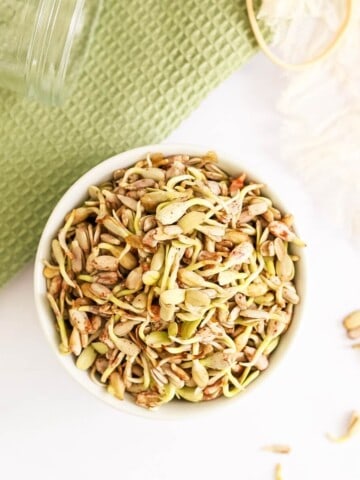
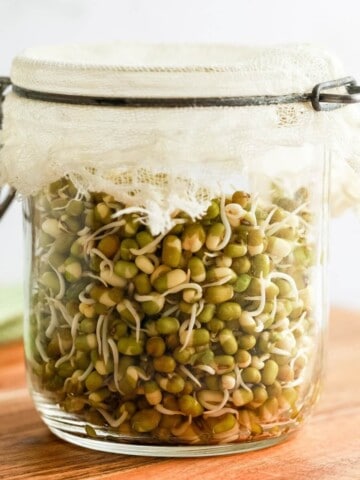
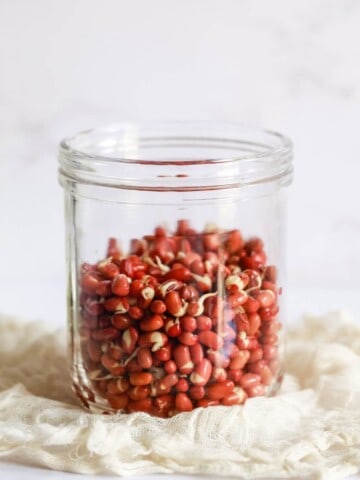
Sprouting
Sprouting and growing microgreens are both really easy to do. Sprouting isn't a new technique either, and rather excitingly, it's becoming ever more popular, just like fermenting.
Sprouting happens when a seed has been soaked and its outer coating begins to soften. It becomes activated and starts to germinate. So, in just a couple of days you should see the seeds begin to grow a tiny tail, also known as a shoot.
There are different methods for sprouting, including:
- In a jar,
- On a tray,
- In a sprouting bag,
- or in a bowl.
You grow sprouts using water. It's essential to rinse and drain them thoroughly 2-3 times per day, not just to stimulate their growth but also for food hygiene purposes.
When they’re ready and you eat the sprouts, you eat both the shoot and the edible seed that's attached.
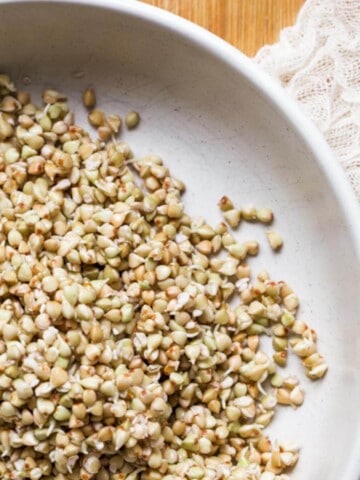
Growing Microgreens
Microgreens take the idea of sprouting seeds a little further. It's the next stage in growing baby vegetables.
You harvest them when they're a few centimetres long, after they’ve started to develop their first tiny leaves on top. And they can can take 2-3 weeks to develop, whereas sprouts take just a few days.
Microgreens are grown differently than when you want to produce a sprout.
You typically grow microgreens using a tray, pot or a dish, and you can plant the seeds in either soil, coir, on grow-mats, in wood shavings, or even on paper towels.
Harvesting microgreens is different from harvesting sprouts too. When microgreens are ready, you cut them from above the soil, leaving the seed behind.
Sprouting and growing microgreens are simple, easy, economical ways to grow your own food.
It’s essential that your equipment is spotlessly clean before you start. The same when you’re fermenting. Look for packets of certified organic seeds specifically created for sprouting and growing. This will minimise any risk to your health.
Add them to your salads, juices, smoothies, roll-ups, sushi, and top pretty much any recipe with them.
They also look incredibly beautiful especially when you use them with edible flowers.
I hope this post has been useful, especially if you're just starting out.
Dehydrating
Dehydrating is a technique raw foodies use for creating foods using heat at low temperatures to keep the food's live enzymes and vitamins intact. That's a hugely important aspect of raw foods. Allowing all the vitamins and nutrients to shine is kinda the main point of it all.
Using this gentle warming process, the food's moisture content is reduced or removed altogether while the flavour is enhanced.
A dehydrator is thermostatically controlled to avoid the temperature going too high and typically uses a timer, making it easy for you to make your recipes.
Look at the list of amazing foods you can make with a dehydrator:
- Dried fruits, nuts and seeds,
- Fruit leathers,
- Biscuits, granola and granola bars,
- Onion rings,
- Vegetable crisps (chips), i.e. kale chips,
- Vegetable powders,
- Sun-dried tomatoes,
- Wraps, crackers,
- Pizza,
- Macaroons and so much more.
Although it's a useful technique to have, a dehydrator can be an expensive piece of equipment to purchase. It's also quite a time-consuming way to create food, so you need to plan your meals and foods well in advance.
I don't really see a dehydrator as an essential tool when you're first starting out. I think it's better to keep things as simple and easy as possible, to begin with.
Many new ovens can run at low temperatures, even with just the oven light on. You could start this way if you want to try dehydrating first before investing in expensive equipment.
Hey, did you like this article? If so, please share this post with your friends on social? Thanks!
I’m off for some tea.
Love raw food.
XOXO
Juliette
Comments
No Comments